Free Robot Amigurumi Crochet Pattern: Beginner Friendly
Designer: Wiloli Stitches
Instagram: @wilolistitches
Etsy Shop: WiloliStitches
Are you ready for a cute little crochet project?..
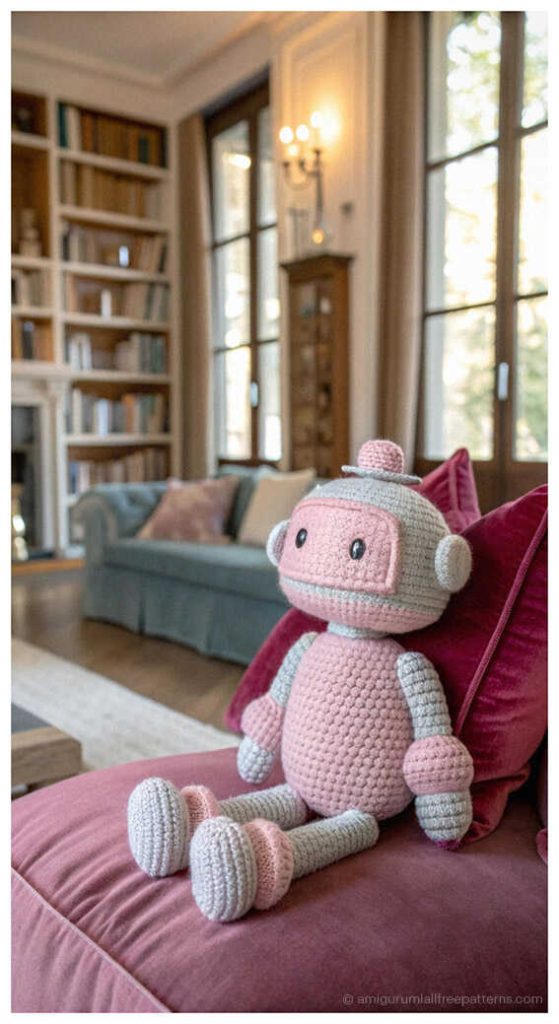
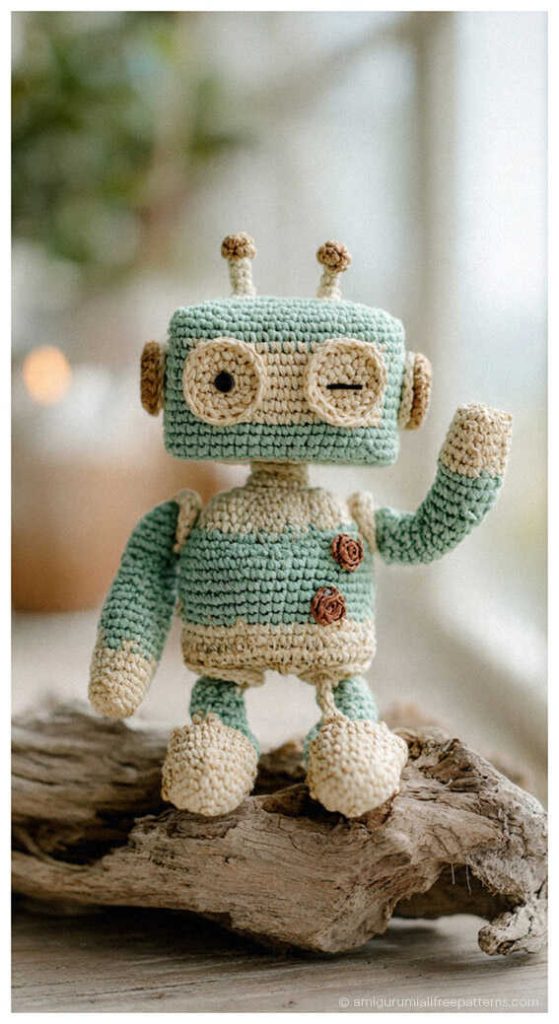
Launch your creativity into orbit with this Adorable Space Robot: Free Amigurumi Crochet Pattern Ideas, the ultimate project for sci-fi fans and handmade toy lovers. Inspired by the retro-futuristic charm of classic space explorers, this design by Wiloli Stitches was created to bring a touch of cosmic adventure to any playroom or geeky office desk. These Holiday Patterns are a stellar choice for anyone seeking unique Christmas Gift Ideas that stand out from traditional plushies. Because of its sturdy shape and straightforward construction, this robot is also among the best Last Minute Crochet Gifts for those who want to finish a project quickly without losing that “wow” factor. At the end of this tutorial, we have included a gallery of more imaginative amigurumi robot ideas to help you build your own mechanical army. A massive thank you to Wiloli Stitches for sharing this out-of-this-world design with the community! If you have been searching for a way to master how to crochet amigurumi characters that look impressively complex but are surprisingly simple to assemble, this interstellar guide is your perfect launchpad.
This step by step guide is intentionally beginner friendly, making it an ideal beginner amigurumi robot pattern for those who are intimidated by intricate limb attachment. The beauty of this robot lies in its geometric simplicity; by using basic shapes, it allows you to focus on stitch consistency and clean finishes rather than difficult techniques. Whether you are a novice picker or an experienced hooker, you will appreciate how the proportions come together to create a sturdy, lovable character that feels substantial in your hands. This project proves that you can create a boutique-quality, high-end plushie even if you are just starting your journey into the world of soft toy making.
To bring your robotic friend to life, you will need 6.5 and 7 mm hooks and super bulky weight 6 yarn for that chunky feel, along with a small amount of black worsted weight yarn for the details. The process also requires 12mm safety eyes for a curious expression, polyfill for a firm shape, stitch markers, and a tapestry needle. While the pattern is designed with super bulky yarn for a large, huggable result, you could experiment with thinner cotton for a miniature version; just keep in mind that swapping for a different weight or using velvet yarn will significantly alter the final toy’s size and texture! Mastering how to crochet amigurumi robot features is a rewarding way to build your confidence and expand your skill set. Simply gather your tools and follow the instructions to create a durable, handmade companion that is ready for any mission. Happy crocheting!

Materials
• 6.5 and 7 mm hooks
• Super bulky yarn, weight 6 Black worsted weight yarn
• 12mm safety eyes
• Polyfill
• Stitch markers
• Tapestry needle
Abbreviations
mr: magic ring
sc: single crochet
st3tog: stitch 3 sc together (insert hook into front** loop of the next stitch, yarn over, pull up a loop. Repeat in the next 2 st. You now have 4 loops on your hook. Yarn over and pull through all 4 loops on hook.) **unless otherwise indicated
bobble st: bobble stitch (yarn over, insert hook into st, yarn over and pull up a loop, yarn over and pull through the last 2 loops on hook. Repeat this until you have 5 loops on hook, then yarn over and pull through all 5 loops.)
FLO: front loops only
BLO: back loops only
FO: fasten off
( ) x#: repeat what’s inside the parentheses # times
[ ]: number of stitches at end of round
HOW TO CROCHET A ROBOT: FREE AMIGURUMI STEP-BY-STEP TUTORIAL

Head
Use main color & 6.5mm hook
Round 1: 4 sc in mr [4]
Round 2: (3 sc in same st) x4 [12]
Round 3: Sc, (3 sc in same st, 2 sc) X3, 3 sc in same st, sc [20]
Round 4: In BLO, 20 sc [20]
Round 5-6*: 20 sc [20] *2 rounds; 40 sts total
Round 7: In BLO: sc, (st3tog, 2 sc) x3, st3tog, sc [12]
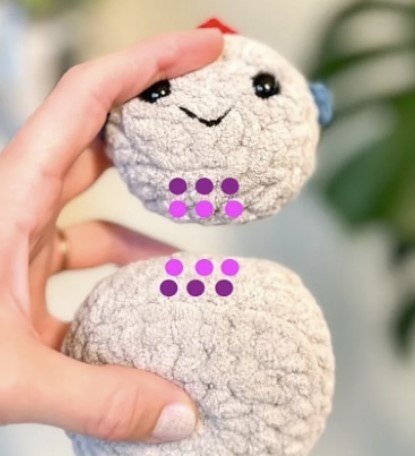
Place safety eyes between rounds 2 and 3 with about 4 visible sts in between them. Stuff the head.
Round 8: (st3tog) x4 [4]
FO and weave tail through FLO of round 8. Pull to close and tuck in ends.

Head Knobs
Use accent colors & 7mm hook. The head knobs will be surface crocheted on round 5 of the head; one centered on each side and one on top.
In the same st: sl st, ch 1, sl st. FO, tie a knot, and tuck in ends.
Body
Use main color & 6.5mm hook
Round 1: 4 sc in mr [4]
Round 2: (3 sc in same st) x4 [12]
Round 3: Sc, (3 sc in same st, 2 sc) X3, 3 sc in same st, sc [20]
Round 4: 2 sc, (3 sc in same st, 4 sc) X3, 3 sc in same st, 2 sc [28]
Round 5: In BLO, 28 sc [28]
Round 6-7*: 28 sc [28] *2 rounds; 56 sts total
Round 8: In BLO: 2 sc, (st3tog, 4 sc) x3, st3tog, 2 sc [20]
Round 9: Sc, (st3tog, 2 sc) x3, st3tog, sc [12]
Stuff body.
Round 10: (st3tog) x4 [4]
FO and weave tail through FLO of round 10. Pull to close and tuck in ends.
Assembly
Use a 14″ piece of main color yarn to sew the head onto the body, using the photo below as a guide. The sts will go into rounds 5&6 of the head and 6&7 of the body. Tie the tails together and tuck in ends.
Arms/Legs
Use accent colors & 7mm hook. Arms will be surface crocheted on round 6 towards the top corners on either side of the body. Legs will be placed on round 6 on the bottom of the body with 4 visible sts in between them. With the robot’s front facing you: sl st, ch 9.
Starting in 2nd ch from hook: bobble st, 7 sl st, sl st into the same st on the body. FO, tie a knot, and tuck in ends.
Repeat for each arm/leg.
Details
Embroider a mouth between rounds 1 and 2 of the head. Embroider zig zags, buttons, or whatever else you want onto the body.
You may also like: Amigurumi Monster Crochet Free Pattern (Beginner-Friendly & Step-by-Step)
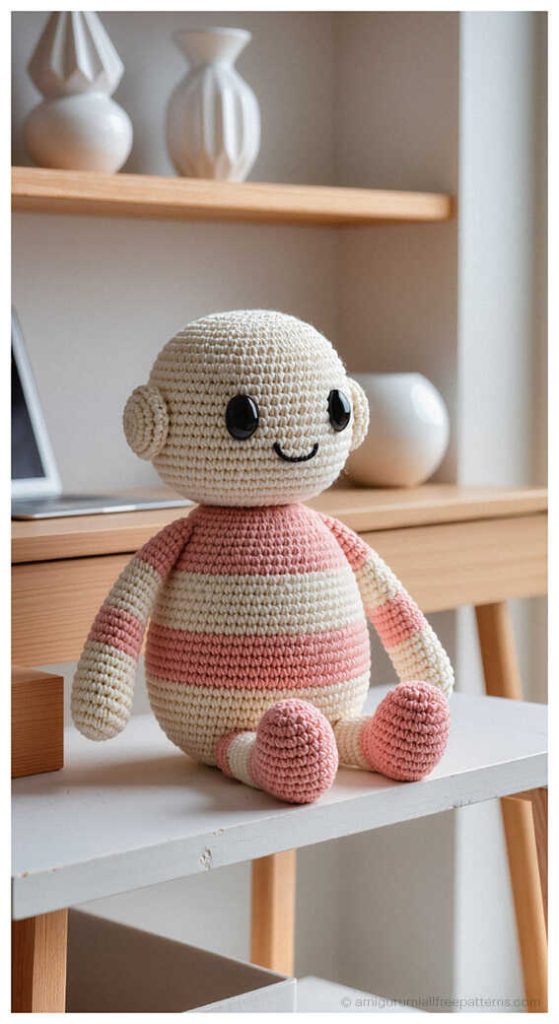
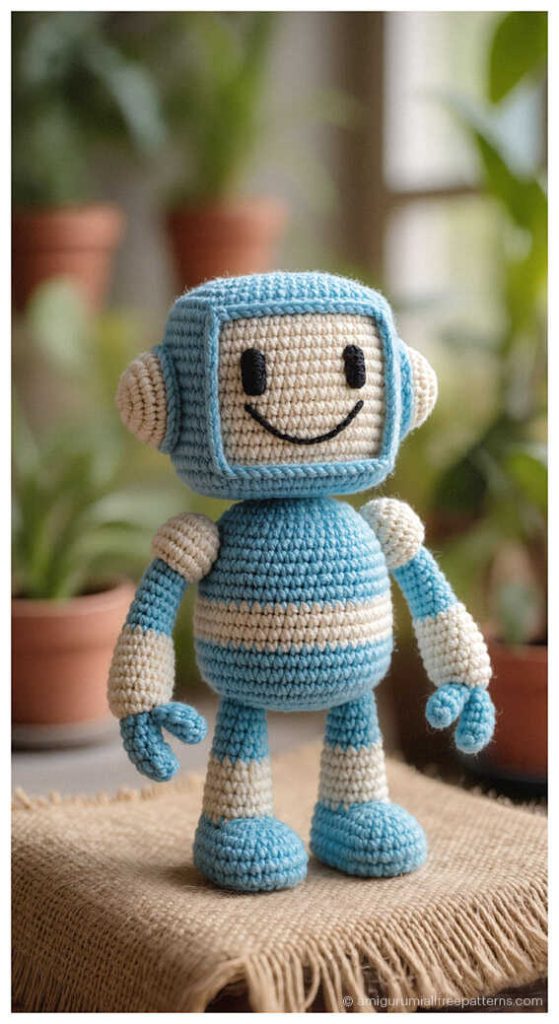
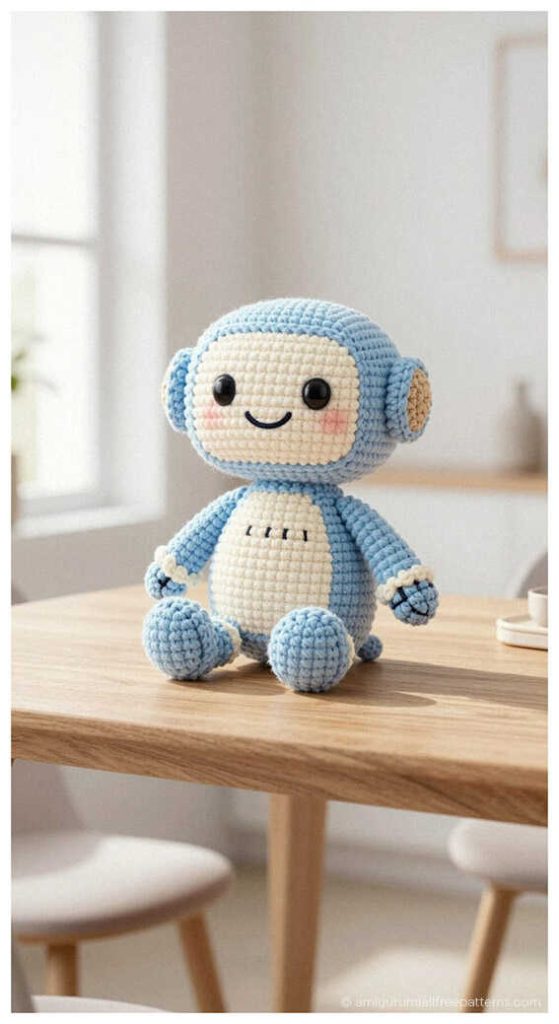
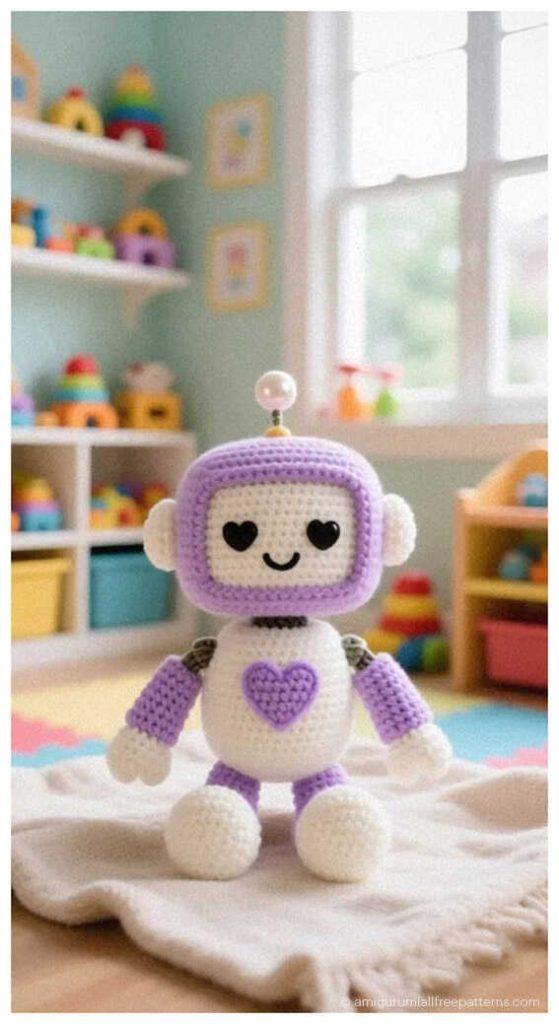
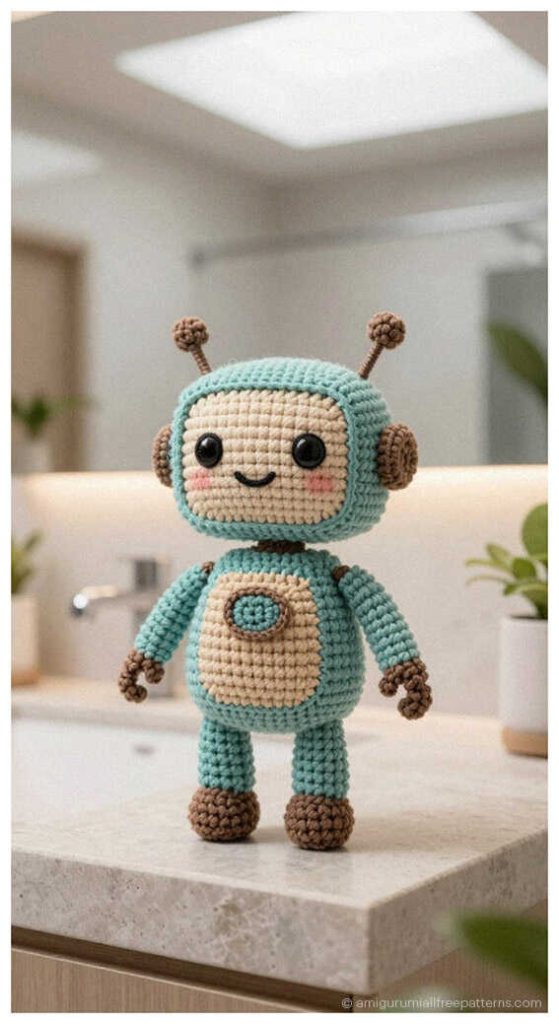
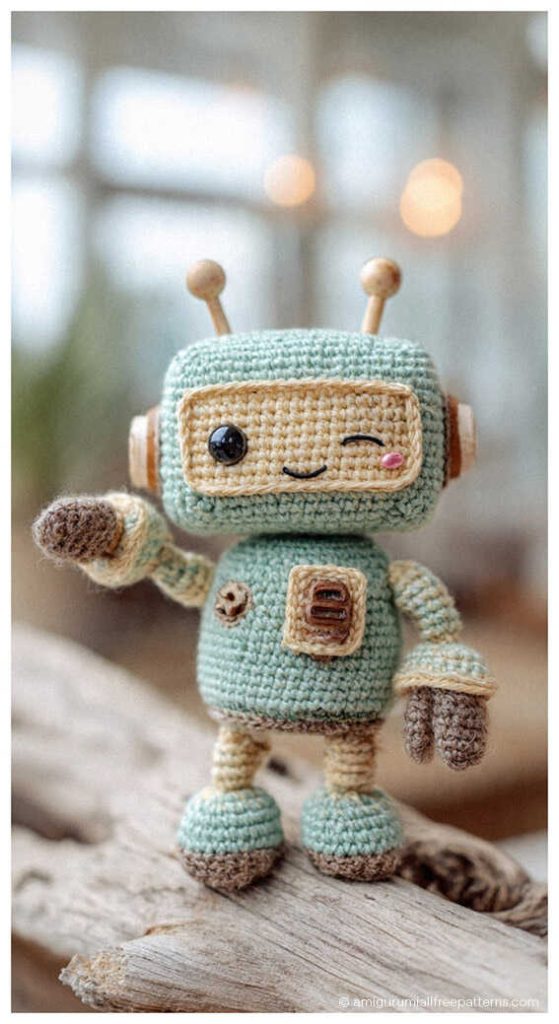
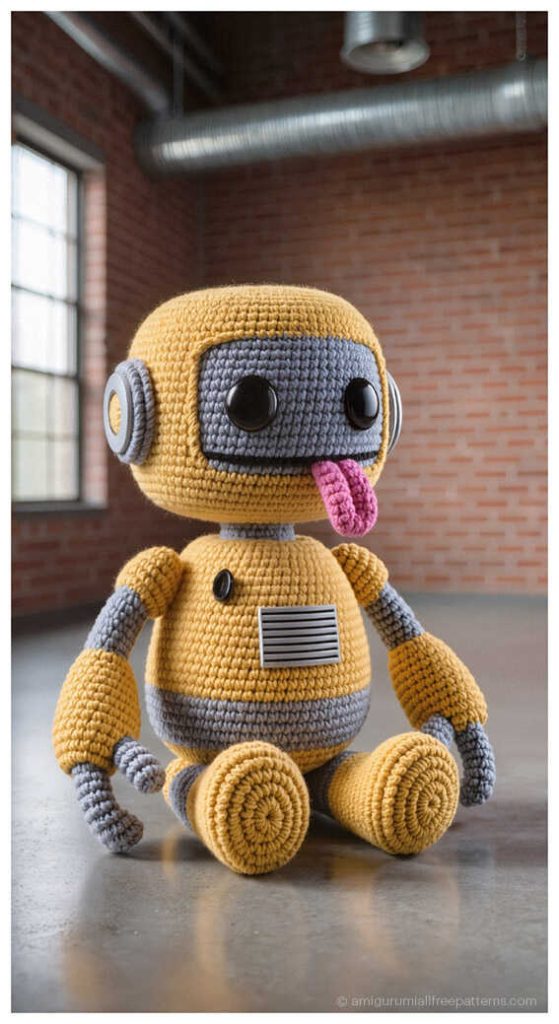
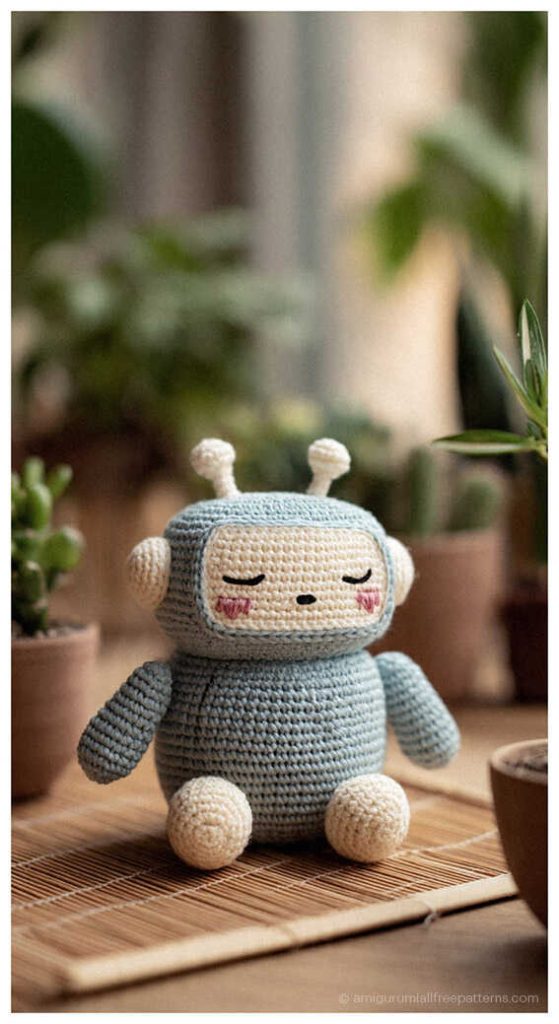
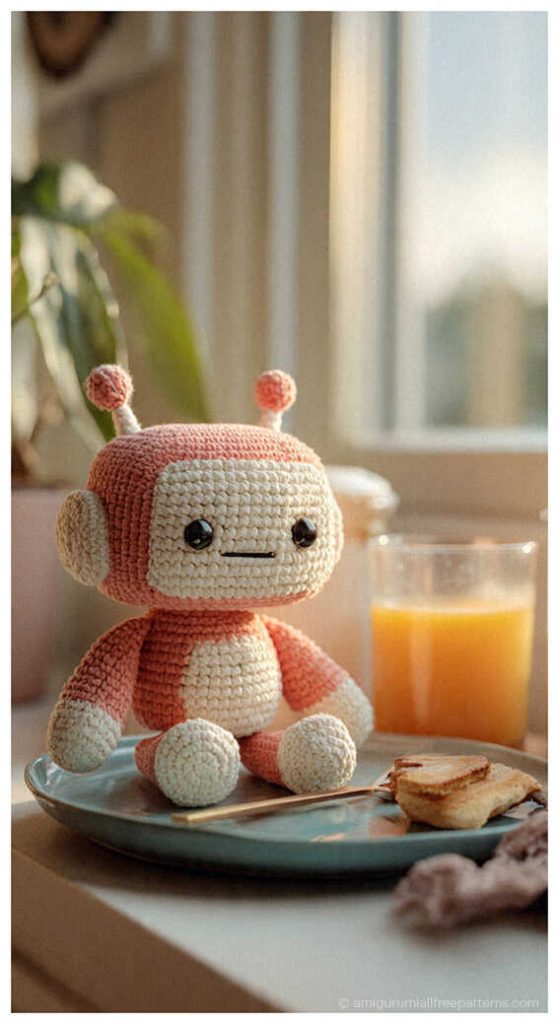
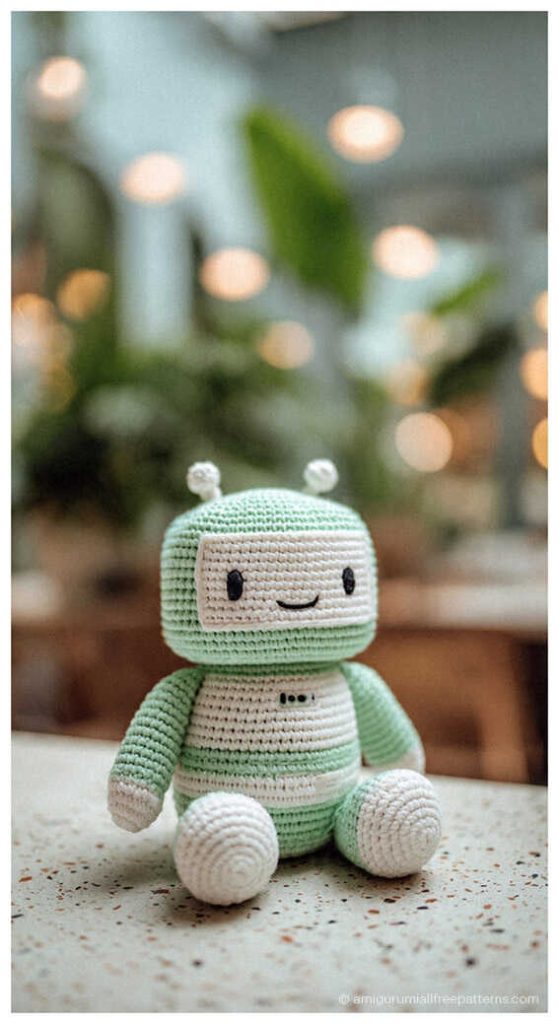
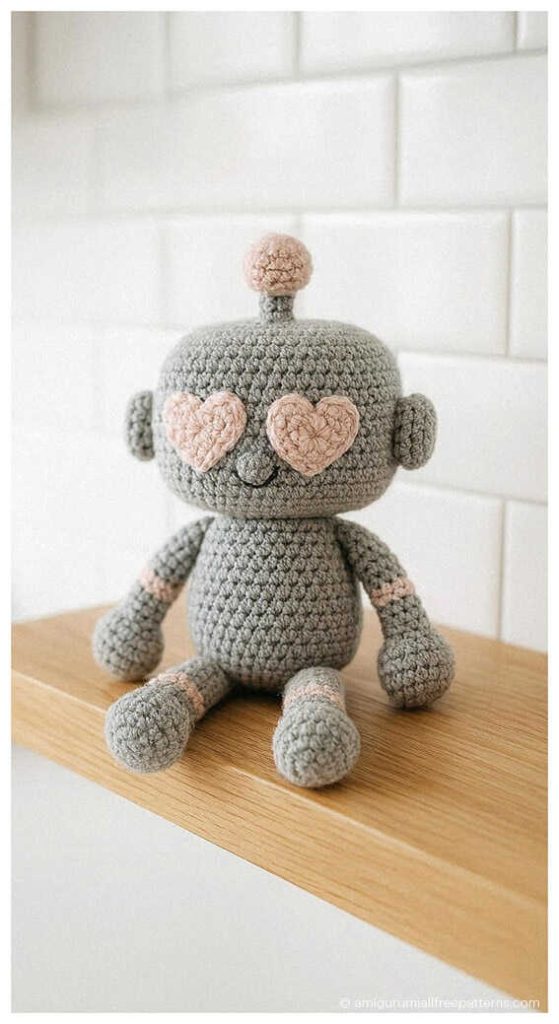
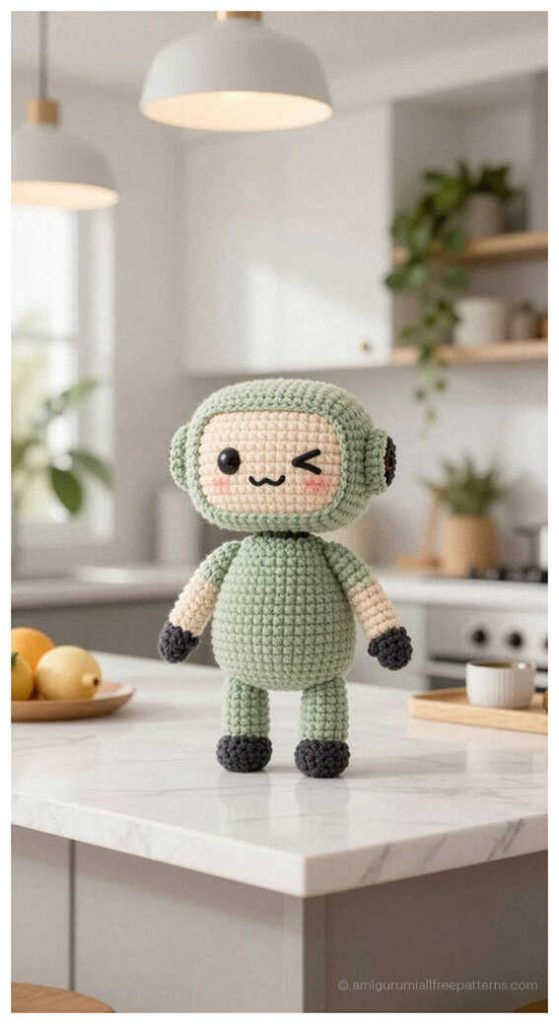
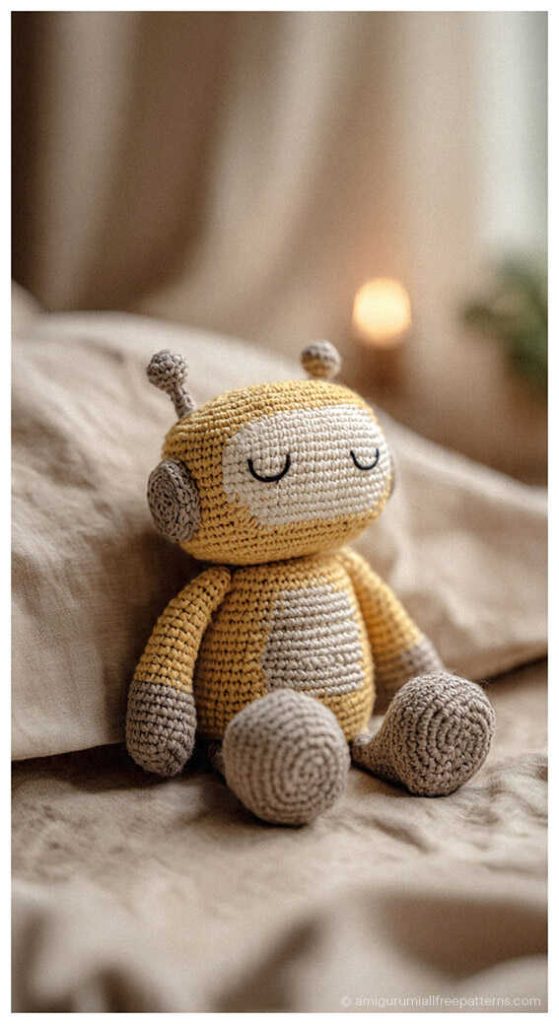
Amigurumi Robot ideas you’ll adore: