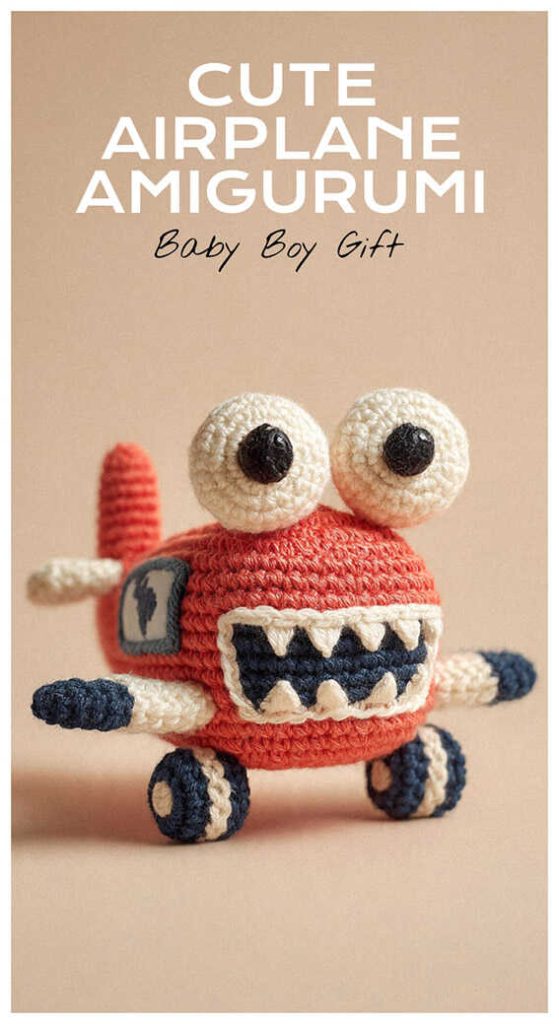
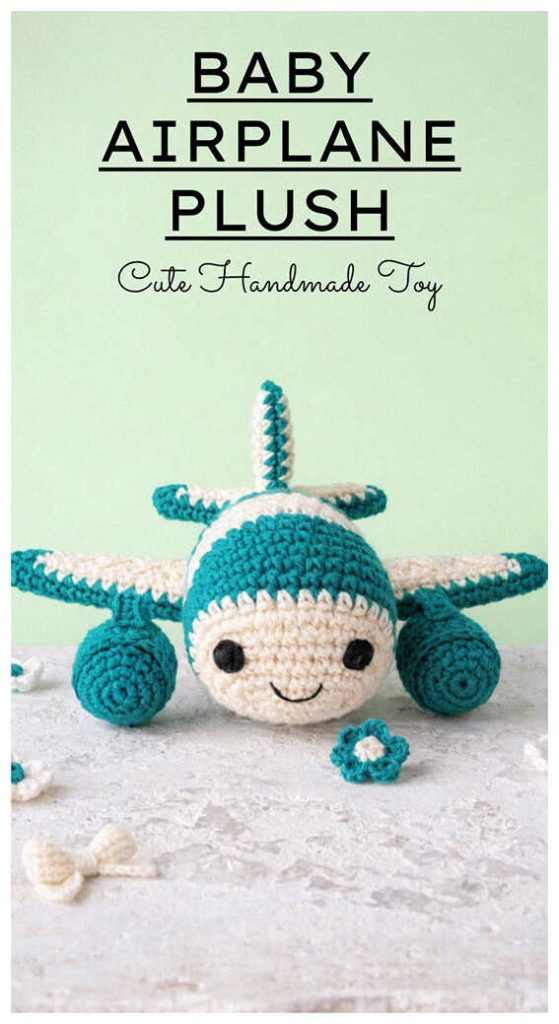
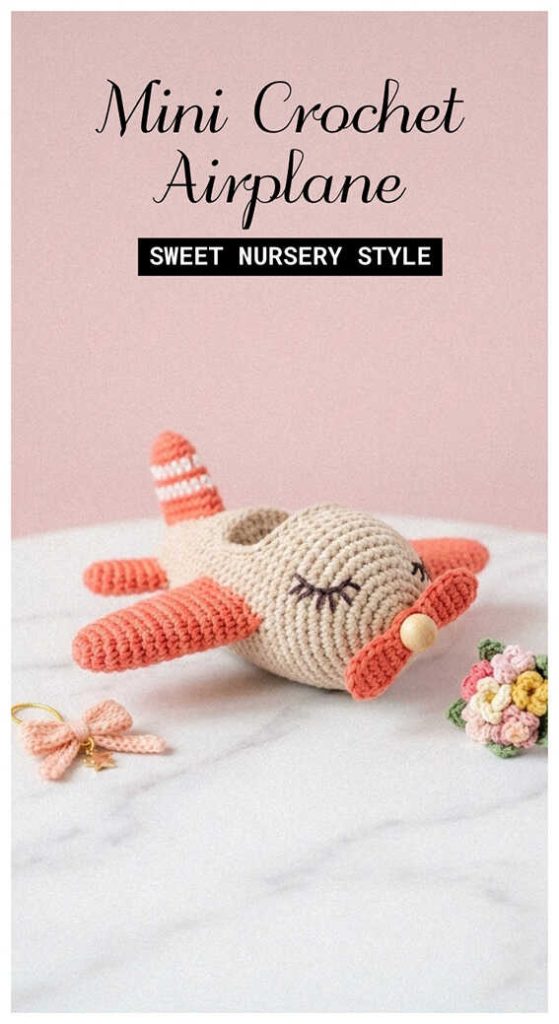
Cute Airplane Amigurumi Free Crochet Pattern
Designer: Jessica Olivia
Instagram: @chubbyowls
Ravelry Shop: Chubbyowls
Difficulty Level: Beginner
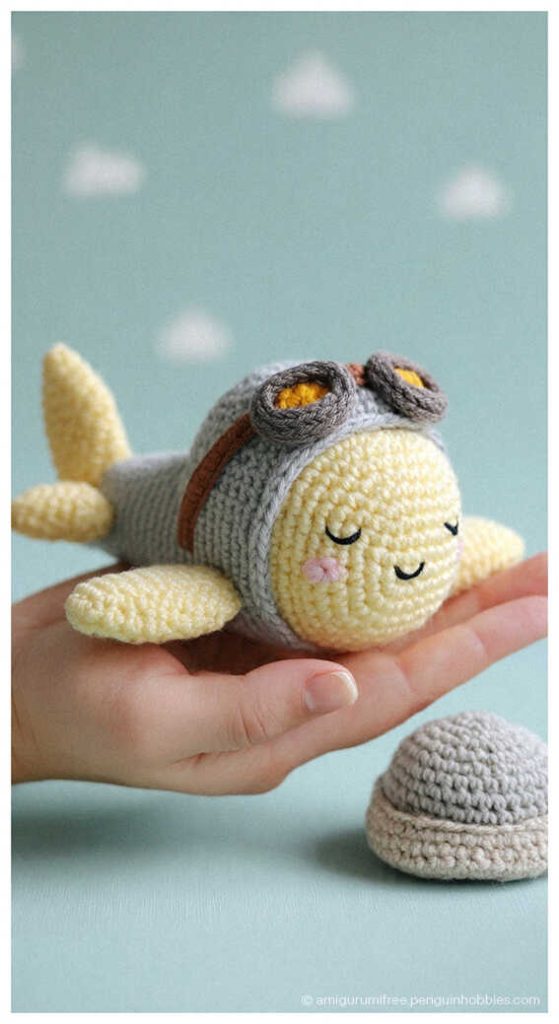
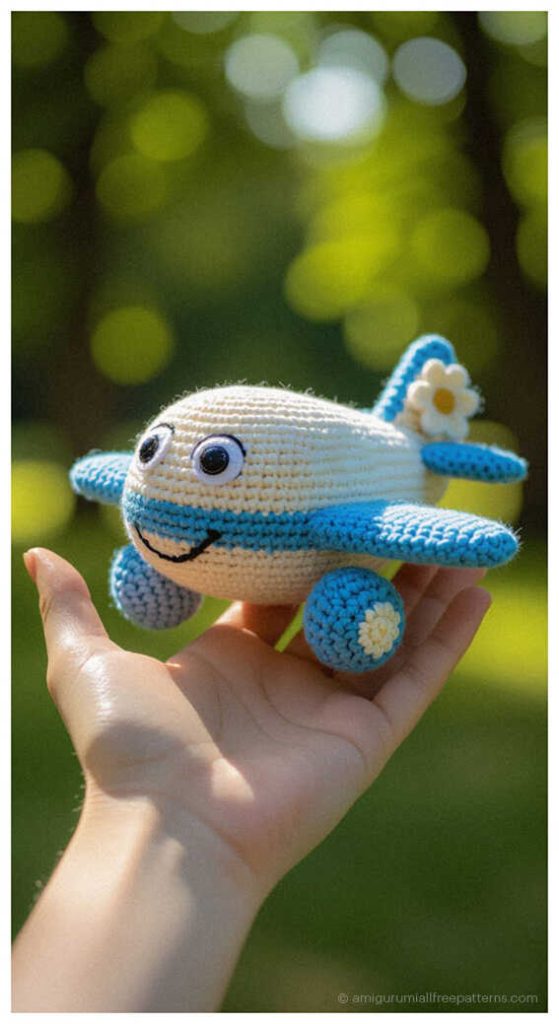
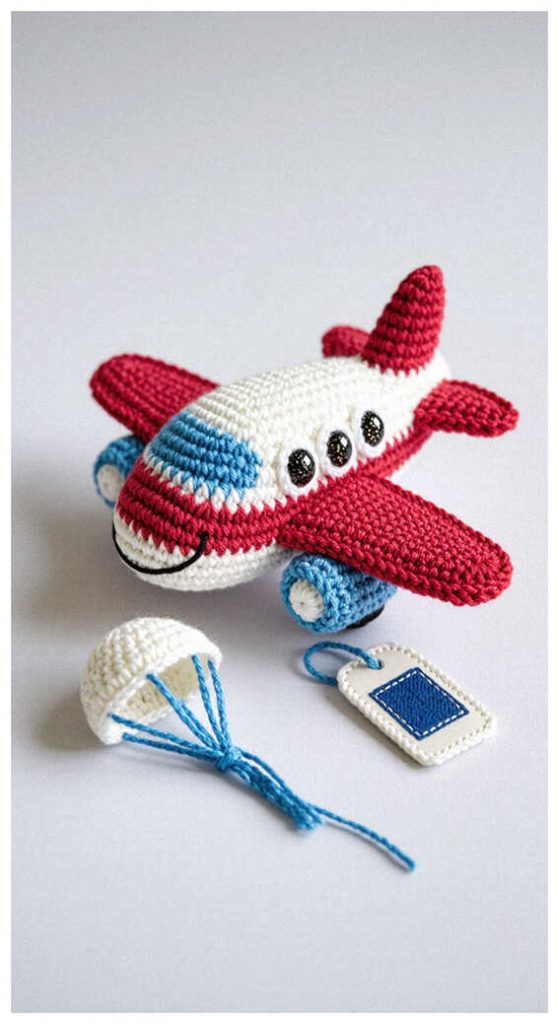
A fun and creative sky-themed project to add a playful touch to your crochet time.
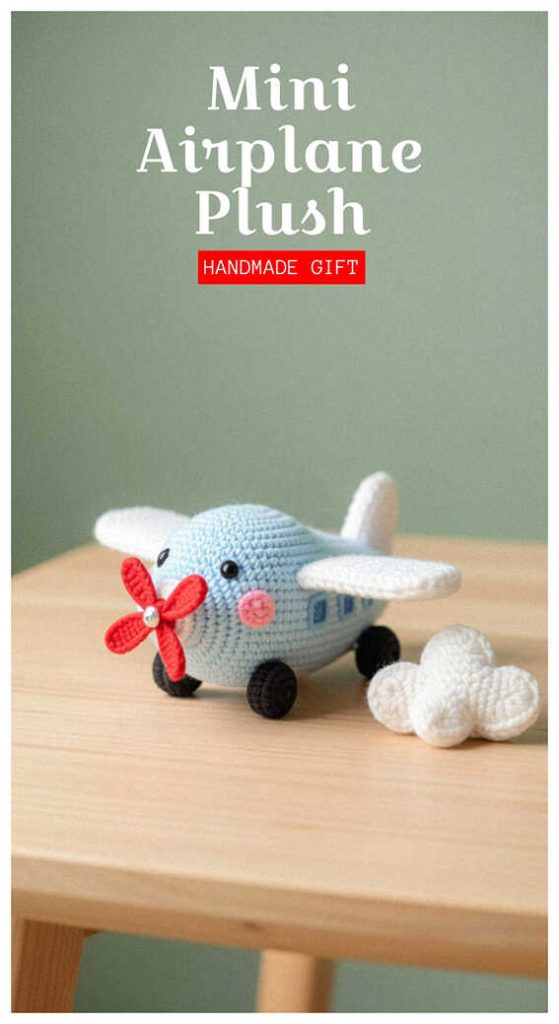
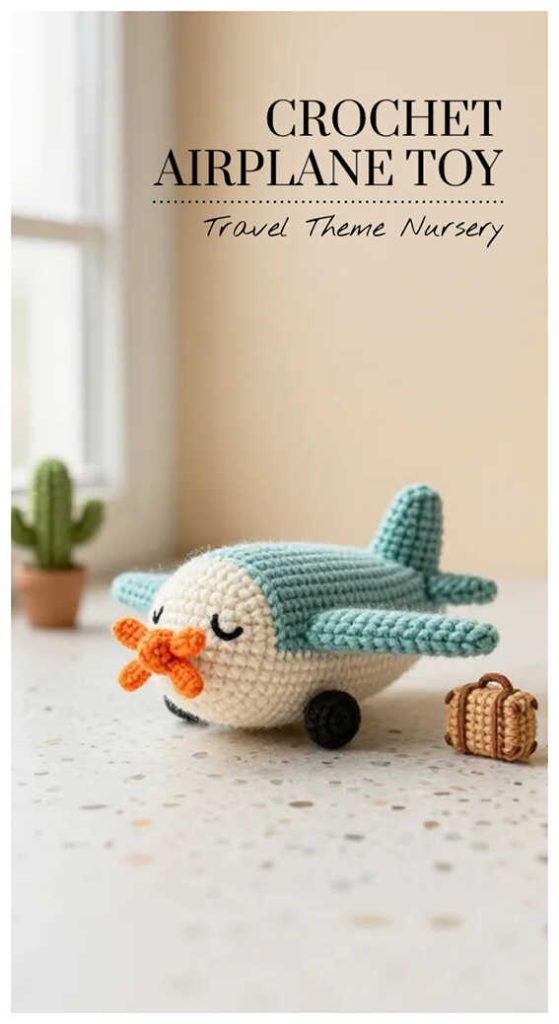
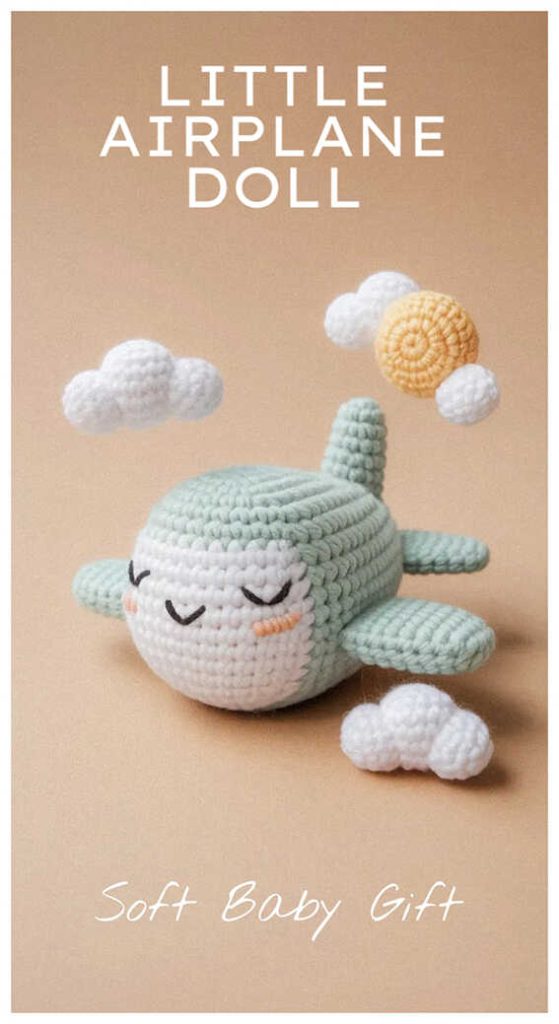
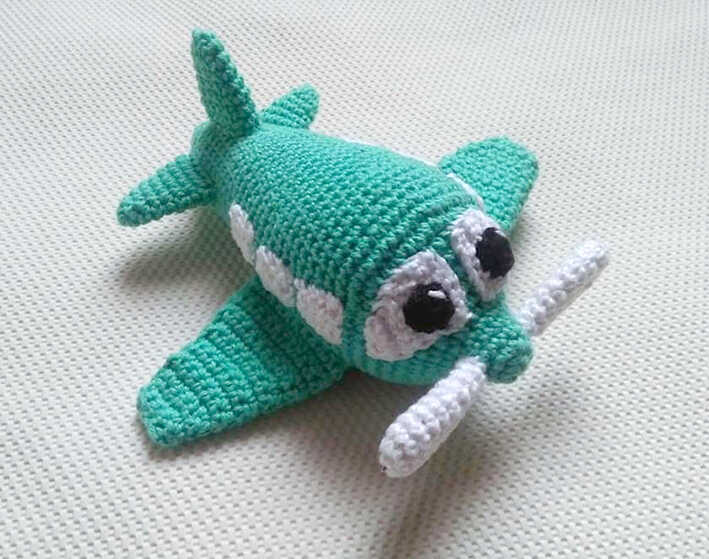
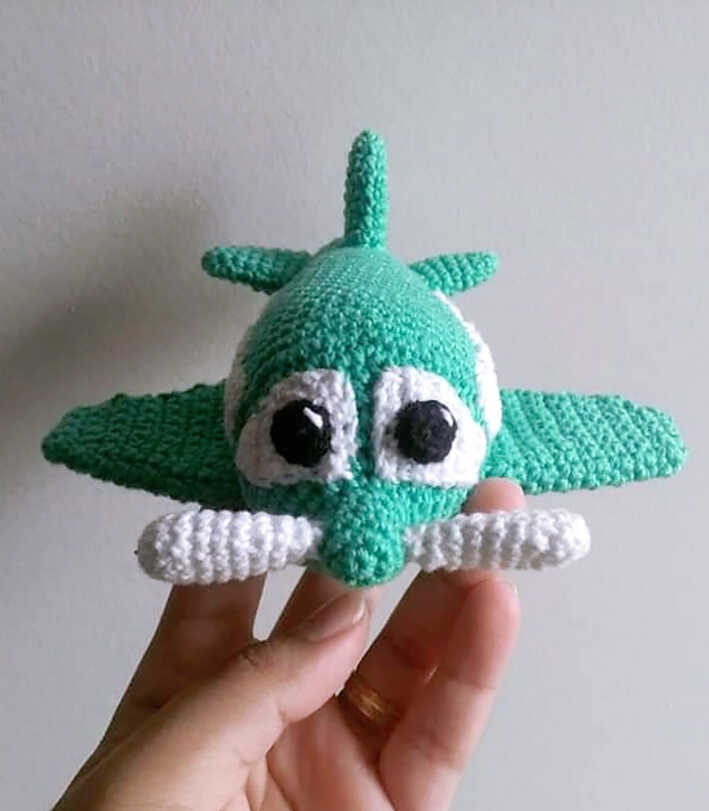
This free airplane amigurumi crochet pattern, designed by Jessica Olivia, features a rounded teal body, bright white windows, and a classic propeller detail that makes it perfect for kids’ gifts, nursery decor, and travel-inspired collections. The smooth shaping gives the airplane a soft, toy-like finish that looks great on display. You’ll also find inspiring airplane amigurumi ideas at the end of the pattern, and we sincerely thank Jessica Olivia for sharing this charming design.
This is a beginner-friendly amigurumi pattern written in a clear, step-by-step format using basic stitches. The body is worked in continuous rounds, while the wings and windows are attached separately, making it a quick crochet project for relaxed weekend crafting. If you enjoy unique character toys, you might also love the colorful mushroom doll amigurumi featured on our blog.
The pattern uses cotton yarn for a crisp, structured finish along with safety eyes and fiberfill stuffing to keep the shape firm. With simple construction and neat detailing, it’s easy to follow. For more playful inspiration, take a look at the adorable bird amigurumi, another delightful design shared on one of our crochet blogs.
Materials and Tools
• 100% super soft cotton yarn, 4 ply
▸ Teal
▸ White
▸ Black
• 2.5 mm crochet hook
• Stitch marker
• Fiberfill stuffing
• Yarn needle
• Scissors
FREE AIRPLANE AMIGURUMI CROCHET PATTERN
Body
Color: Teal
Round 1: MR [6]
Round 2 – 5: inc in each st [12]
Round 6: (sc, inc) repeat [18]
Round 7: (sc in the next 2 sts, inc) repeat [24]
Round 8: (sc in the next 3 sts, inc) repeat [30]
Round 9: (sc in the next 4 sts, inc) repeat [36]
Round 10: (sc in the next 5 sts, inc) repeat [42]
Round 11: sc in the next 24 sts, (inc, sc in the next 2 sts) repeat in brackets [48]
Round 12: sc in the next 24 sts, (inc, sc in the next 2 sts) repeat in brackets [56]
Round 13:sc all around [56]
Round 14: sc in the next 24 sts, (sc in the next 6sts, dec) repeat in brackets [52]
Round 15: sc in the next 30 sts, (sc in the next 9 sts, dec) repeat in brackets [50]
Round 16-18: sc all around [50]
Round 19: sc in the next 30 sts, sc in the next 8 sts, dec, dec, sc in the next 8 sts [48]
Round 20-22: sc all around [48]
Round 23: (sc in the next 10 sts, dec) repeat [44]
Round 24: sc all around [44]
Slightly stuff the nozzle part.
Round 25: (sc in the next 9 sts, dec) repeat [40]
Round 26: sc all around [40]
Round 27: (sc in the next 8 sts, dec) repeat [36]
Round 28-30: sc all around [36]
Round 31: (sc in the next 7 sts, dec) repeat [32]
Round 32-33: sc all around [32]
Round 34: (sc in the next 6 sts, dec) repeat [28]
Round 35-36: sc all around [28]
Round 37: (sc in the next 5 sts, dec) repeat [24]
Round 38-39: sc all around [24]
Round 40: (sc in the next 4 sts, dec) repeat [20]
Round 41: sc all around [20]
Round 42: (sc in the next 3 sts, dec) repeat [16]
Round 43: (sc in the next 2 sts, dec) repeat [12]
Stuff the body firmly.
Round 44: (sc in the next 1 sts, dec) repeat [8]
Leave a long tail to weave the yarn end using a needle to close off.
Front window (make 2)
Color: White
Row 1: Start by chaining 7, sc in the second st from the hook, sc in the next remaining sts. [6]
Ch1, turn around.
Row 2: sc in all sts. Ch 1, turn around. [5+1]
Note: the +1 means ch1 from the PREVIOUS row is counted as a sc]. Ch 1, turn around.
Row 3-4: repeat instruction in row 2. Ch 1 turn around after finishing each row.[5+1]
Row 5: sc in the next 3 sts, slst in the next st. Ch 1, turn around. [4+1]
Row 6: sc in the next 4 sts. Ch 1, turn around. [4+1]
Row 7: sc in the next 2 sts, slst in the next st. Ch 1, turn around. [3+1]
Row 8: sc in the next 3 sts. [3+1]
Fasten off and leave a long tail for attaching
Side windows (make 6)
Color: White
Row 1: Start by chaining 5, sc in the second st from the hook, sc in the next remaining sts. [4]
Ch1, turn around.
Row 2: sc in all sts. Ch 1, turn around. [4]
Row 3: repeat instruction in row 2. [4]
Fasten off and leave a long tail for attaching
Wings (make 2)
Color: Teal
Row 1: Start by chaining 11, sc in the second st from the hook, sc in the next remaining sts. [10]
Ch1, turn around.
Row 2: sc in the next 3 sts, inc, sc in the next 4 sts, inc. [11 +1]
Note: the +1 means ch1 from the PREVIOUS row is counted as a sc]. Ch 1, turn around.
Row 3: sc in each sts [11+1]. Ch 1, turn around.
Row 4: sc in the next 3 sts, inc [14+1]. Ch 1, turn around.
Row 5-6: sc in each sts [14+1]. Ch 1 turn around each time you end a row.
Row 7: sc in the next 4 sts, inc [17+1]. Ch 1, turn around.
Row 8-9: sc in each sts [17+1]. Ch 1 turn around each time you end a row.
Row 10: sc in the next 5 sts, inc [20+1]. Ch 1, turn around.
Row 11-12: sc in each sts [20+1]. Ch 1 turn around each time you end a row.
Round 13: sc in the next 6 sts, inc [23+1]. Fasten off and leave a long tail to attach wings to
body.
Fasten off and leave a long tail for attaching
Side/top fin (make 3)
Color: Teal
Round 1: MR [6]
Round 2: (sc in the next 2 sts, inc) repeat [8]
Round 3: (sc in the next 2 sts, inc) repeat [10]
Round 4: sc all around [10]
Round 5: (sc in the next 4 sts, inc) repeat [12]
Round 6: sc all around [12]
Round 7: sc in the next 5 sts, inc) repeat [14]
Round 8: sc all around [14].
No stuffing needed. Fasten off and leave a long tail to attach it to the tip of body.
Propeler
Color: White
Round 1: MR [6]
Round 2: inc in each sts [12]
Round 3-4: sc all around [12]
Round 5: (sc in the next 4 sts, dec) repeat [10]
Round 6-7: sc all around [10]
Round 8: (sc in the next 3 sts, dec) repeat [8]
Round 9: sc all around [8]
Round 10: (sc in the next 2 sts, dec) repeat [6].
No stuffing needed.
Fasten off and leave a long tail to attach it to the nozzle/body.
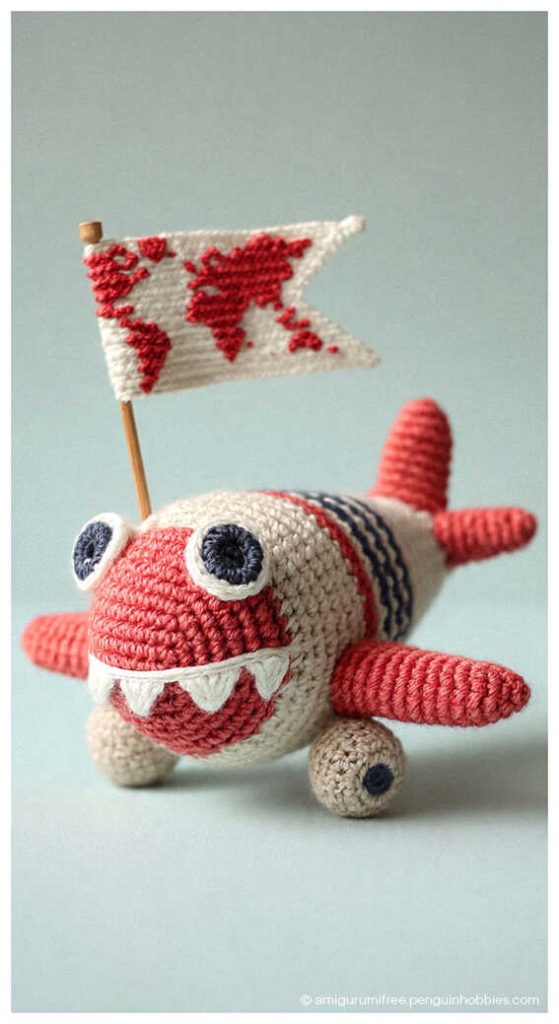
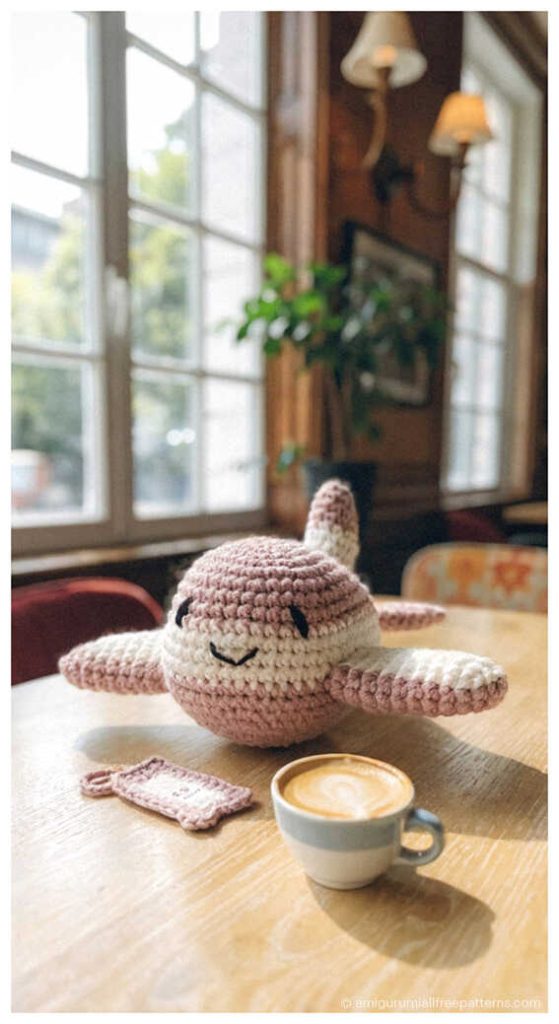
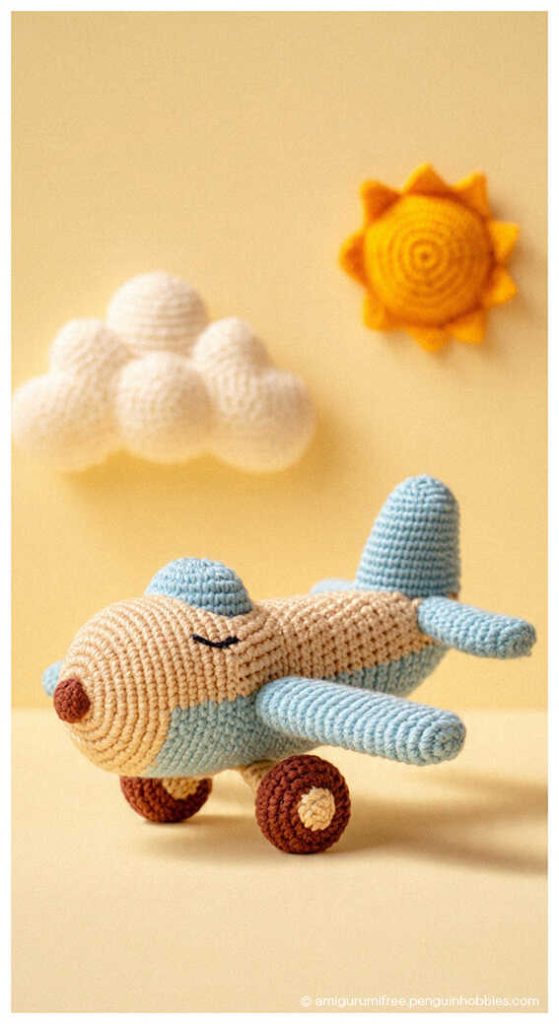
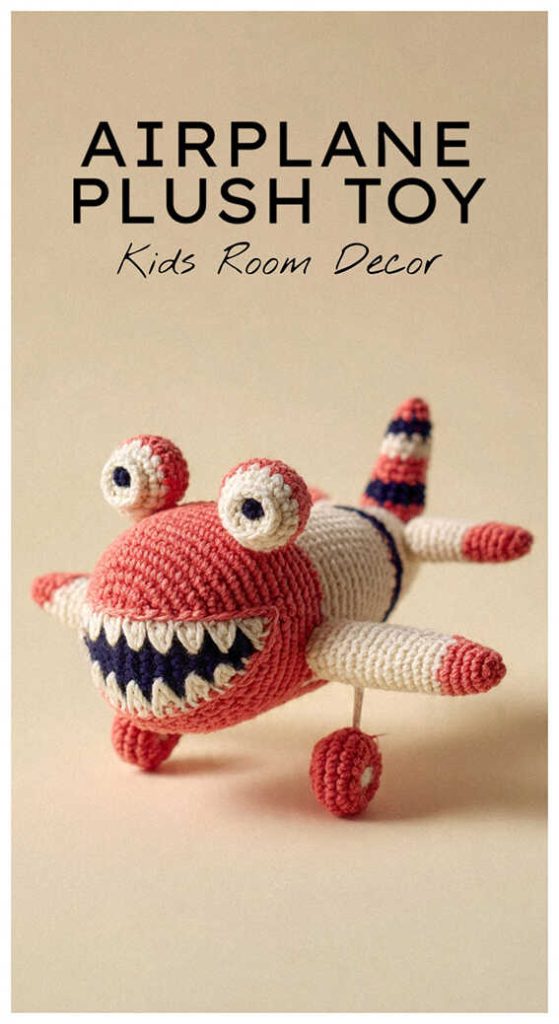
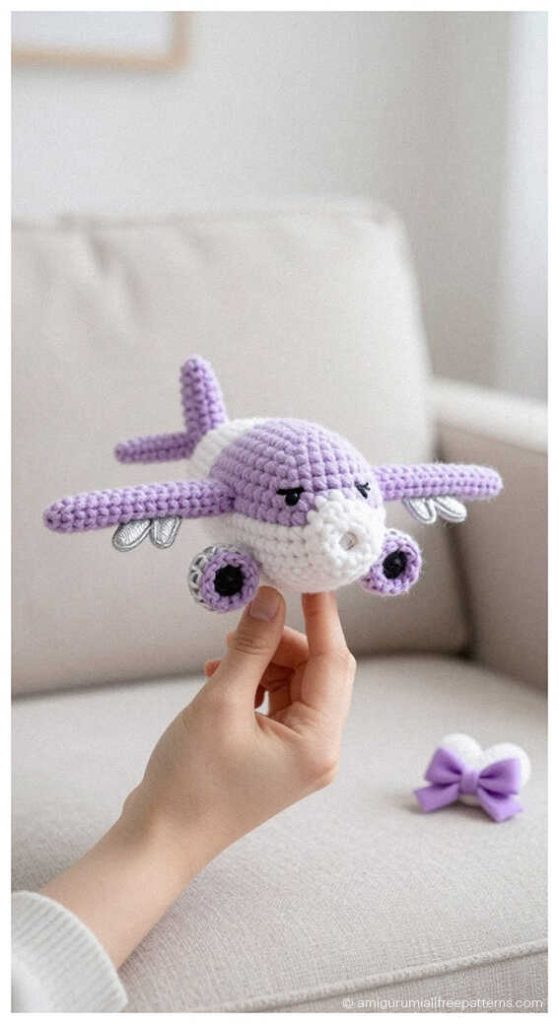
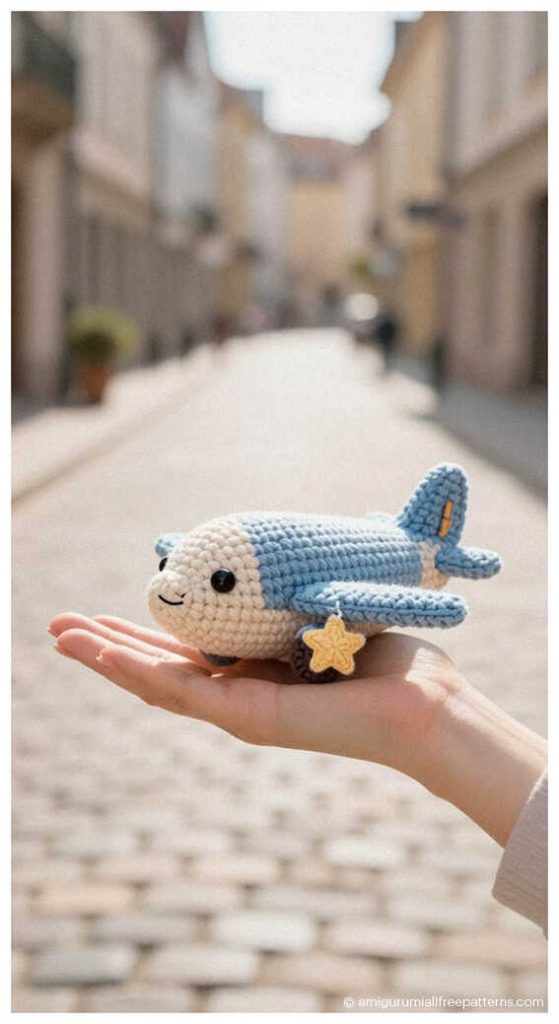
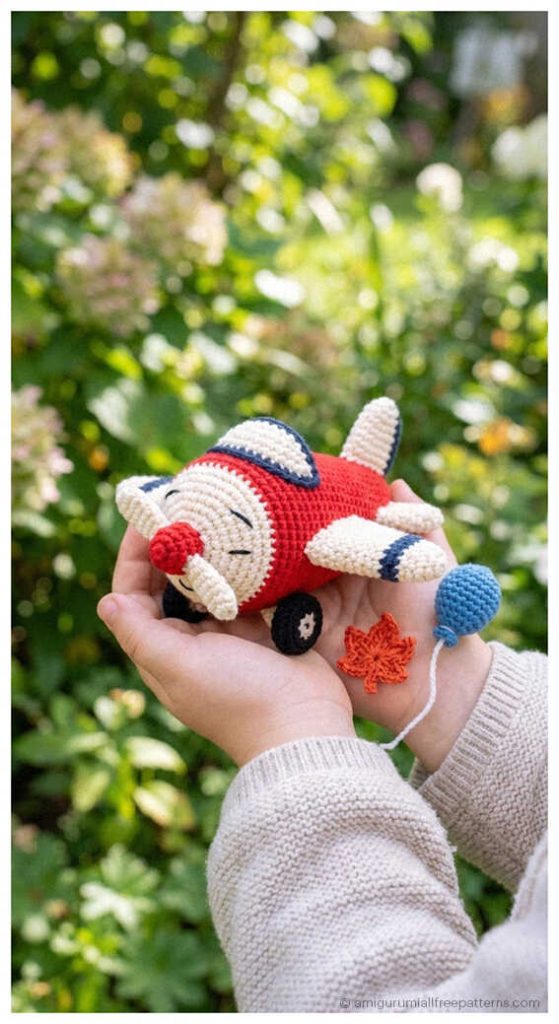
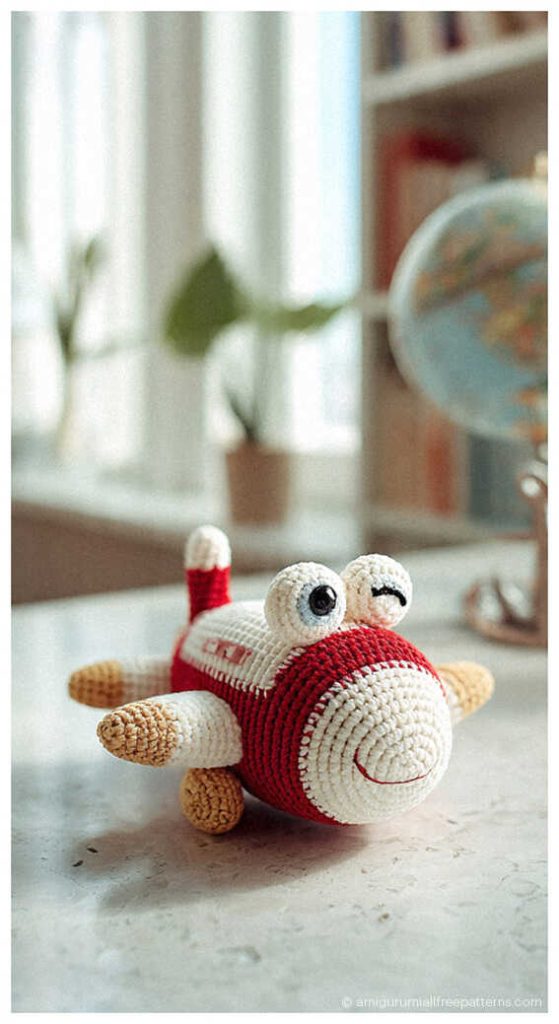
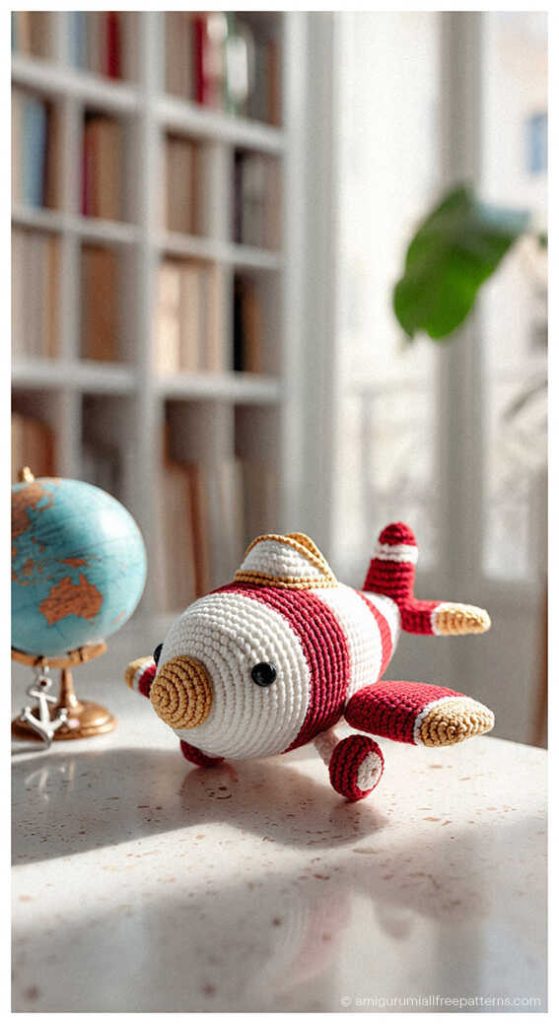
Airplane Amigurumi Gift & Nursery Ideas