Amigurumi Car Crochet Free Pattern
Designer: Nadezhda Kosmakova
Etsy Shop: MyJoyKnitting
Ravelry Store: Nadezhda Kosmakova
Hello dear friends…
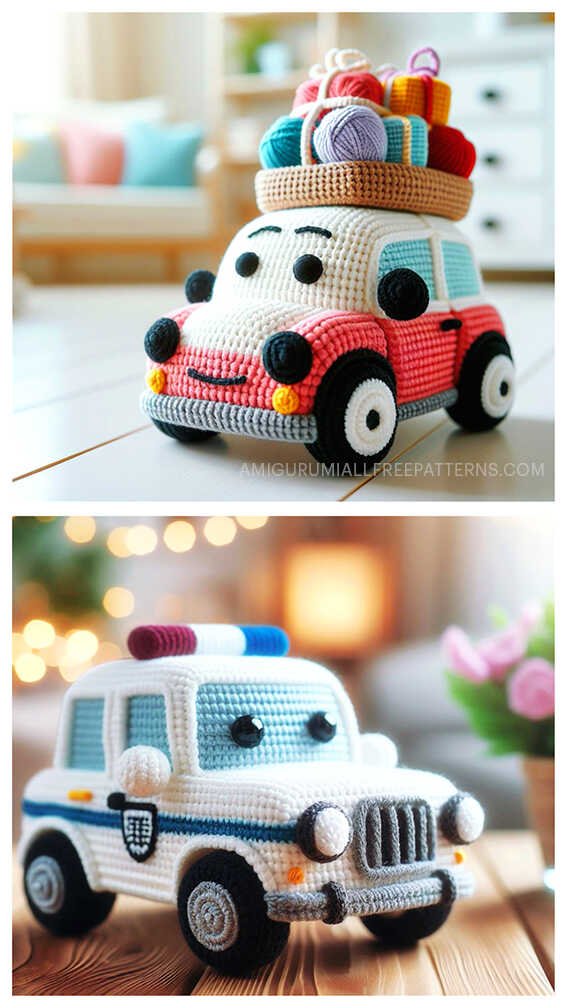
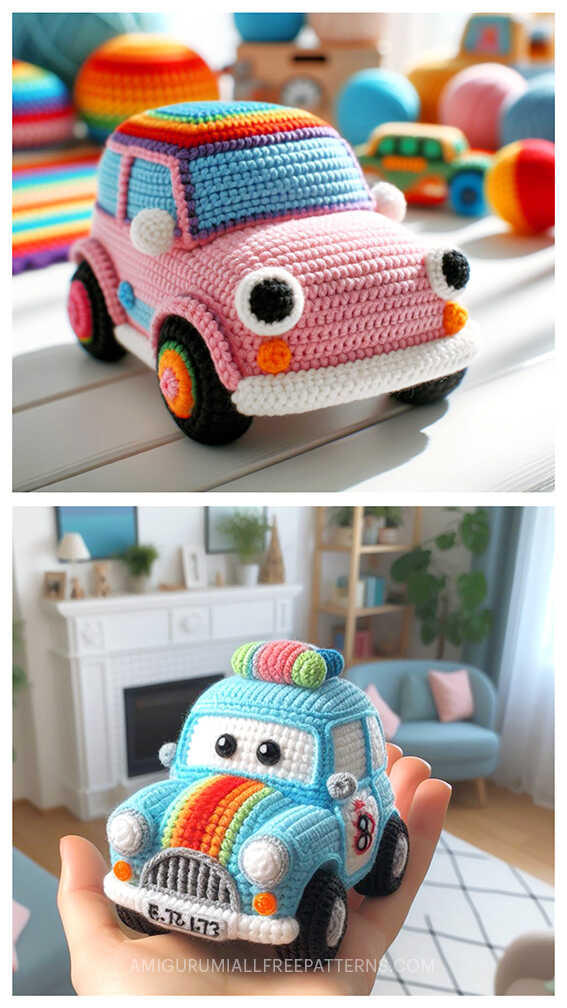
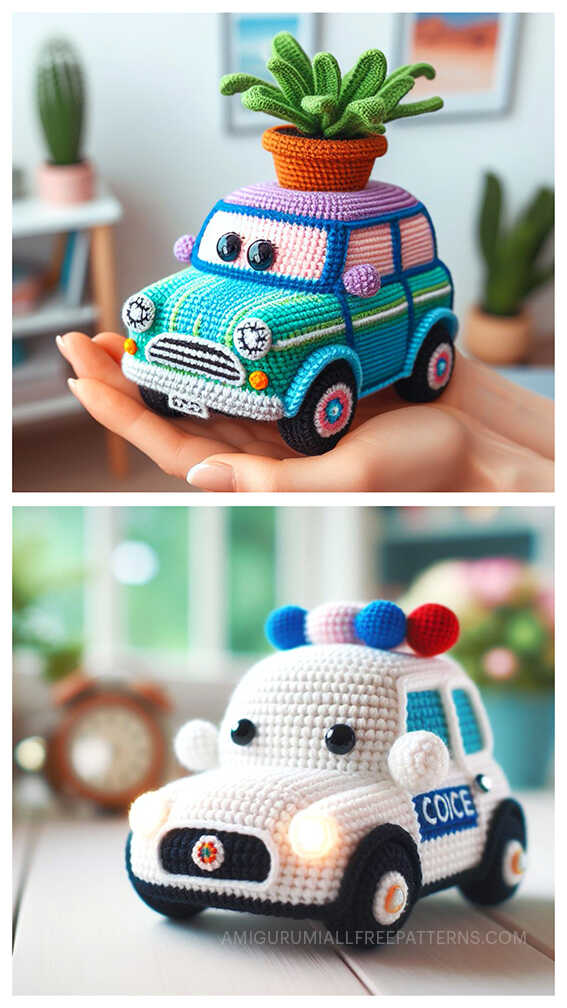
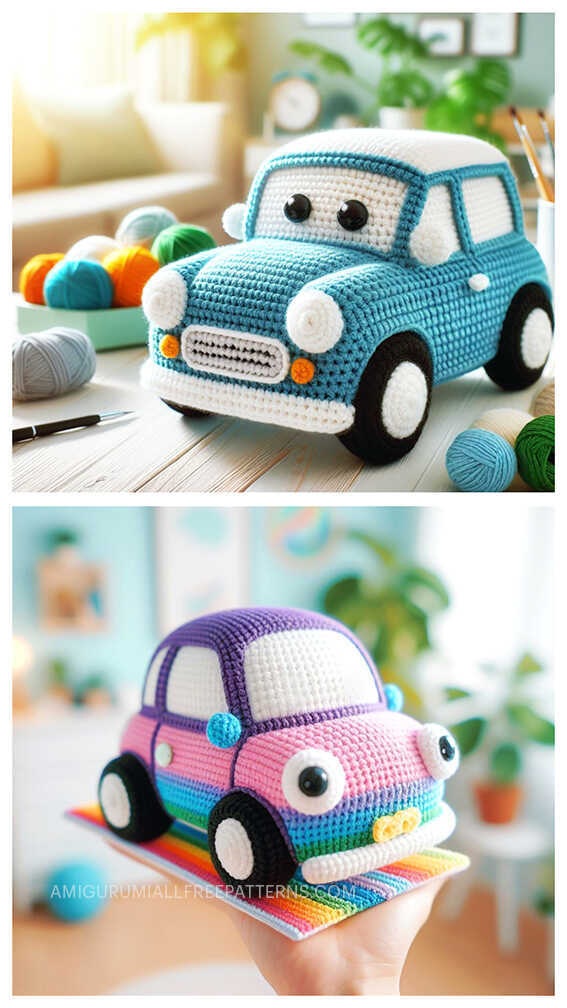
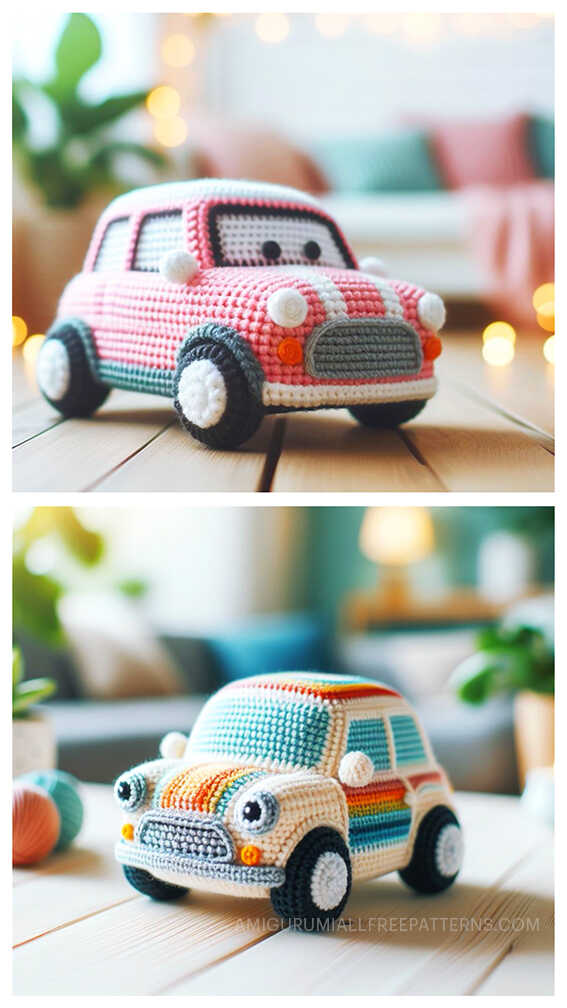
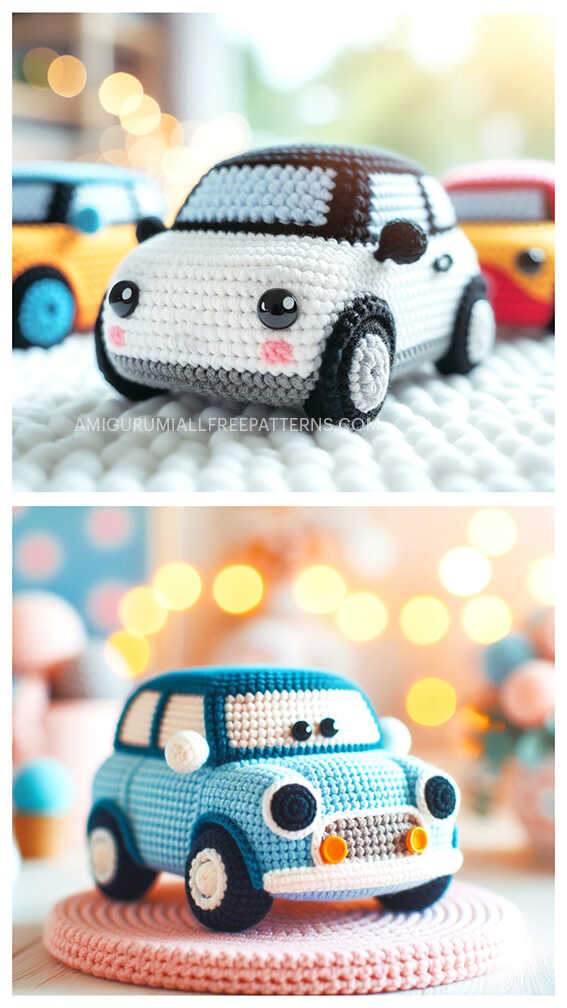
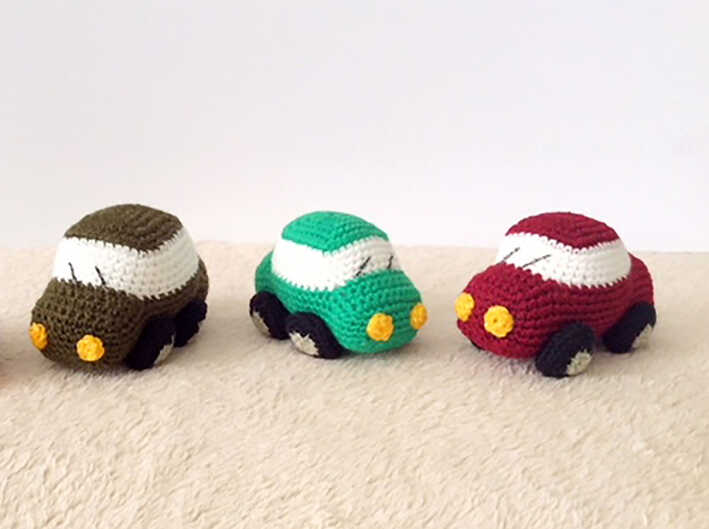
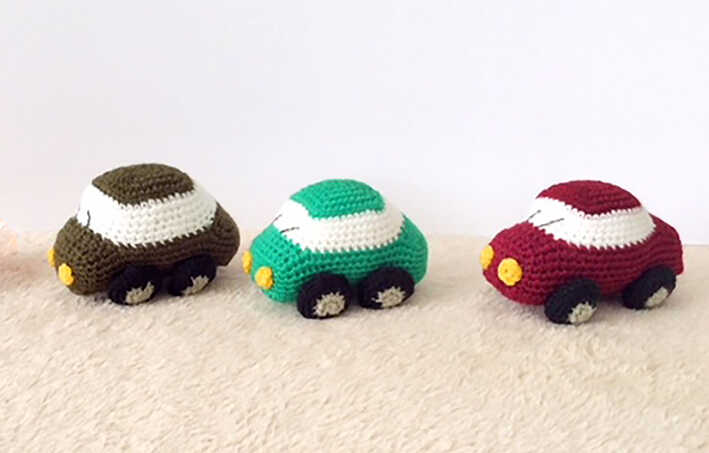
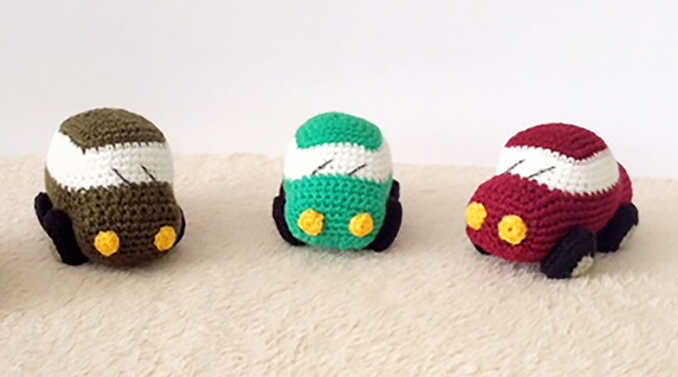
One of the free amigurumi crochet patterns we will share today is the car, whose photos and design belong to Nadezhda Kosmakova. You can learn how to crochet these car using the free amigurumi pattern. With the yarn and hook specified car measures approximately 2”×4”(5×9cm). Thanks to dear Nadezhda Kosmakova for this cute car.
Amigurumi cats, amigurumi dolls, amigurumi dogs, amigurumi unicorns, amigurumi lambs, amigurumi dinosaurs, amigurumi foxes, amigurumi bears, amigurumi giraffes, amigurumi pigs, amigurumi birds, amigurumi penguins, amigurumi panda, amigurumi llama, amigurumi bunny, amigurumi clowns, amigurumi elephants, amigurumi hippos, amigurumi monkeys will not be difficult for you…
Materials
On 10 gr. brown, white, black, gray, yellow fingering acrylic yarn (100g-438mt)
Crochet hook size 10 US steel (1.3mm)
Polyester toy stuffing
Wooden sticks for stuffing
Scissors
Large yarn needle
Stitch marker
Pipe cleaners (chenille stems)
Abbreviation
rnd – round
MR – magic ring (magic circle, magic loop)
ch – chain
sc – single crochet
inc – increase (2sc in next stitch)
dec – decrease (2sc off together)
sl st – slip stitch(es)
sts – stitches
hdc – half double crochet
dc – double crochet
tr – treble crochet
dtr – double treble crochet
blo – back loops only
flo – front loops only
( ) – round brackets indicate: a group of stitches to be worked in to the same stitch or space, or the amount of stitches you should have or completion of the round or row it follows, or explanatory notes within the pattern
[ ] – square brackets contain a group of stitches to be worked the amount of times indicated after the brackets
“ – inches
Notes:
This pattern works in continuous spiral round; do not join rounds unless otherwise stated.
Mark the first stitch of each round by using a stitch-marker or a piece of yarn between two stitches.
A magic ring is a way to begin crocheting in the round by crocheting over an adjustable loop and then pulling the loop tight. The advantage of the magic ring method (below, right) is that, unlike the regular “chain 2, x single crochet in 2nd chain from hook” method (below, left), there is no hole left in the middle of your starting round.
AMIGURUMI CAR FREE PATTERN
Roof
Take the brown yarn:
Rnd 1 in a MR, sc 4 (4sc)
Rnd 2 3 sc. in each stitch from last round (12sc)
Rnd 3 1 sc,[ 3 sc in the next stitch,2 sc] 3 times, 3 sc in the next stitch,1 sc (20sc)
Rnd 4 2 sc,[ 3 sc in the next stitch,4 sc] 3 times, 3 sc in the next stitch,2 sc (28sc)
Rnd 5 3 sc,[ 3 sc in the next stitch,6 sc] 3 times, 3 sc in the next stitch,3 sc (36sc)
Rnd 6 4 sc,[ 3 sc in the next stitch,8 sc] 3 times, 3 sc in the next stitch,4 sc (44sc)
End with a slip stitch. Cut the yarn with scissors.
It forms a square
Take the white yarn:
Rnd 1 44 sc crochet BLO ( only this round )
Rnds 2-5 sc in each st around ( 4 rounds )(44sc)
End with a slip stitch. Cut the yarn with scissors
Hood and Bumper
Start with brown yarn. On opposite sides turning rows.
Row 1 11 sc crochet FLO ( only this round ) , ch st, turn
Rows 2-4 11 sc in each st loop previous row , ch st, turn
Row 5 11 sc in each st loop previous row .
On the one hand, trim the thread, with not cut the other, continue
Crochet in a spiral, i.e. at the end of the row sl st is not needed.
Rnds 1-5 sc in each st around ( 5 rounds ) (64sc)
Next, knit the bottom of the machine.
Now we knit on one of the long sides, turning the rows , ch st, turn each row, except the last.
Rows1-11 sc in each st row (21sc)
Fasten off, leave a long enough tail. We sew on three sides, gradually filling and shaping the car.
Wheels (make 4)
Use gray yarn.
Rnd 1 in a MR, sc 6 (6sc)
Rnd 2 2 sc. in each stitch from last round (12sc)
Rnd 3 black yarn [1 sc, 2 sc in the next stitch] 6 times (18sc
Rnd 4 [1 sc in next 2 stitches, 2 sc in the next stitch] 6 times (24sc)
Rnd 5 24 sc crochet BLO ( only this round )
Rnd 6 [2 sc, dec 1 sc in next 2 sc] 6 times (18sc)
Rnd 7 [1 sc, dec 1 sc in next 2 sc] 6 times (12sc) a little stuff,
Rnd 8 [dec] (6sc)
Fasten off, leave a long enough tail.
Sew the wheels to the car.
Lights (make 2)
Use yellow yarn.
Rnd 1 in a MR, sc 6 (6sc)
End with a slip stitch and fasten off, leave a long enough tail.
Sew the lights to the car.
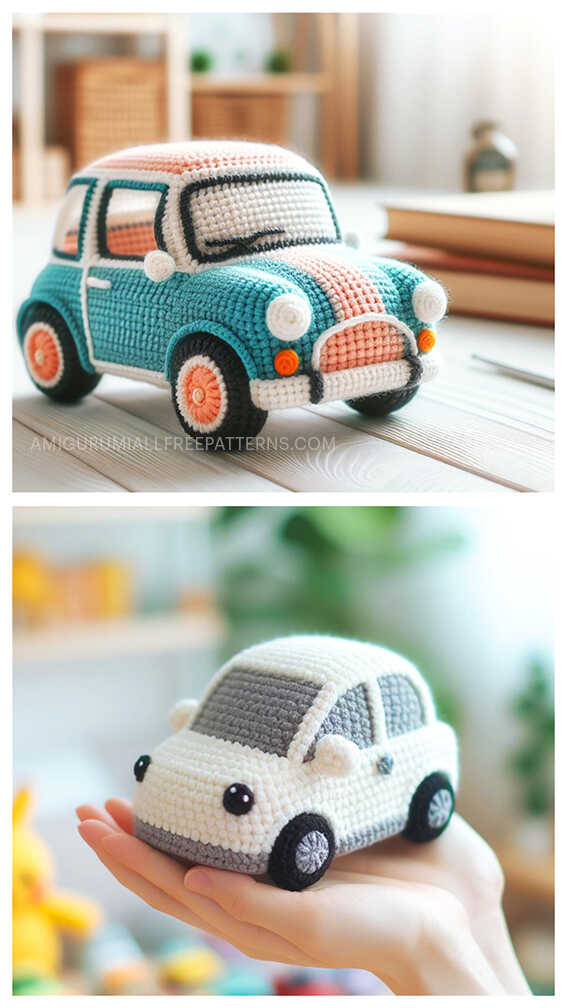
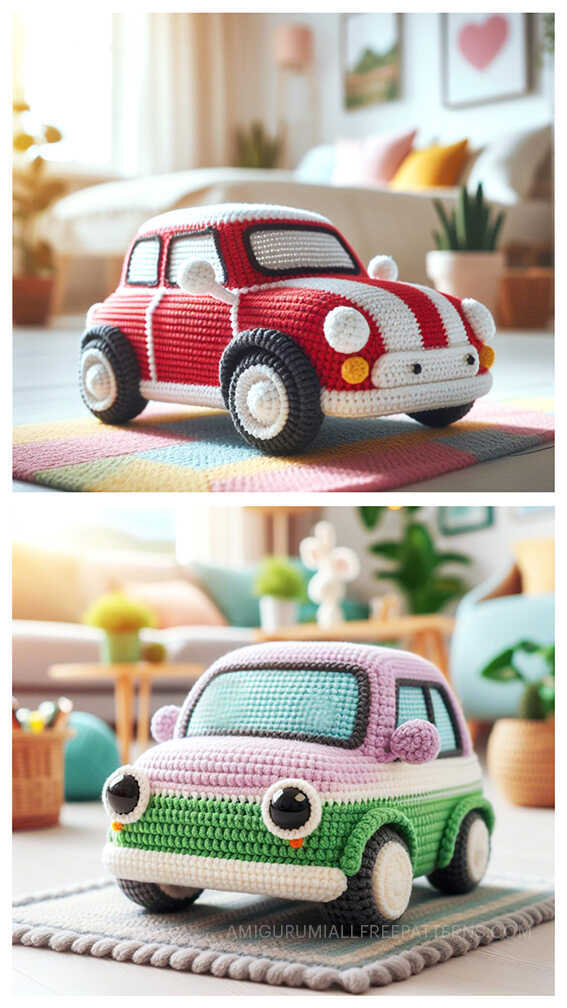
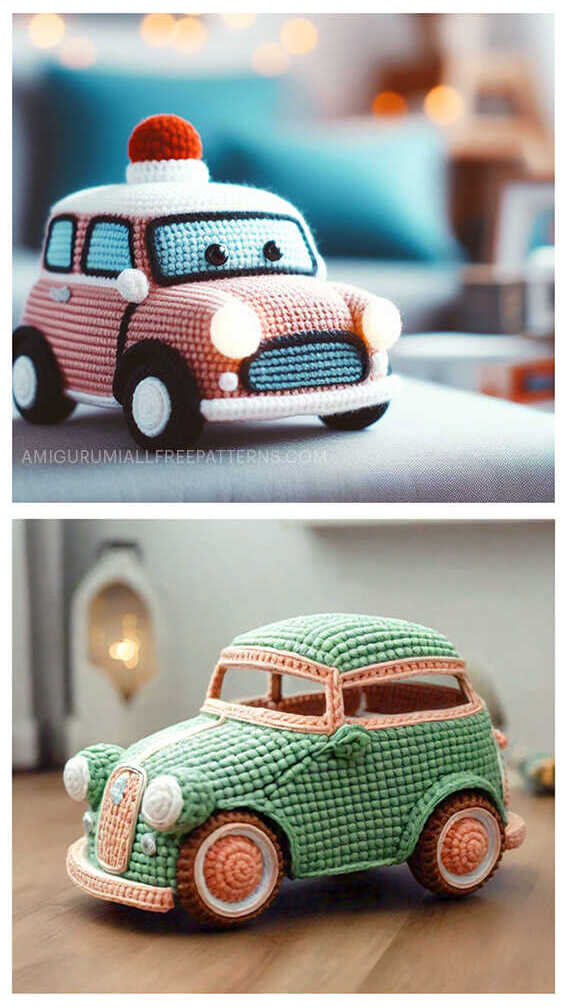
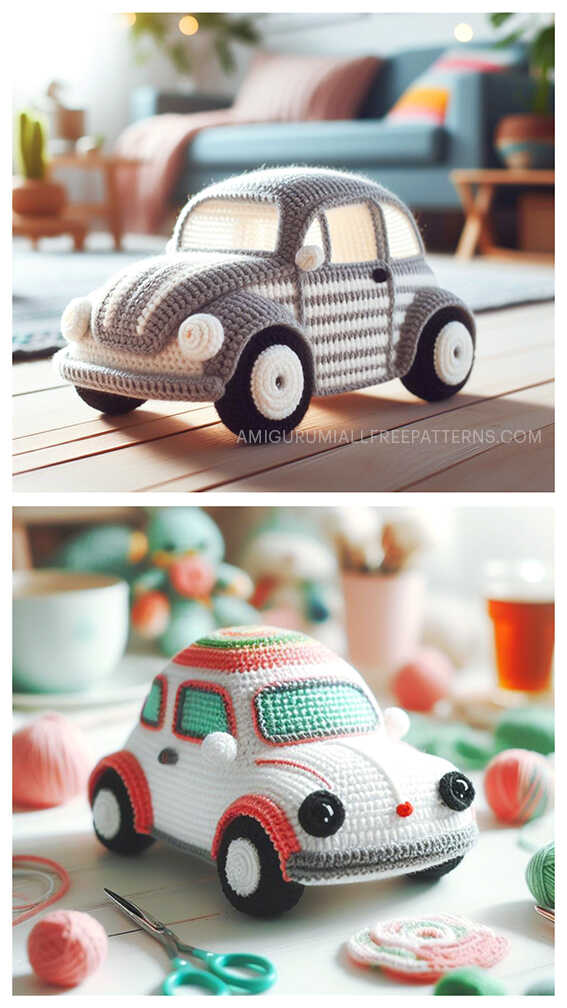
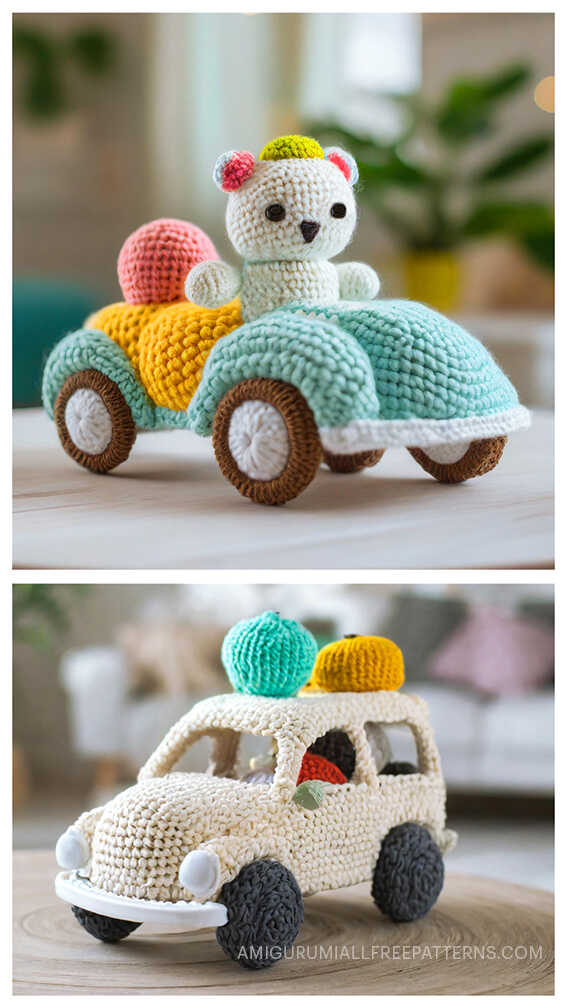
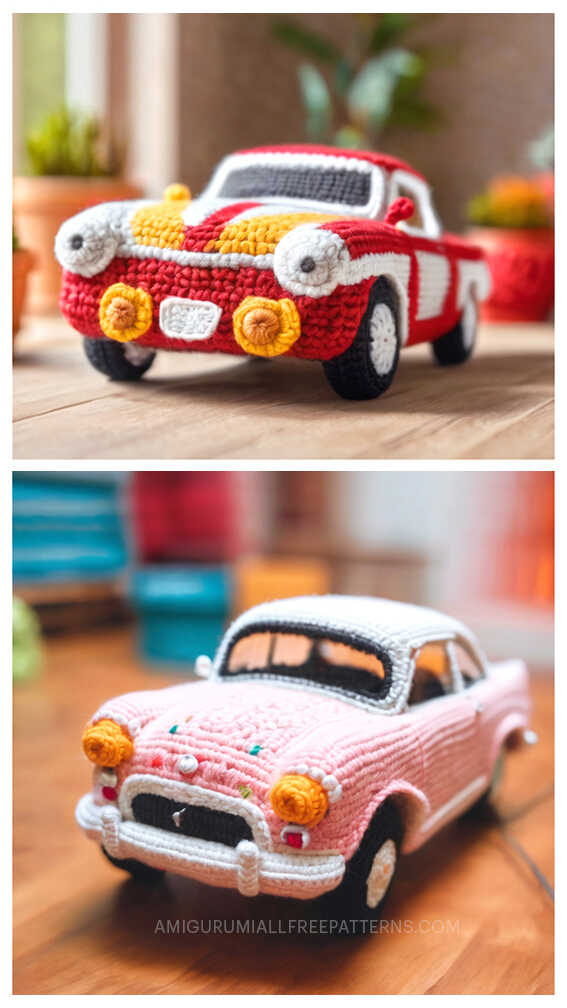
More amigurumi car ideas: