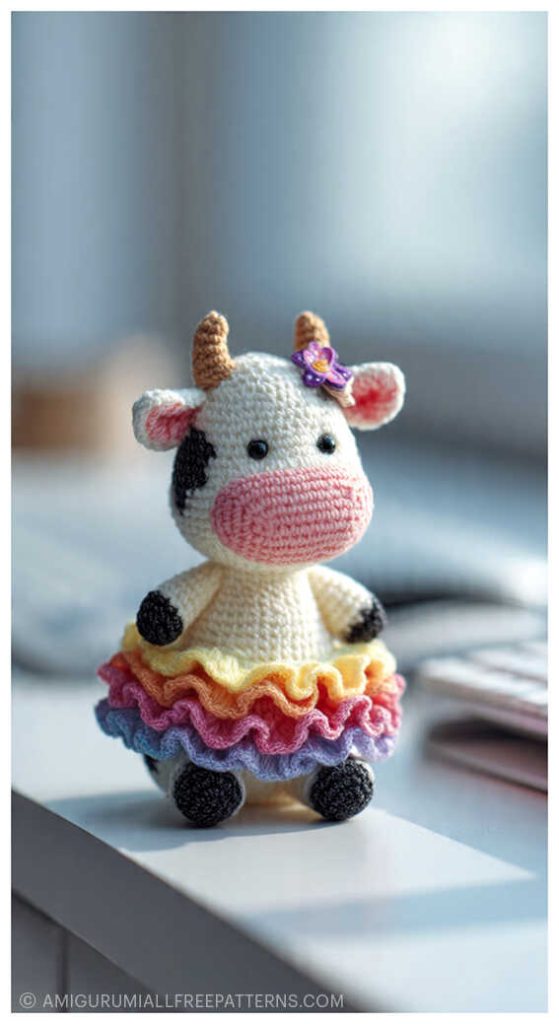
Amigurumi Cow Crochet Free Pattern
Designer: Knitted Toys by Elena
VK: @knitted toys by Elena
Grab your yarn and get cozy — a new amigurumi adventure awaits…
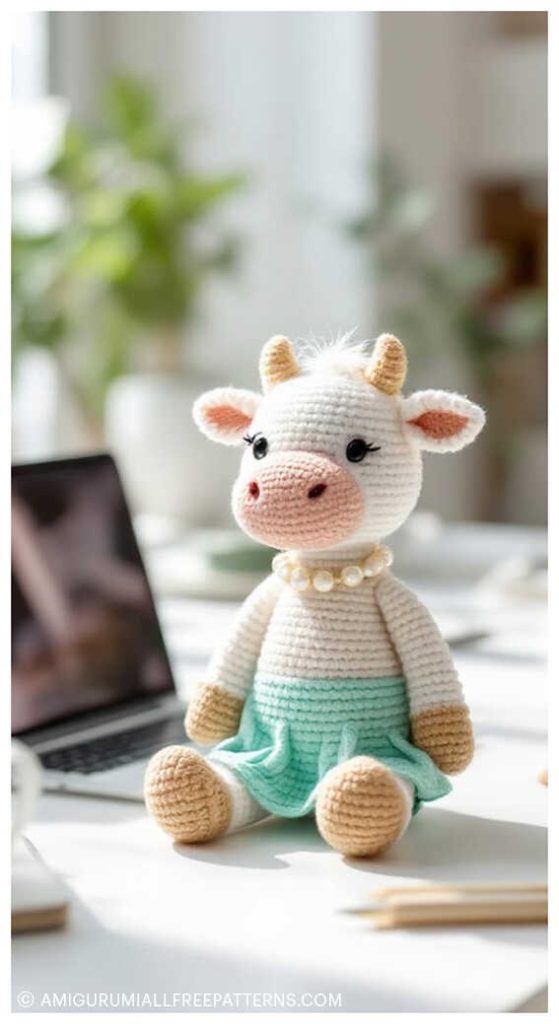
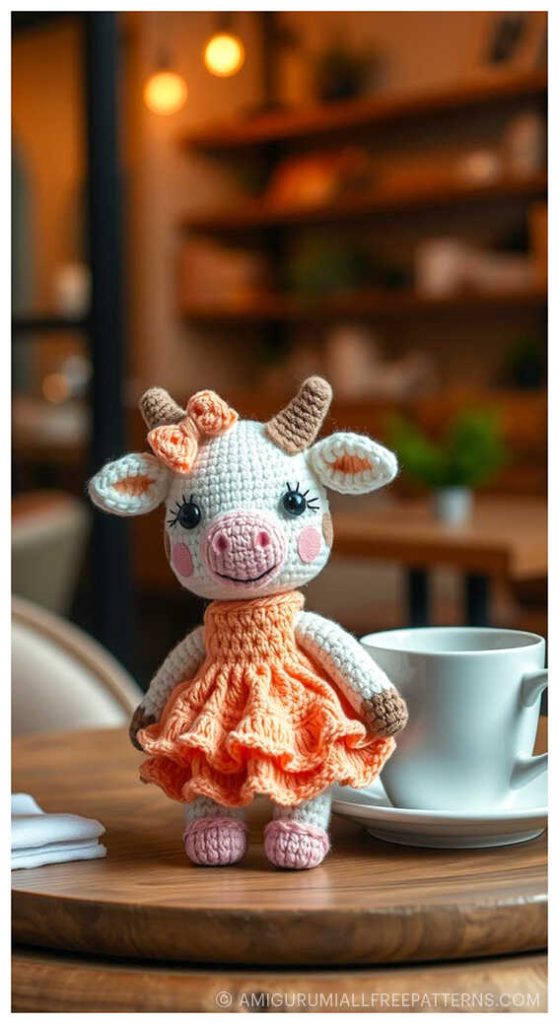
Create your own charming barnyard friend with this Amigurumi Cow Crochet Free Pattern, beautifully designed by Elena Emelyanova of Knitted Toys by Elena. This master class guides you step by step through stitching a soft and cuddly cow using light gray yarn for the body, dark gray yarn for accents, pink yarn for details, fluffy yarn like Alize Softy or Adelia Sofia for the muzzle and belly, a crochet hook, safety eyes, embroidery thread, stuffing, a sewing needle, and scissors. Whether you’re crafting for your shop, a gift, or your amigurumi collection, this adorable cow is perfect for Pinterest inspiration and blog readers looking for a cute farm-themed project.
A warm thank-you to Elena Emelyanova for sharing such a delightful and detailed design. After the full pattern, you’ll also find a curated selection of beautiful amigurumi cow ideas to spark even more creativity. Save, share, and enjoy bringing this sweet crochet friend to life one step at a time!
Materials
- Light gray yarn (for the body)
- Dark gray yarn (for accents)
- Pink yarn (for details)
- Soft fluffy yarn (such as Alize Softy or Adelia Sofia) for the muzzle and belly
- Crochet hook
- Safety eyes
- Embroidery thread for detailing
- Stuffing
- Sewing needle
- Scissors
Abbreviations (US Terms)
- AM – magic ring
- ch – chain
- sc – single crochet
- inc – increase
- dec – decrease
- sl st – slip stitch
- (…) x n – repeat n times
AMIGURUMI COW FREE PATTERN
Legs (make 2)
R1: 6 sc in AM
R2: (1 sc, inc) x 3 (9)
R3–R6: 9 sc
R7: (2 sc, inc) x 3 (12)
R8–R11: 12 sc
R12: (3 sc, inc) x 3 (15)
R13–R15: 15 sc
Body
R1: On the first leg crochet 15 sc, then 6 sc across the chain space, 15 sc on the second leg, 6 sc across the chain space (42)
R2: Mark 12 stitches in the front, then crochet 1 sc, inc x 6 (48)
R3: You may begin stuffing the legs now or stuff later as you prefer.
R4: 48 sc for 6 rounds total
R5: (6 sc, dec) x 6 (42)
R6: 42 sc for 4 rounds
R7: (5 sc, dec) x 6 (36)
R8: 36 sc for 3 rounds
R9: (4 sc, dec) x 6 (30)
R10: 30 sc for 4 rounds
R11: (3 sc, dec) x 6 (24)
R12: (2 sc, dec) x 6 (18)
R13: (1 sc, dec) x 6 (18)
Do not cut the yarn here. Continue directly into the head.
Head
R1: 12 inc (24)
R2: (3 sc, inc) x 6 (30)
R3: (4 sc, inc) x 6 (36)
R4: (5 sc, inc) x 6 (42)
R5: (6 sc, inc) x 6 (48)
R6: (7 sc, inc) x 6 (54)
R7: (8 sc, inc) x 6 (60)
R8: 60 sc for 10 rounds
R9: (8 sc, dec) x 6 (54)
R10: (7 sc, dec) x 6 (48)
R11: (6 sc, dec) x 6 (42)
R12: (5 sc, dec) x 6 (36)
R13: (4 sc, dec) x 6 (30)
R14: (3 sc, dec) x 6 (24)
R15: (2 sc, dec) x 6 (18)
R16: (1 sc, dec) x 6 (12)
R17: 6 dec
Fasten off and weave in the end.
Nose (black yarn)
R1: 6 sc in AM
R2: 1 sc, inc
R3: 2 sc, 3 sc in one stitch, 4 sc, 3 sc in one stitch
Fasten off. Leave a long tail for sewing. Stuffing is optional.
Arms (make 2)
R1: 6 sc in AM
R2: (1 sc, inc) x 3 (9)
R3: 9 sc for 18 rounds total
Fasten off. Leave a tail for sewing.
Eye Patches (make 2)
R1: ch 2
R2: 1 sc, ch 1
R3: inc, ch 1
R4: inc, 1 sc, ch 1
R5: inc, 2 sc, ch 1
R6: inc, 3 sc, ch 1
R7: inc, 4 sc, ch 1
R8: inc, 5 sc, ch 1
R9: 6 sc, inc, ch 1
R10: inc, 7 sc, ch 1
R11: inc, 8 sc, ch 1
R12: 9 sc, inc, ch 1
R13: 11 sc
R14: skip 1 stitch, 10 sc
R15: skip 1 stitch, 9 sc
R16: skip 1 stitch, 8 sc
Without cutting the yarn, crochet around the patch. You should have 14 stitches around each long side
Make 2 identical patches.
Tail
Use dark gray and light gray yarn.
R1 (dark gray): 6 sc in AM
R2: 6 inc (12)
R3: (1 sc, inc) x 6 (18)
R4: 18 sc for 6 rounds
R5 (light gray): 18 sc for 2 rounds
R6 (dark gray): (1 sc, dec) x 6 (12)
R7: 12 sc for 2 rounds
R8 (light gray): 12 sc for 3 rounds
Fasten off. Lightly stuff the bottom of the tail. Leave a tail for sewing.

Ears (make 2)
R1: 6 sc in AM
R2: (1 sc, inc) x 3 (9)
R3: (2 sc, inc) x 3 (12)
R4: 12 sc
R5: (3 sc, inc) x 3 (15)
R6: (2 sc, inc) x 5 (20)
R7: (3 sc, inc) x 5 (25)
Fasten off and leave a long tail for sewing.
Muzzle (Softy yarn)
R1: ch 6
R2: 4 sc, 3 sc in last stitch, 4 sc (11)
R3: 3 sc in one stitch, 4 sc, 3 sc along side, 2 sc, inc, 2 sc
R4: 4 sc, inc x 2, continue to end
R5: 3 sc, inc, 1 sc, inc, 1 sc, inc, 4 sc, inc, 1 sc, inc, 1 sc, inc, 2 sc (25)
Fasten off. Leave a tail for sewing.
Belly
Crochet a circle of any size using the fluffy yarn, depending on how large you want the belly patch.
Assembly
Sew the ears and eye patches with fluffy yarn around the edges.
Attach the eye patches first, then sew the muzzle, nose, and embroidered details.
Sew the head to the body.
Sew the tail to the lower back (stuff lightly).
Sew the arms to the sides of the body.
Embroider eyelashes or facial details if desired.
Decorate as you like.
Stitch Terminology Note
Some abbreviations in the original pattern do not appear in standard English amigurumi terminology. For clarity and ease of use, these terms have been adapted to standard American crochet terminology.
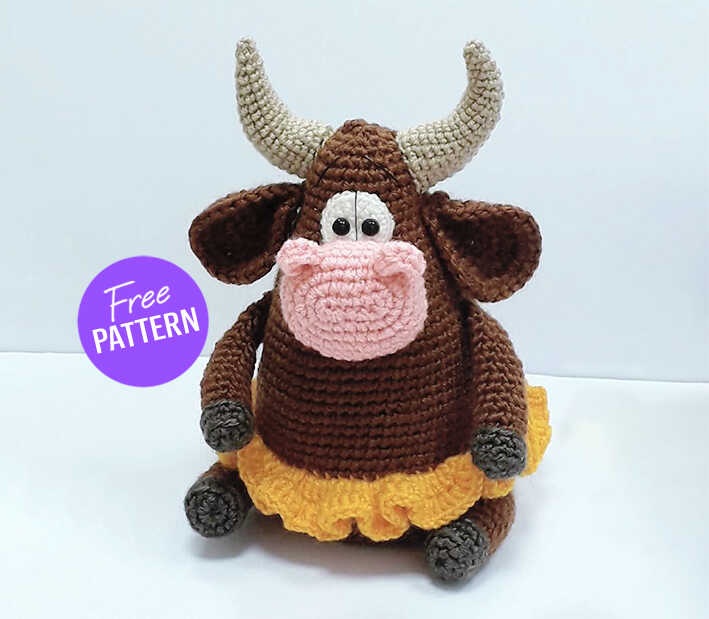
You may also like Amigurumi Little Bull Free Pattern
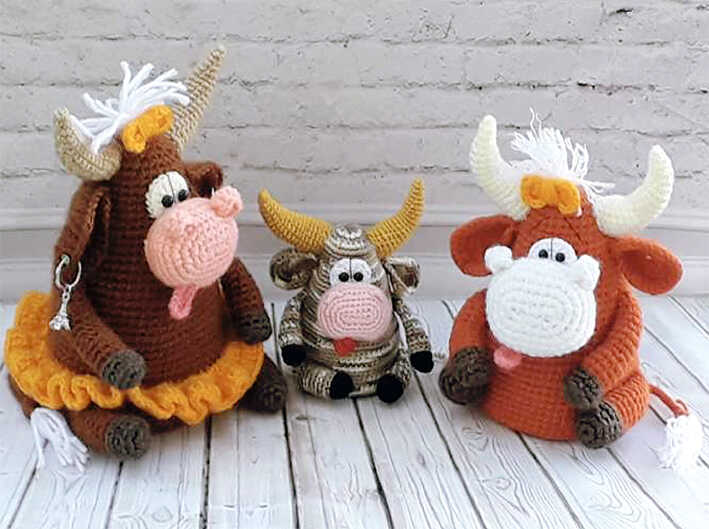
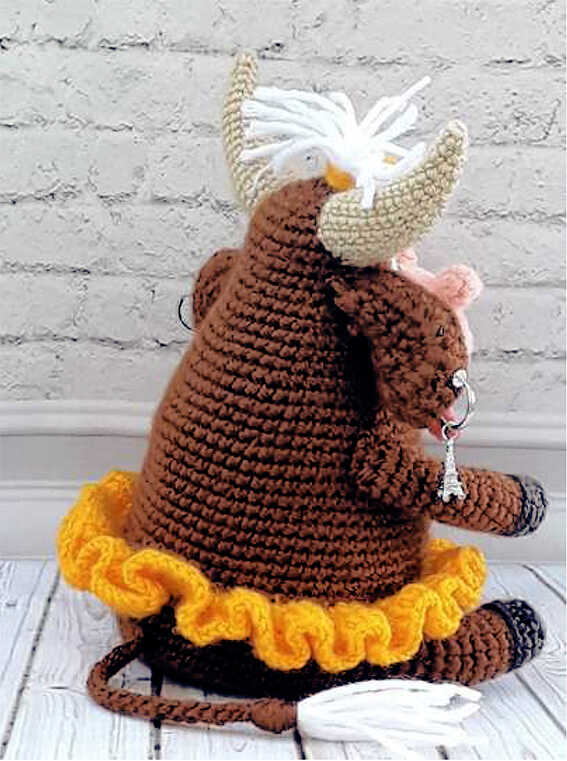
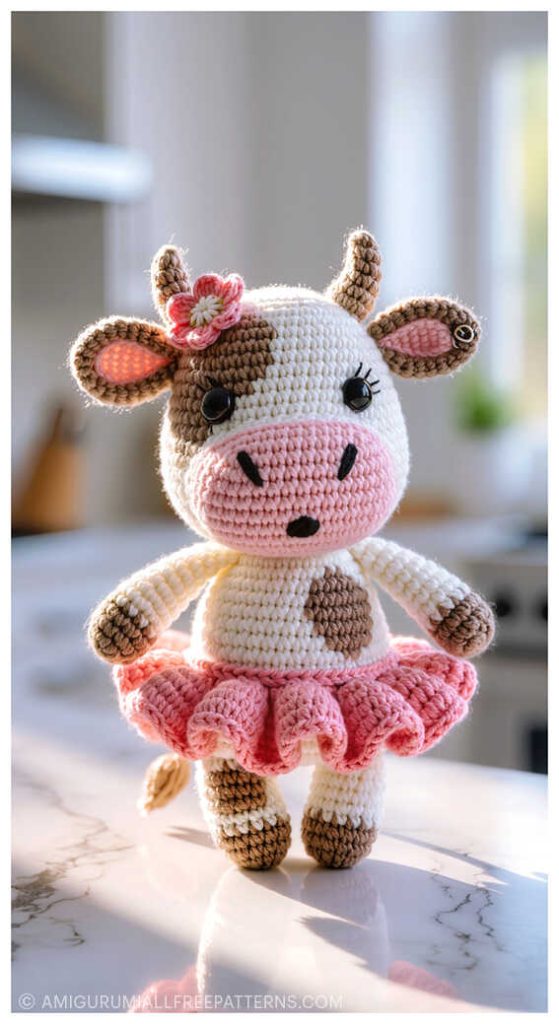
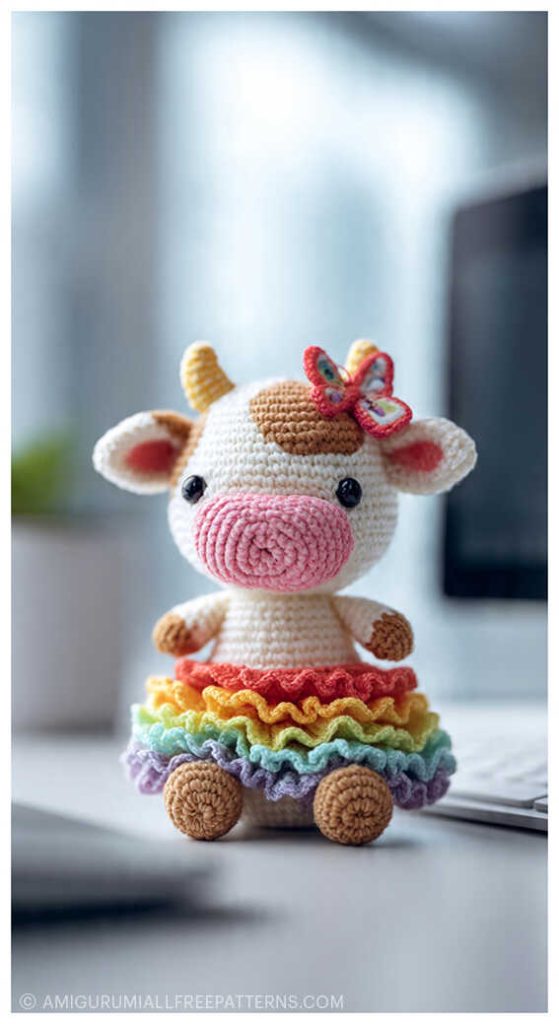
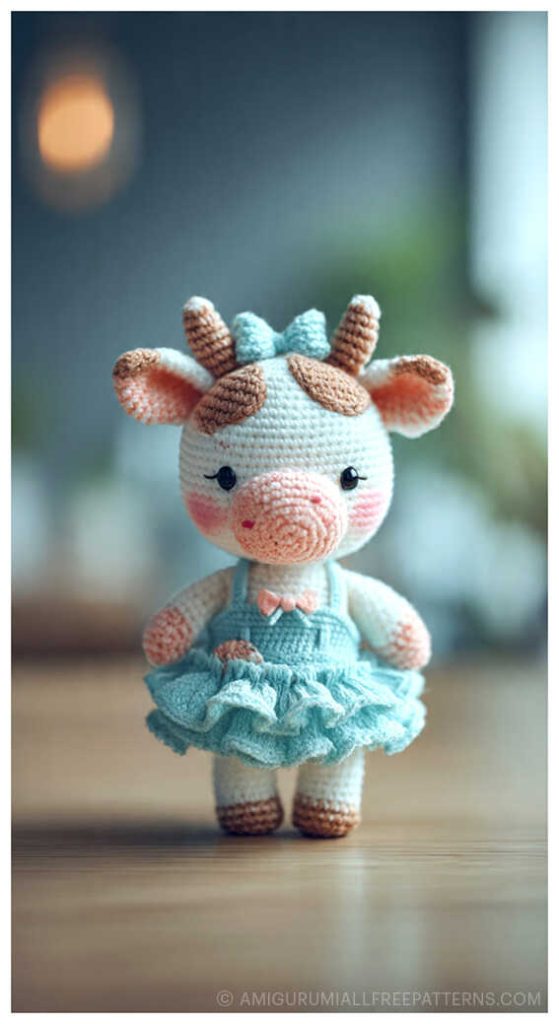
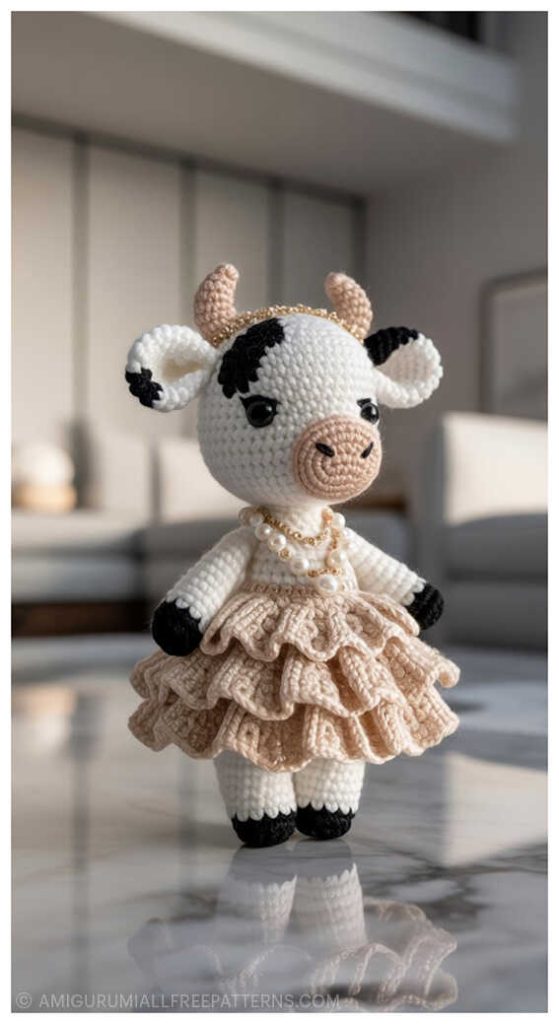
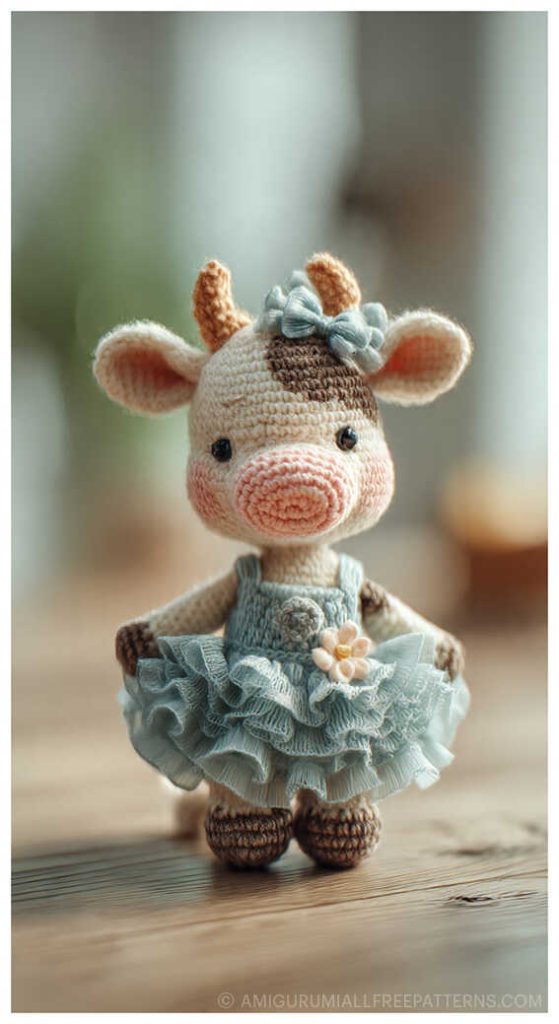
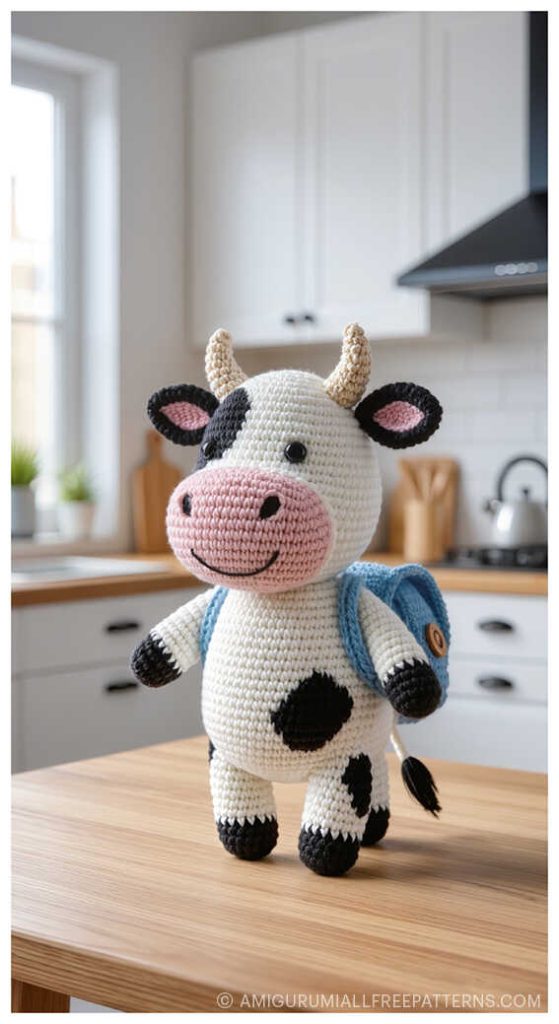
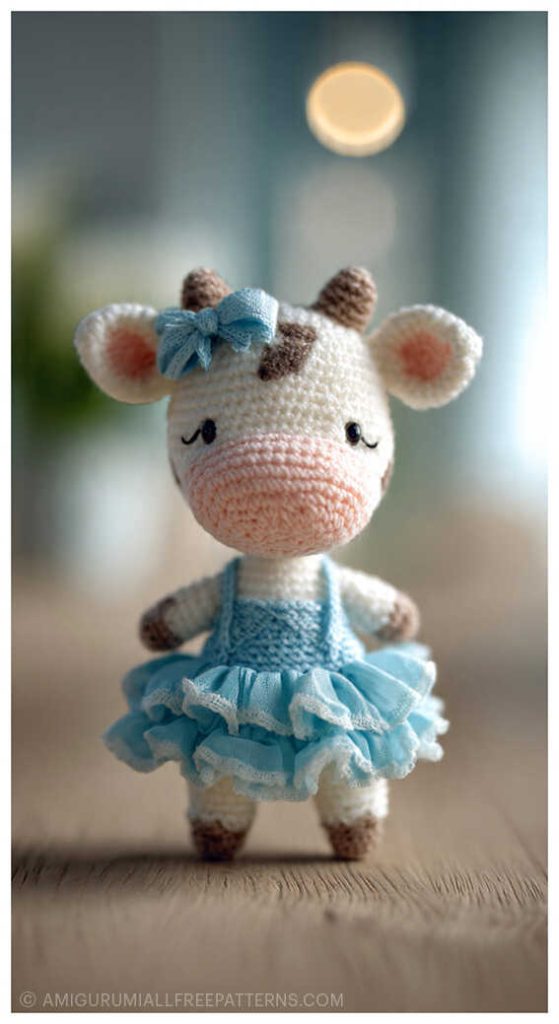
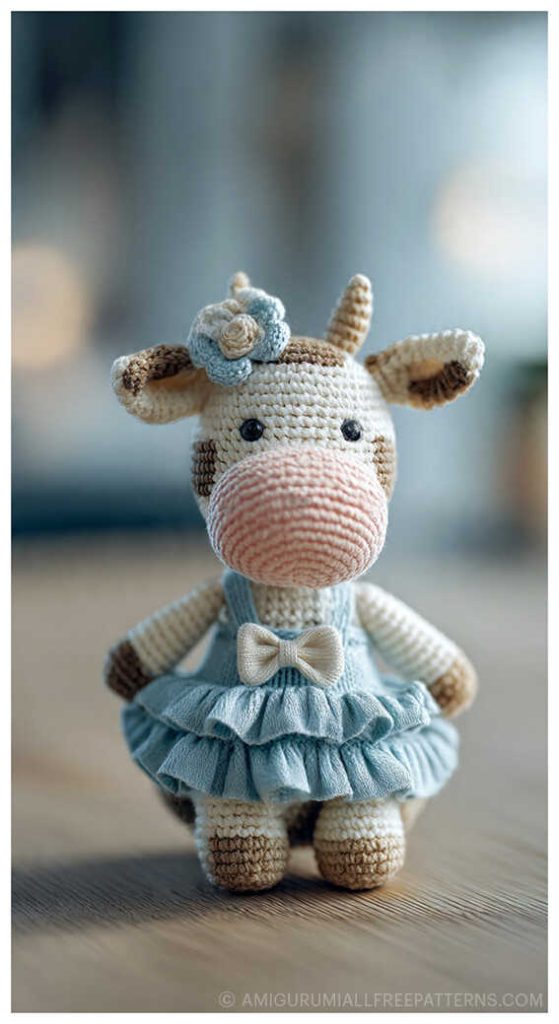
Charming amigurumi cow ideas:


Ready to create your next adorable amigurumi companion?
Explore our collection of free patterns featuring amigurumi cats, amigurumi dolls, amigurumi dogs, amigurumi unicorns, amigurumi birds, amigurumi giraffes, amigurumi dinosaurs, amigurumi penguins, amigurumi bunnys, amigurumi bears, and countless other charming creatures. From simple projects perfect for beginners to intricate designs for experienced crocheters, we’ve got patterns for every skill level.
Join our amigurumi community (Instagram, Facebook, YouTube), unleash your creativity, and bring your favorite crochet characters to life. Follow us for fresh inspiration and new patterns that will keep your hooks busy!
Keywords: free amigurumi patterns, crochet toys, amigurumi animals, beginner amigurumi, amigurumi dolls, crochet free patterns, crochet patterns, easy crochet