Amigurumi Dragon Free Pattern
Designer: Anastasia Makeeva
Hi there...
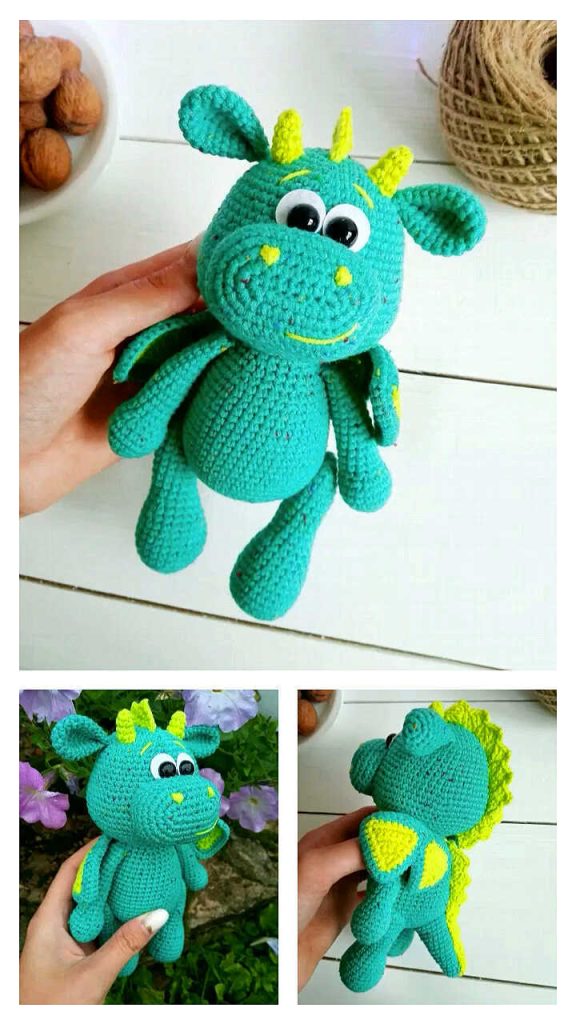
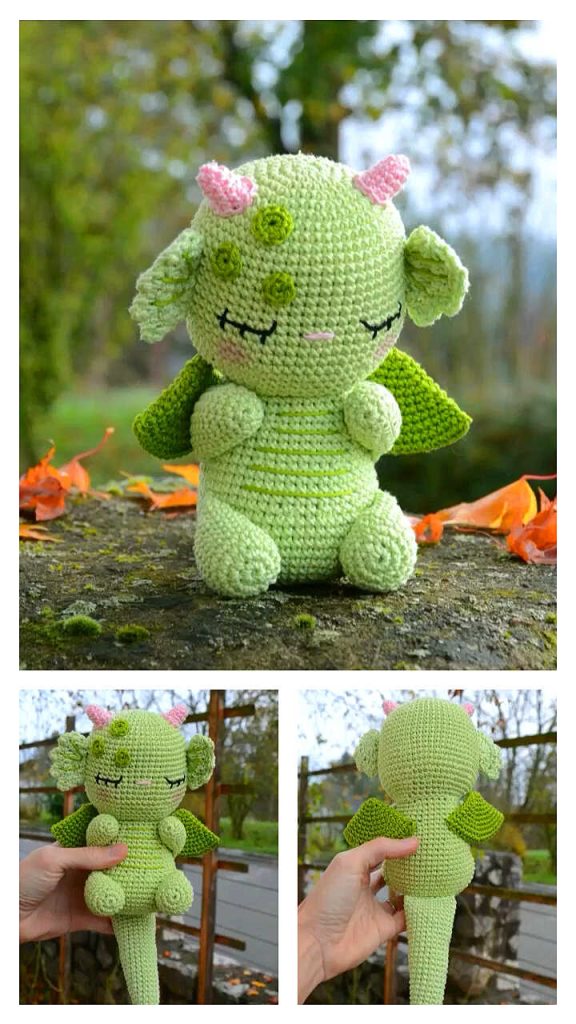
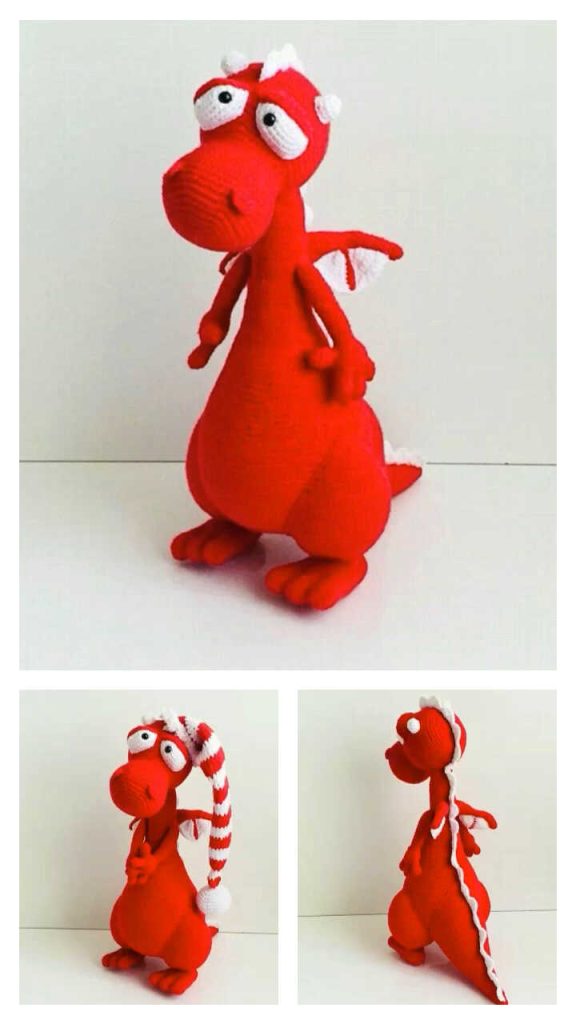
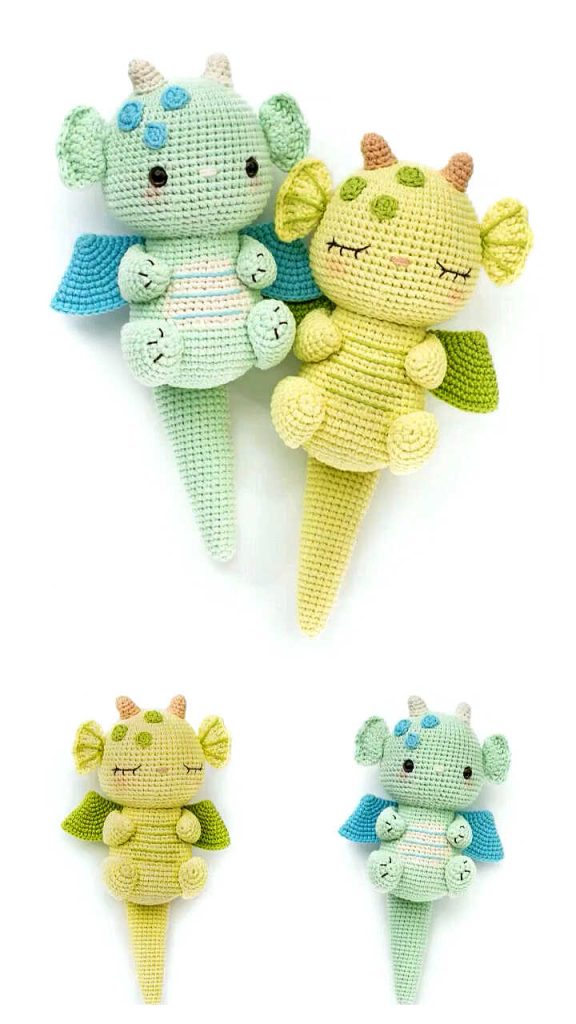
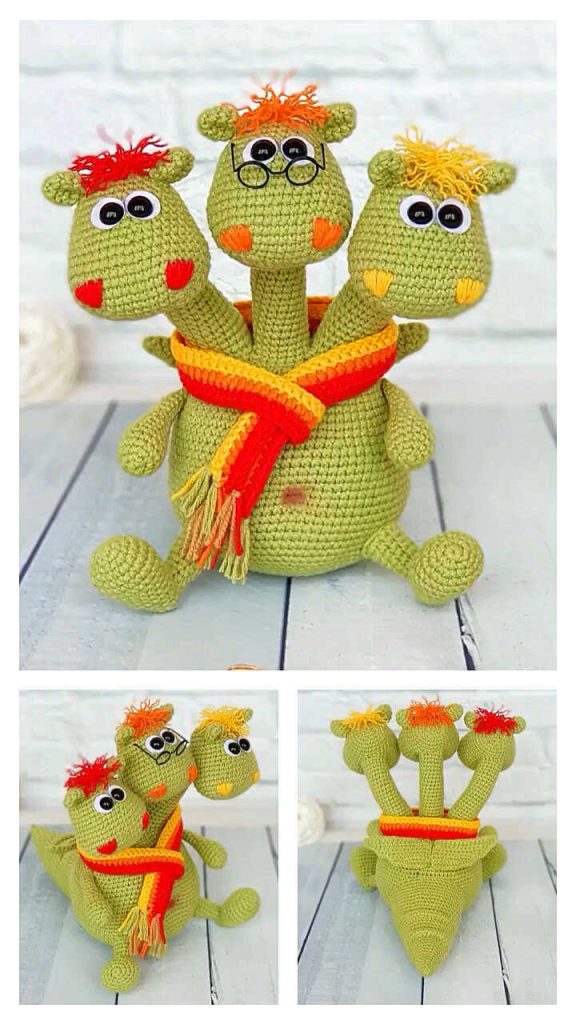
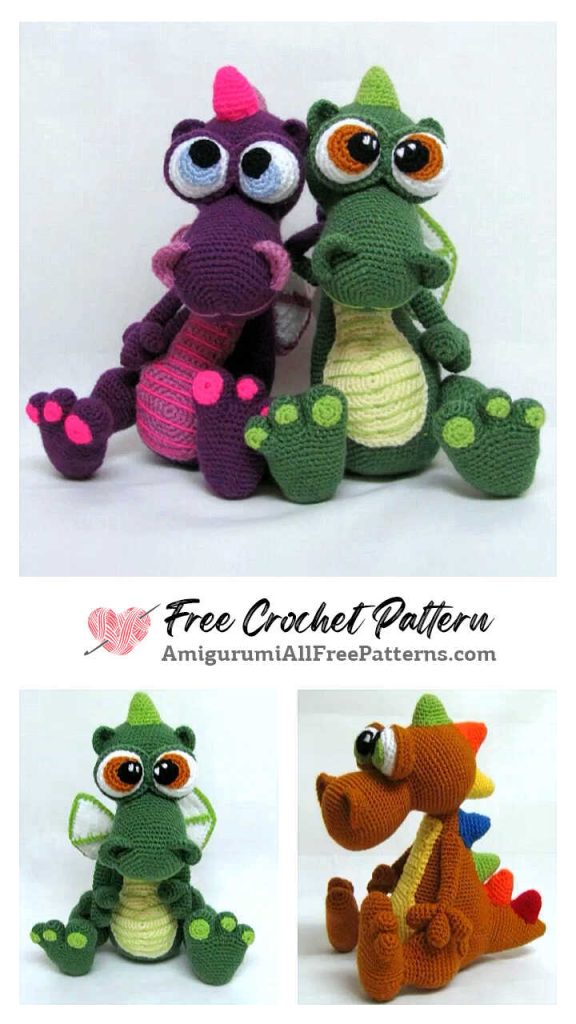
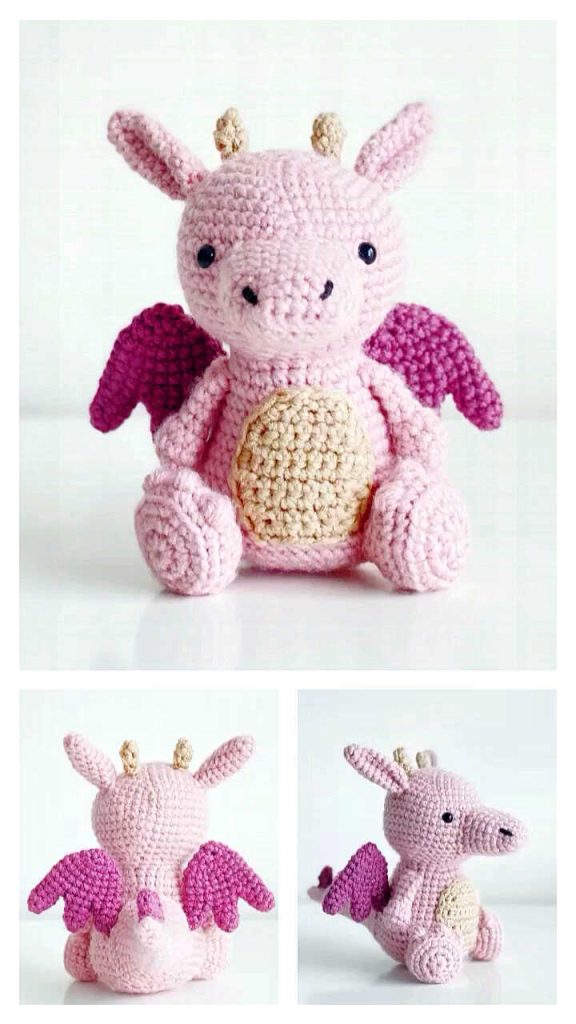
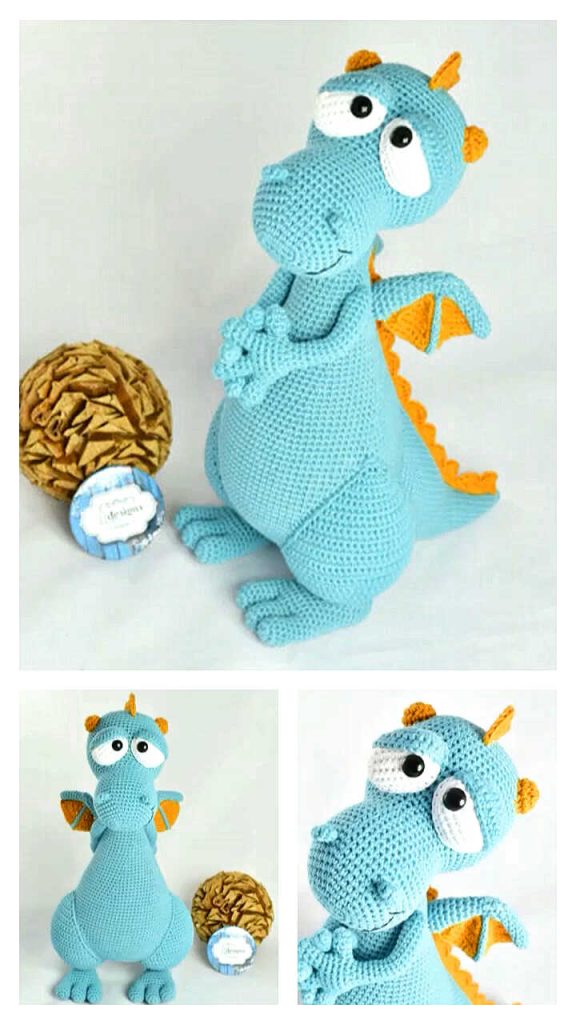
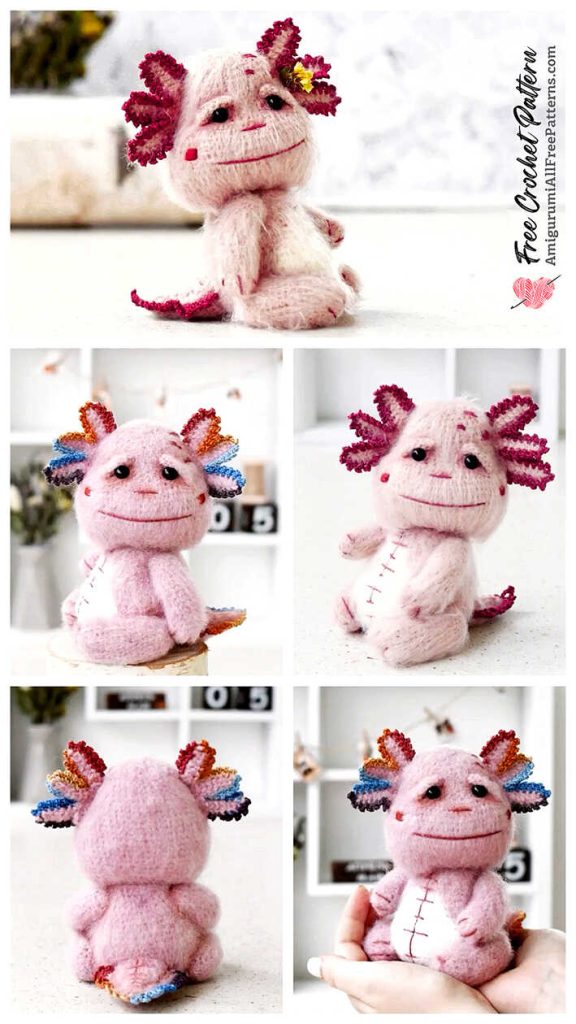
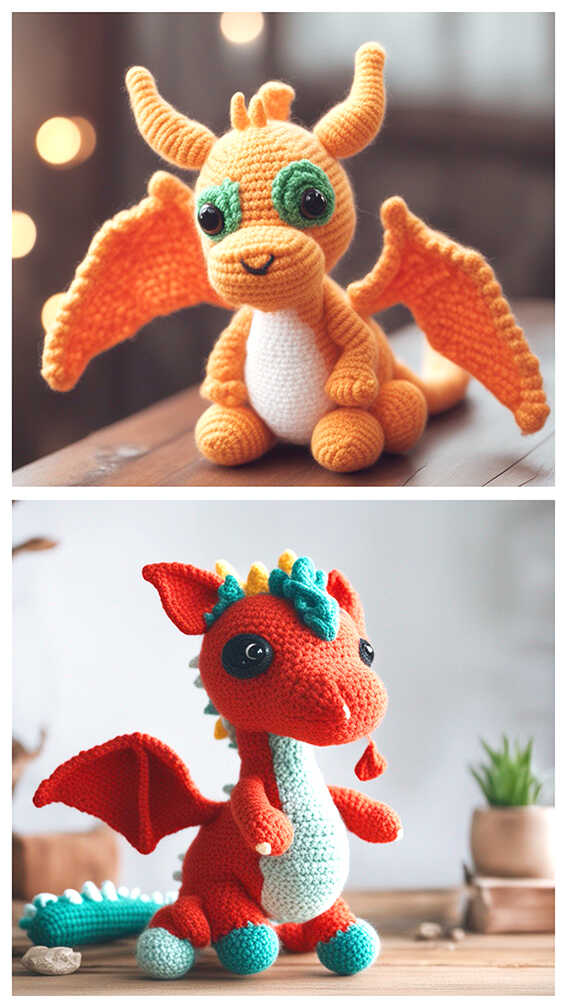
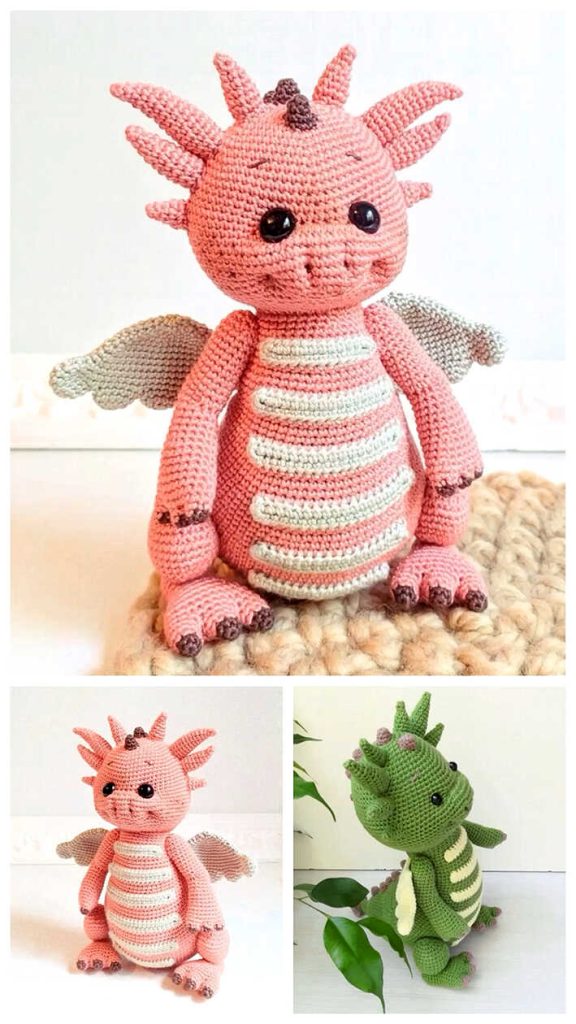
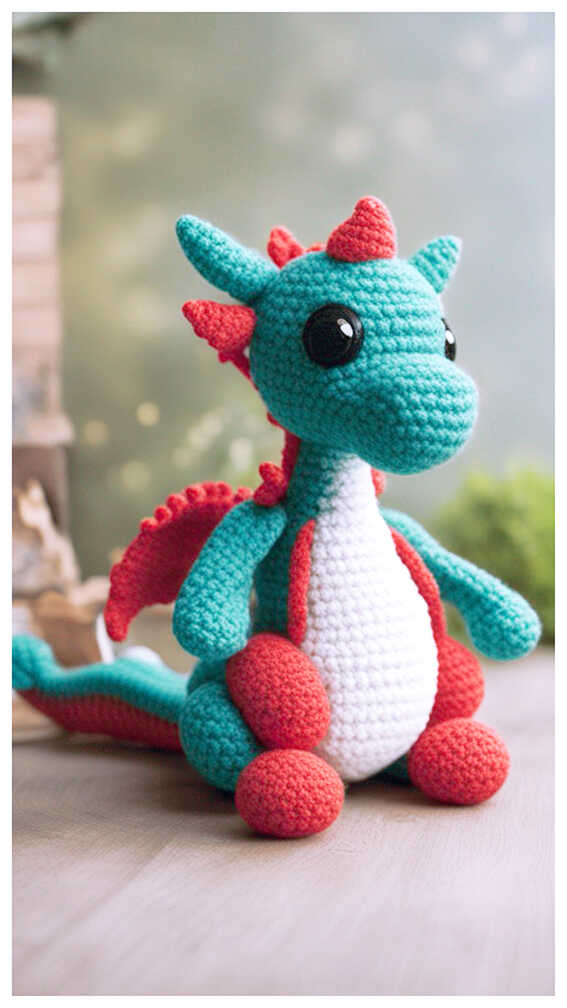
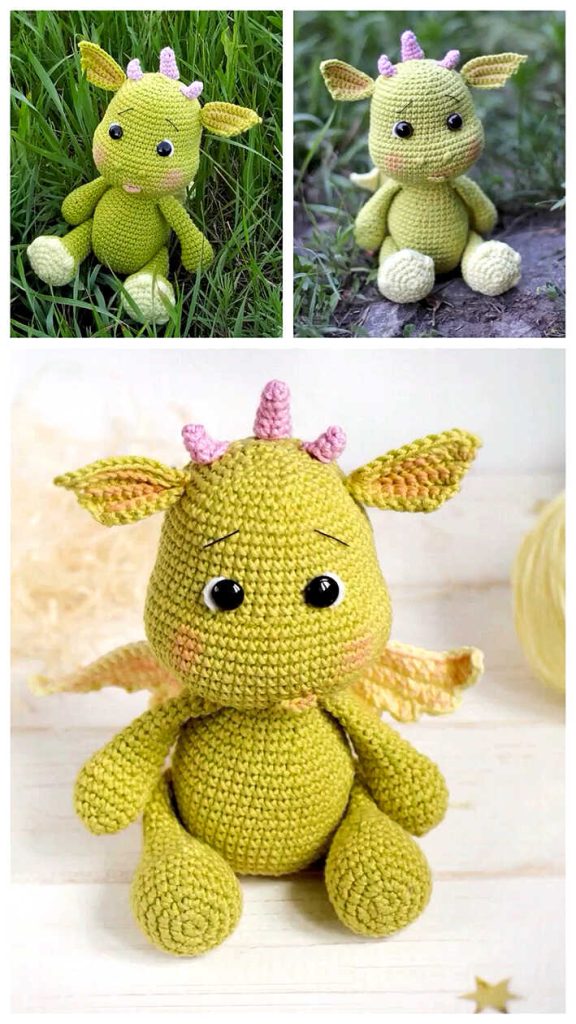
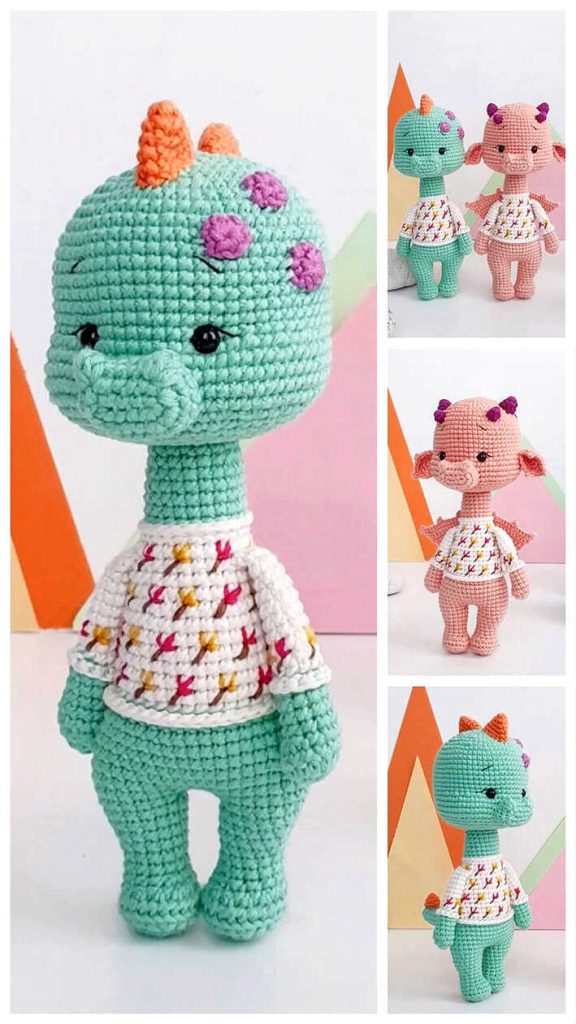
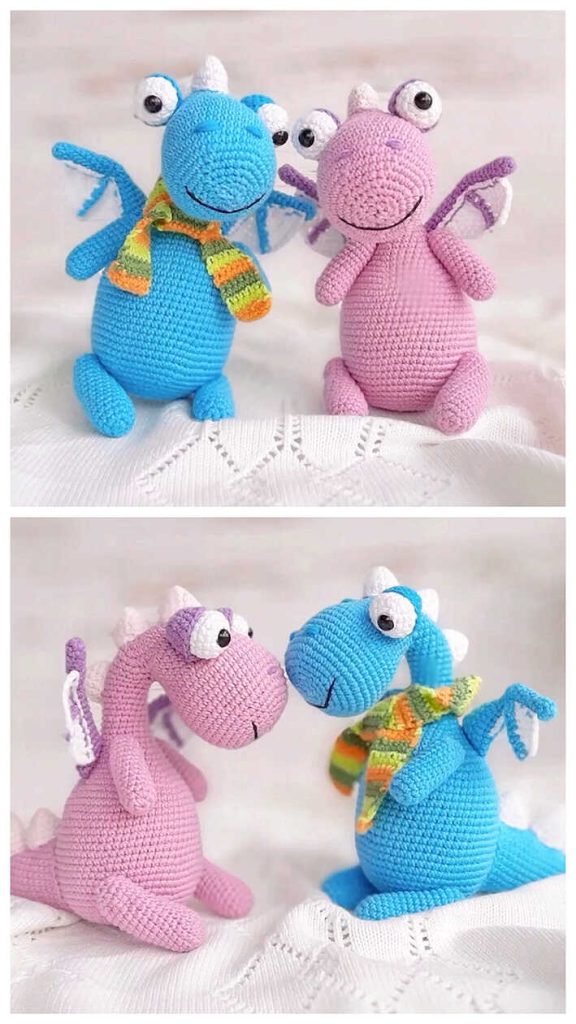
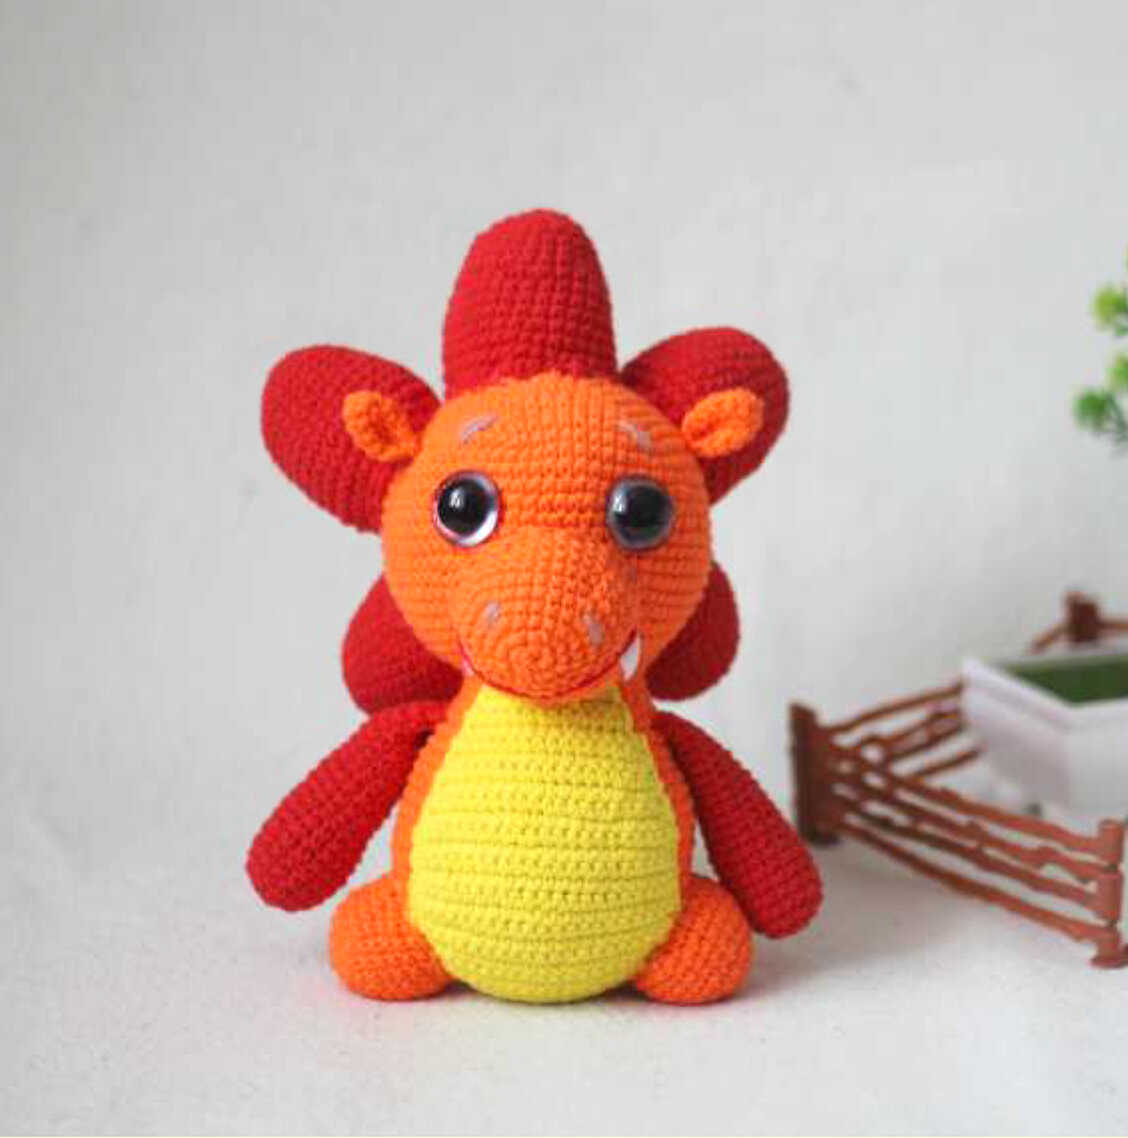
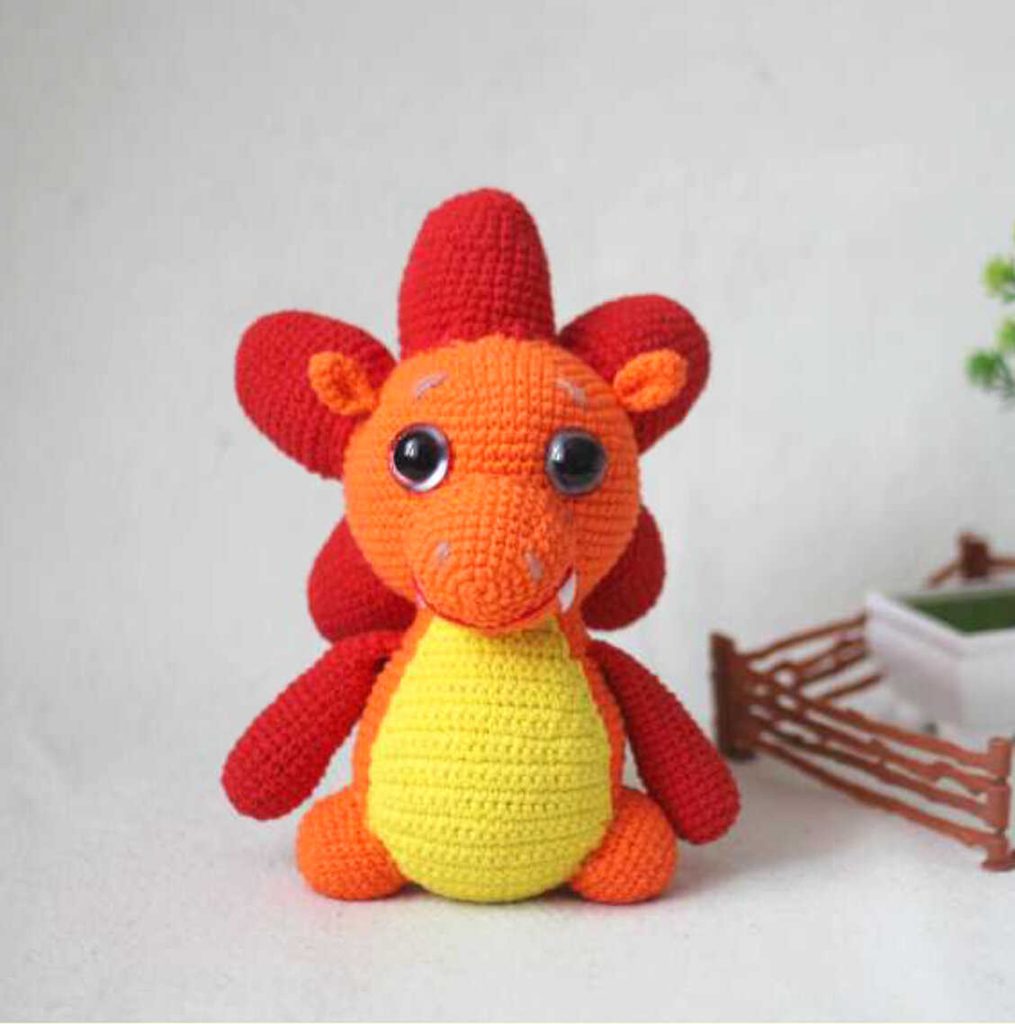
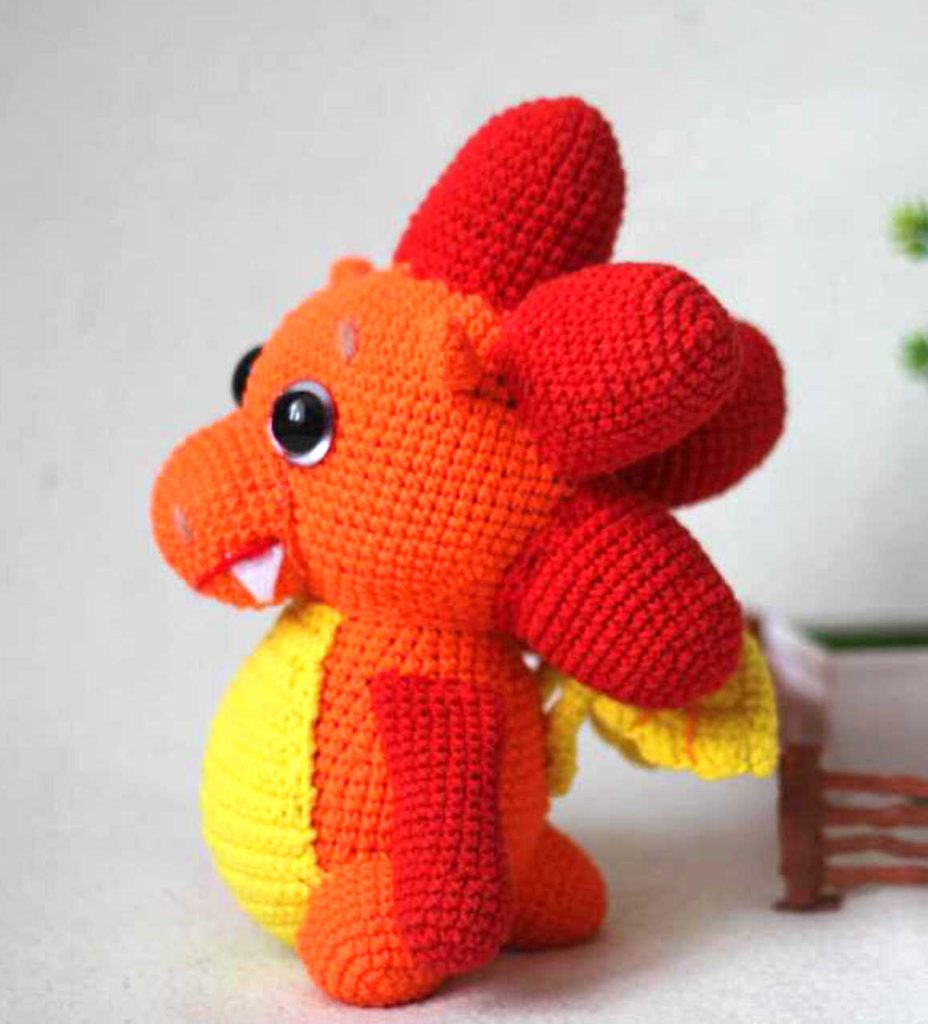
One of the free amigurumi crochet patterns we will share today is the amigurumi dragon, whose photos and design belong to Anastasia Makeeva. You can learn how to crochet these dragon using the free amigurumi pattern. Thanks to Anastasia Makeeva for this cute dragon.
Amigurumi cats, amigurumi dolls, amigurumi dogs, amigurumi unicorns, amigurumi lambs, amigurumi dinosaurs, amigurumi foxes, amigurumi bears, amigurumi giraffes, amigurumi pigs, amigurumi birds, amigurumi penguins, amigurumi panda, amigurumi llama, amigurumi bunny, amigurumi clowns, amigurumi elephants, amigurumi hippos, amigurumi monkeys will not be difficult for you…
Materials:
• Yarn 165 m / 50 gr
• Hook 2
• Decorative buttons, cotton and apron tape
• Mouline thread for embroidery muzzle
• Eyes 22 mm
• Filler
Abbreviations:
sc – single crochet
ch – air loop
inc – increase, knit 2 sc from one loop
dec – decrease, knit 2 sc together
AMIGURUMI DRAGON CROCHET FREE PATTERN
Head:
1.6 sc into magic ring
2. incx6 (12)
3. (1 sc, inc) x6 (18)
4. (2 sc, inc) x6 (24)
5. (3 sc, inc) x6 (30)
6. (4 sc, inc) x6 (36)
7. (5 sc, inc) x6 (42)
8. (6 sc, inc) x6 (48)
9. (7 sc, inc) x6 (54)
10. (8 sc, inc) x6 (60)
11. (9 sc, inc) x6 (66)
12-21. (66)
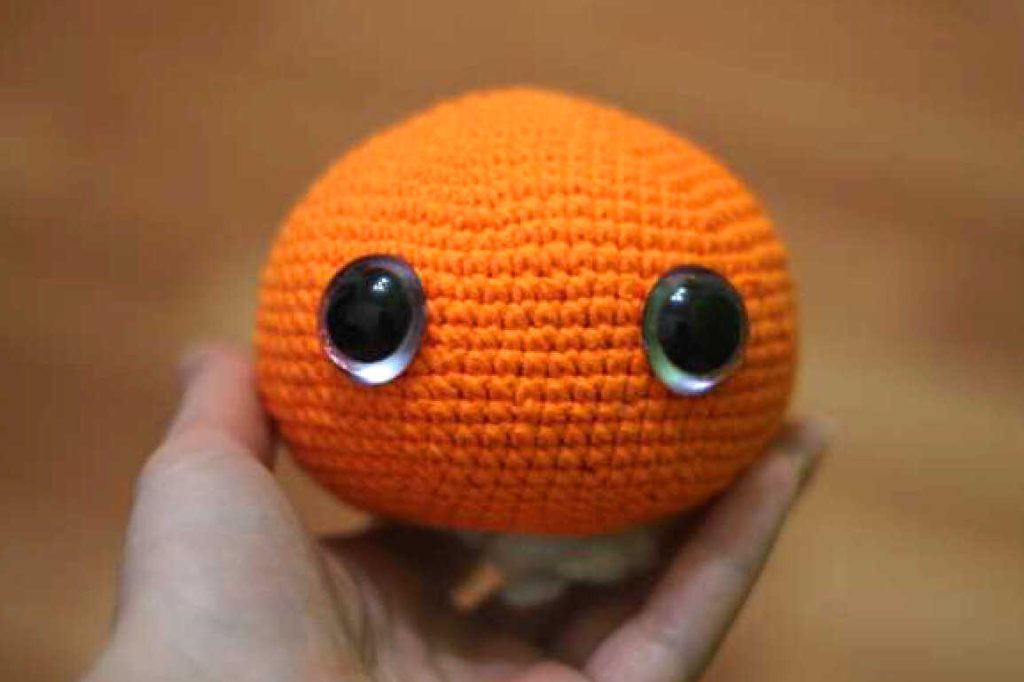
The eyes are placed between 16 and 17 rows, 7-8 sb in between.
22. (9 sc, dec) x6 (60)
23. (8 sc, dec) x6 (54)
24. (7 sc, dec) x6 (48)
25. (6 sc, dec) x6 (42)
26. (5 sc, dec) x6 (36)
27. (4 sc, dec) x6 (30)
Stuff your head, do not leave a thread— we will sew with thread from the body.
Make a tightening near the eyes so that they were more “drowned”
We insert a needle and thread into the crown of the head, put it near one eye, make a stitch and we withdraw the needle from the other eye. Again the stitch and withdraw the needle again on the crown.
For two ends of the thread pull strongly, the ends bind.
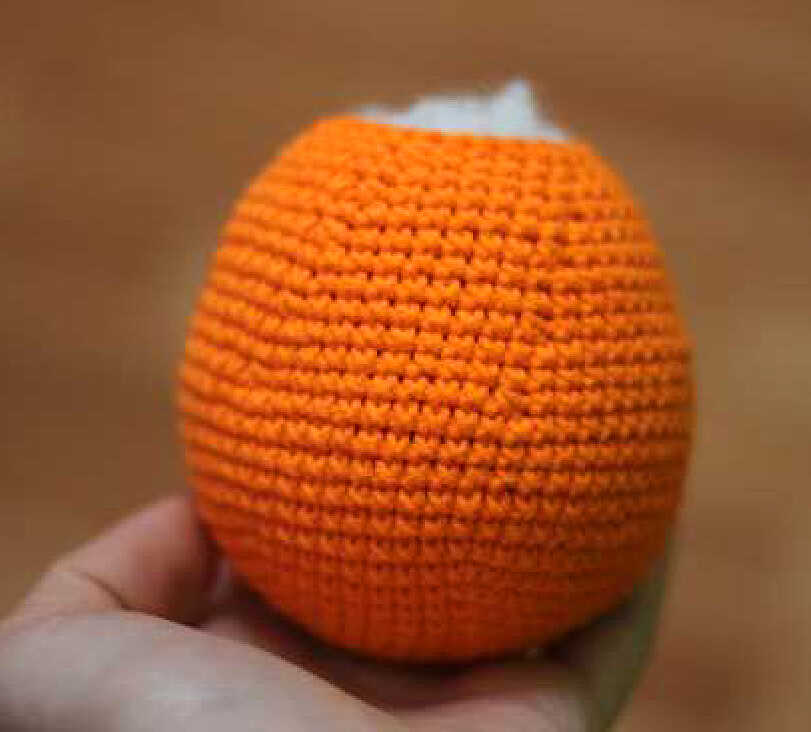
Body:
1.6 sc into magic ring
2. incx6 (12)
3. (1 sc, inc) x6 (18)
4. (2 sc, inc) x6 (24)
5. (3 sc, inc) x6 (30)
6. (4 sc, inc) x6 (36)
7. (5 sc, inc) x6 (42)
8. (6 sc, inc) x6 (48)
9. (7 sc, inc) x6 (54)
10. (8 sc, inc) x6 (60)
11-16. (60)
17. (8 sc, dec) x6 (54)
18-19. (54)
20. (7 sc, dec) x6 (48)
21-22. (48)
23. (6 sc, dec) x6 (42)
24-25. (42)
26. (5 sc, dec) x6 (36)
27-28. (36)
29. (4 sc, dec) x6 (30)
30-31. (thirty)
We stuff, we sew the head.
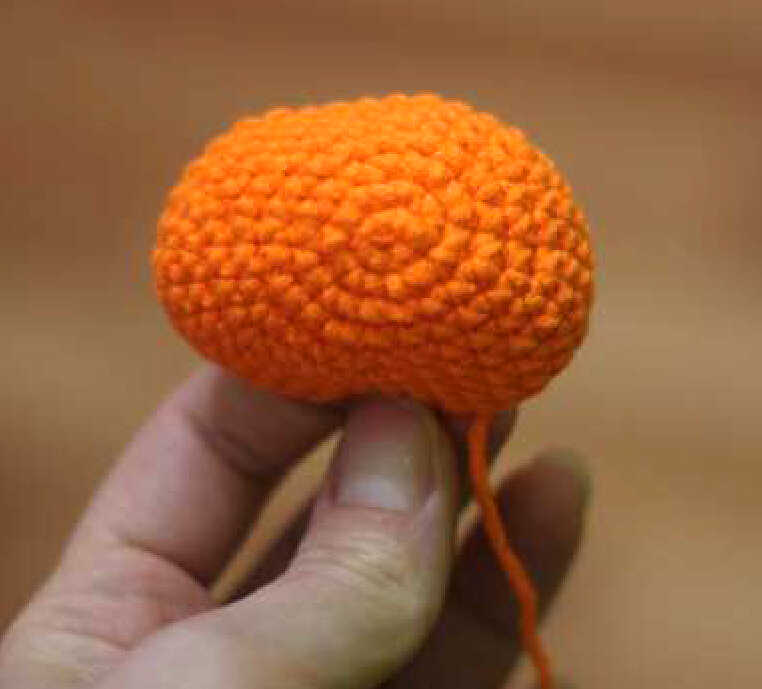
Muzzle:
1.6 sc into magic ring
2. incx6 (12)
3. (3 inc, 3 sc) x2 (18)
4. ((1 sc, inc) x3, 3 sc) x2 (24)
5. ((2 sc, inc) x3, 3 sc) x2 (30)
6. ((3 sc, inc) x3, 3 sc) x2 (36)
7-11. (36)
Stuff, sew, follow the location of the center.
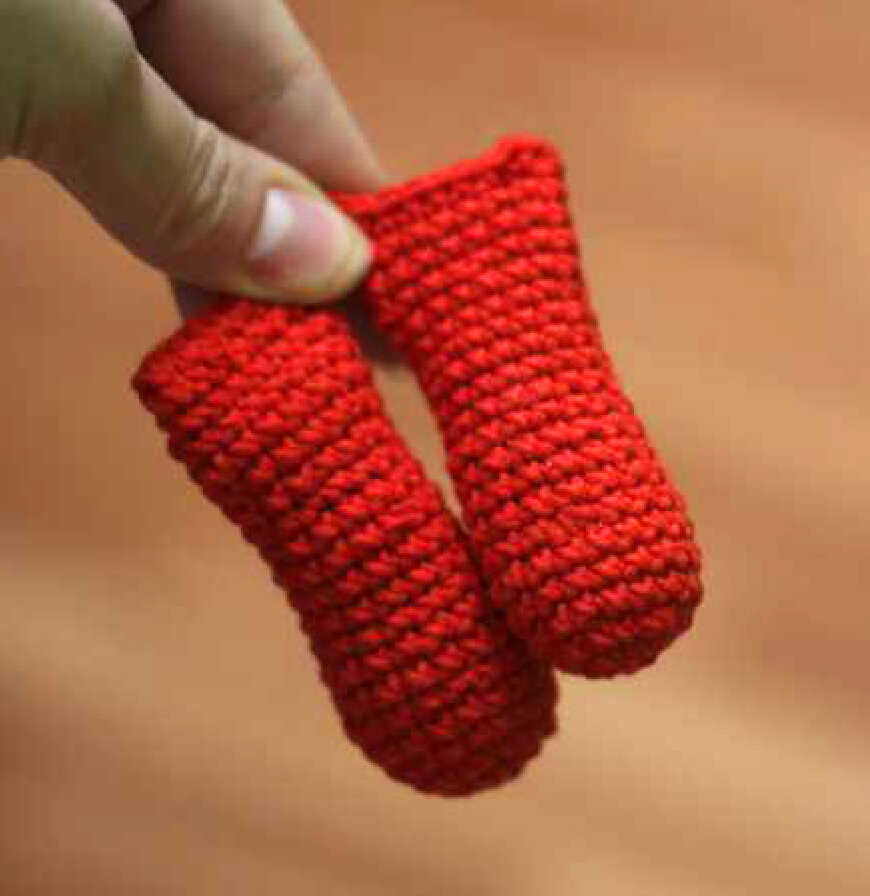
Arms:
1.6 sc into magic ring
2. incx6 (12)
3. (3 inc, 3 sc) x2 (18)
4-6. (18)
7. (dec, 7 sc) x2 (16)
8-20. (sixteen)
Stuff, connect the edges together, knit 10 sc
Leg:
1.6 sc into magic ring
2. incx6 (12)
3. (1 sc, inc) x6 (18)
4. (2 sc, inc) x6 (24)
5-9. (24)
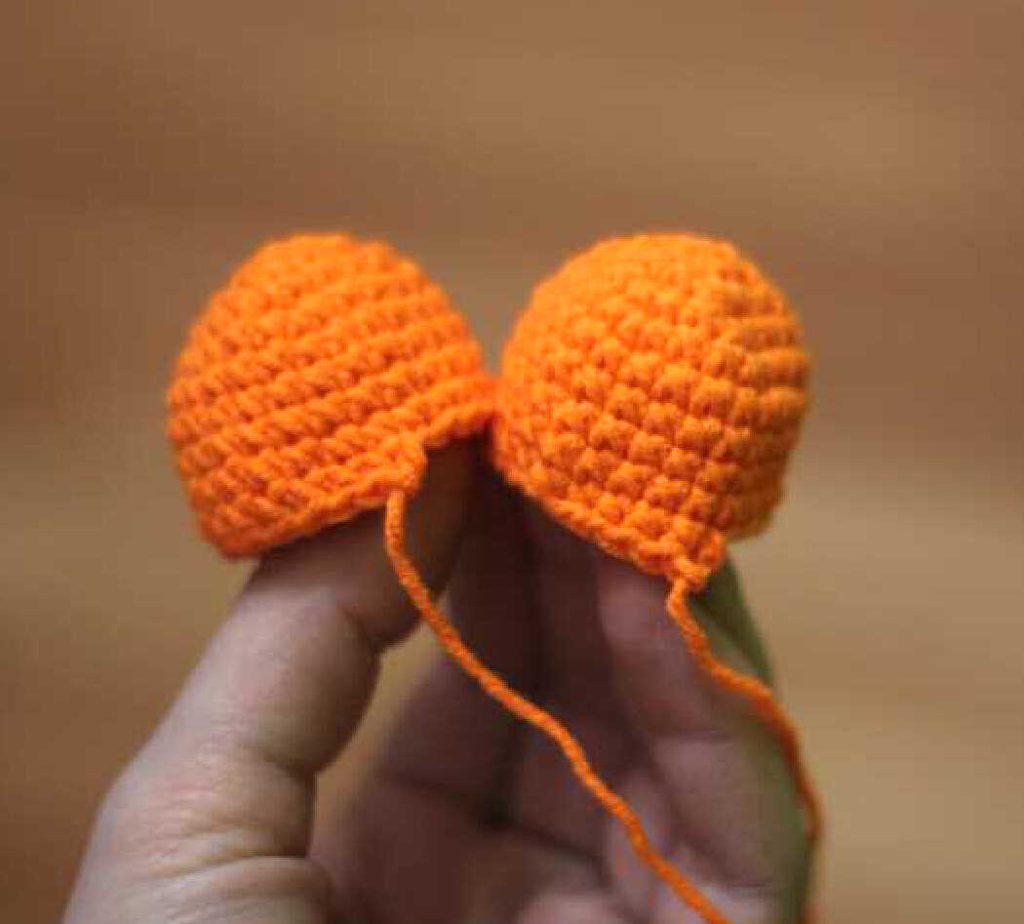
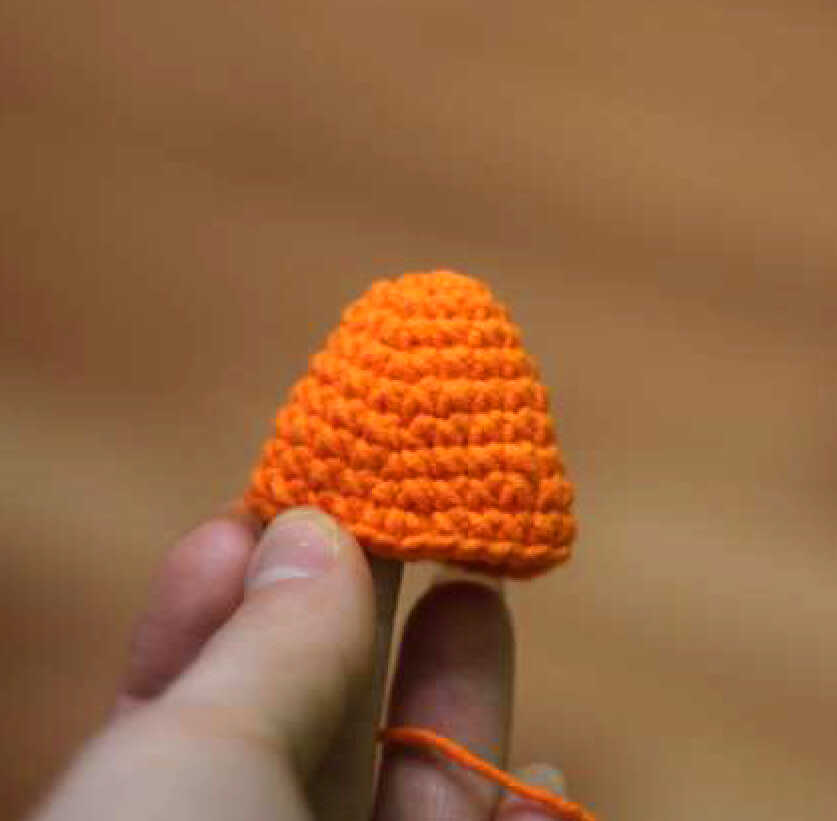
Ears:
1.6 sc into magic ring
2. incx6 (12)
3. (3 sc, inc) x3 (15)
4. (4 sc, inc) x3 (18)
5. (5 sc, inc) x3 (21)
6. (21)
7. (6 sc, inc) x3 (24)
8. (24)
9. (7 sc, inc) x3 (27)
Tail:
1.6 sc into magic ring
2. (1 sc, inc) x3 (9)
3-6. (9)
Connect the sides and knit 4-5 sc.
Belly:
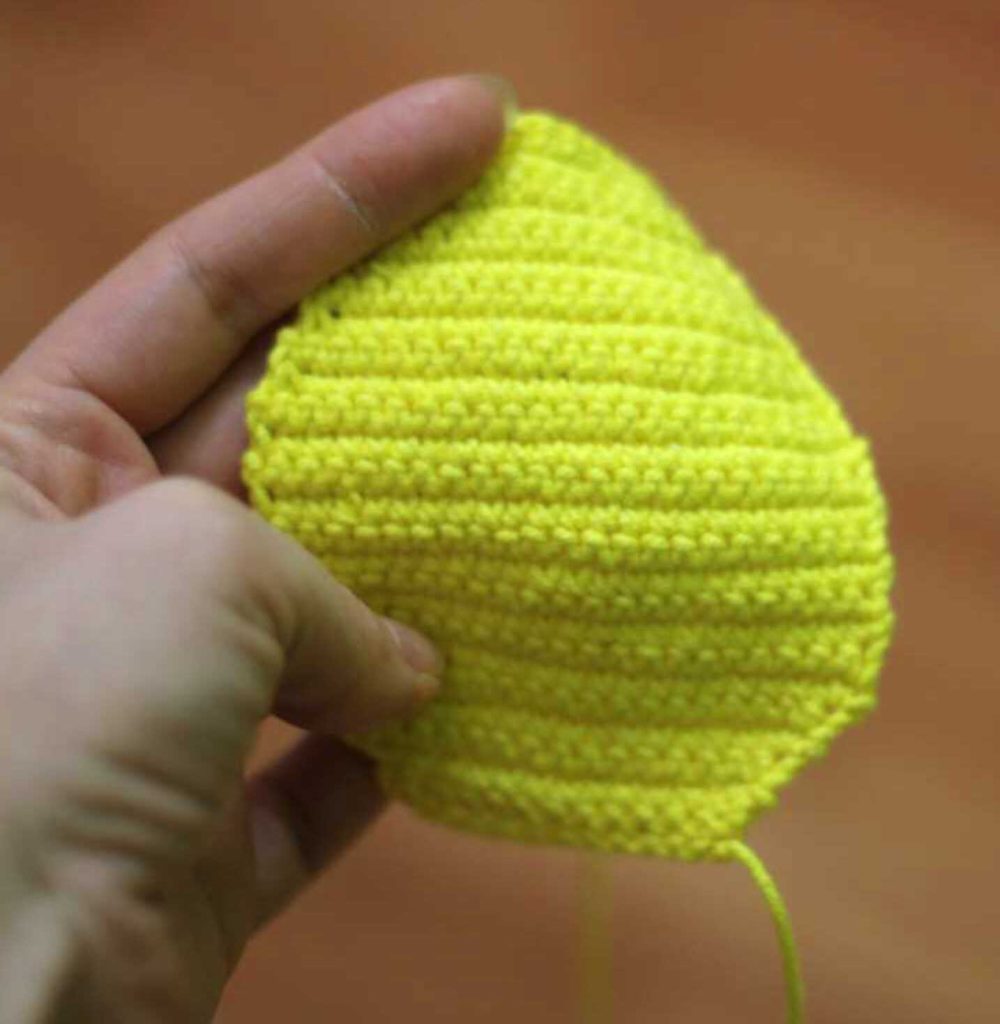
1. Dial 10 ch
2. inc, 8 sc, inc (12)
3. inc, 10 sc, inc (14)
4. inc, 12 sc, inc (16)
5. inc, 14 sc, inc (18)
6. inc, 16 sc, inc (20)
7. inc, 18 sc, inc (22)
8-17. (22)
18. dec, 18 sc, dec (20)
19. (20)
20. dec, 16 sc, dec (18)
21. (18)
22. dec, 14 sc, dec (16)
23. (16)
24. dec, 12 sc, dec (14)
25. (14)
26. dec, 10 sc, dec (12)
27. (12)
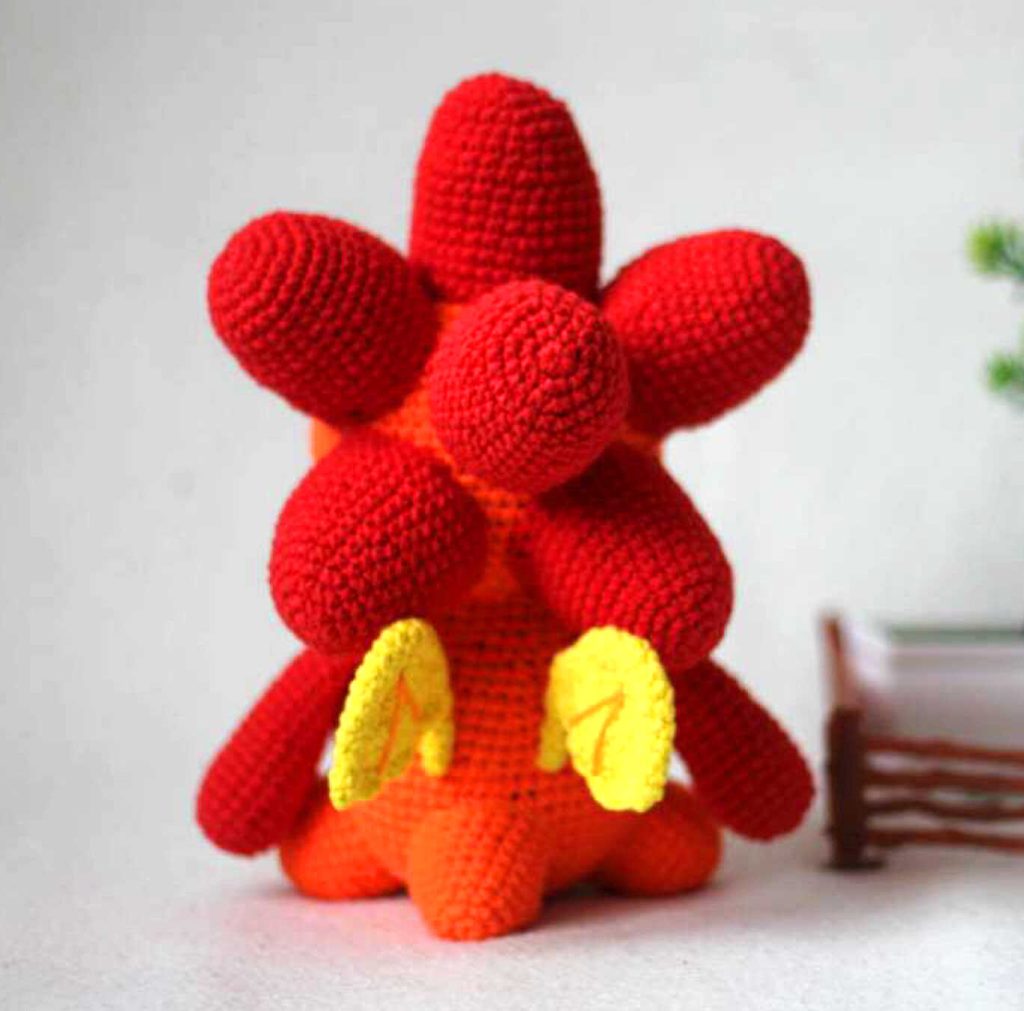
Thorns (x6)
1.6 sc into magic ring
2. incx6 (12)
3. (1 sc, inc) x6 (18)
4. (2 sc, inc) x6 (24)
5-7. (24)
8. (3 sc, inc) x6 (30)
9-11. (thirty)
12. (4 sc, inc) x6 (36)
13-15. (36)
For private, non-commercial use only.
Resale, publication of the description (in whole or in part) is not allowed.
Wing:
First part
1. We type 3 ch
2.2 inc (4)
3. inc, 2 sc, inc (6)
4. (6)
5. inc, 4 sc, inc (8)
6. (8)
7. inc, 6 sc, inc (10)
8-9. (ten)
10. Dial 2 ch, make 2 dc, again 2 ch and 1 sc in the next loop.
So two more times. The result was a frill on the wing.
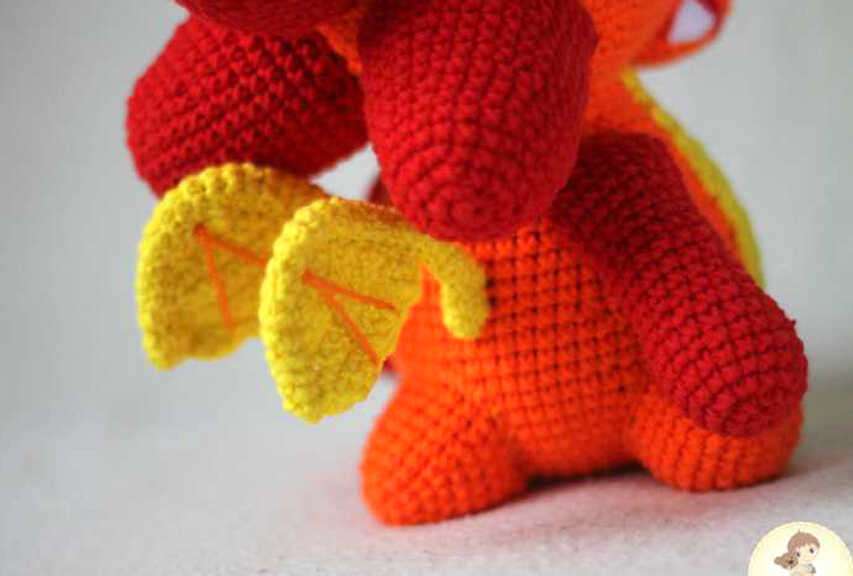
The second part
1.5 sc into magic ring
2-27. (5)
The result is a tube. Sew her around the perimeter of the winglet and sew the wings onto the back.
More amigurumi dragon ideas:
