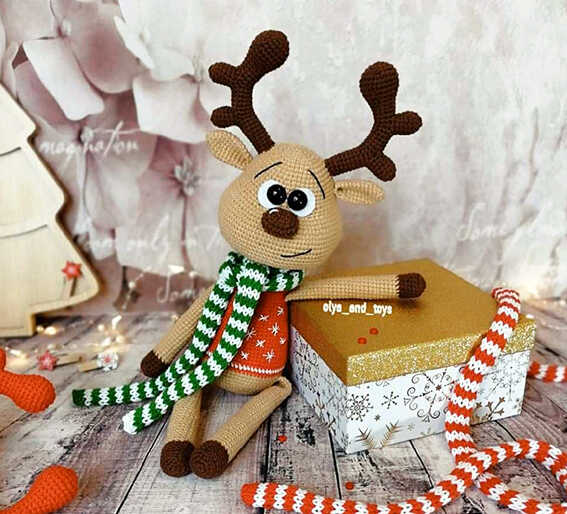
Amigurumi Rollie the Reindeer Crochet Free Pattern
Designer: Olga Shkarlatyuk
Instagram: @olya_and_toys
Say hello to today’s handmade happiness!
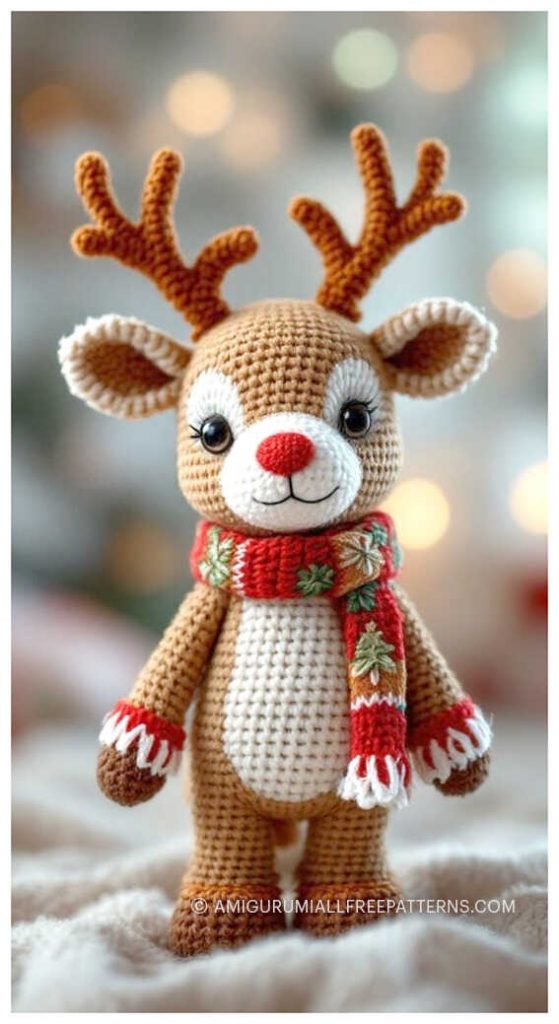
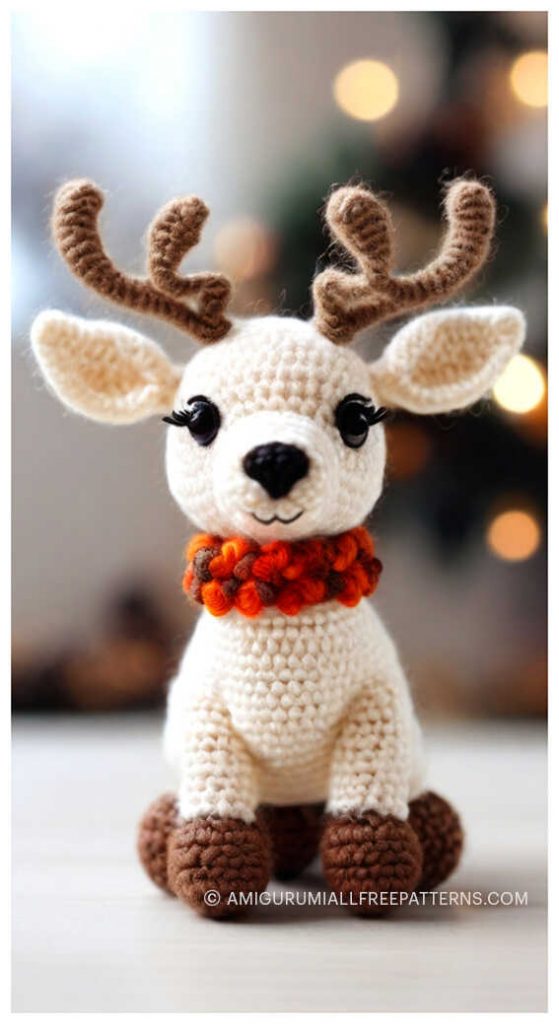
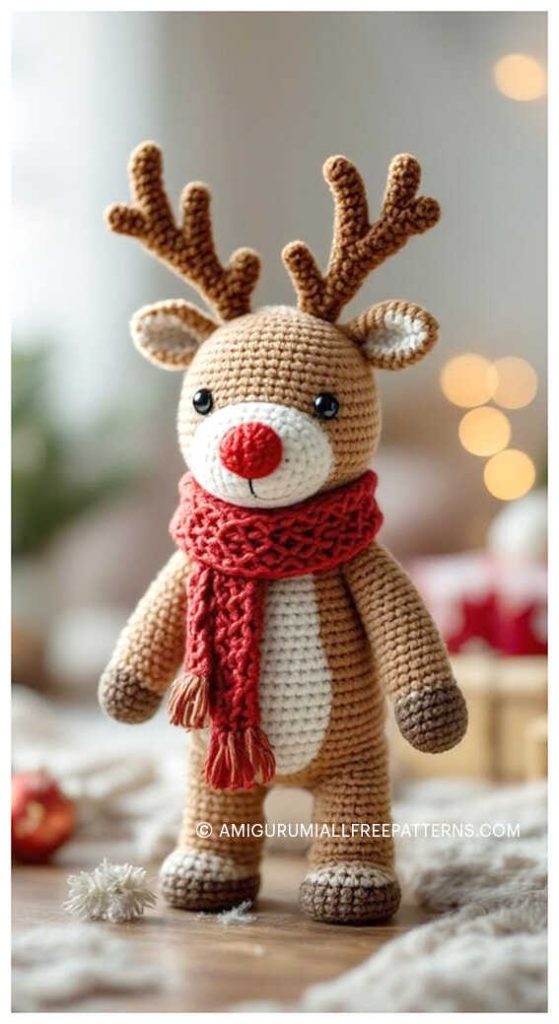
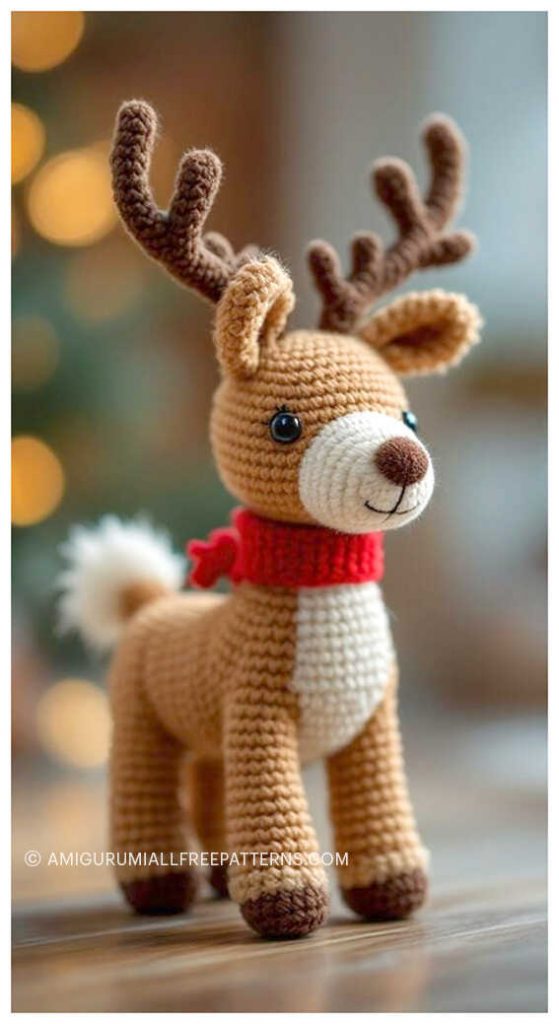
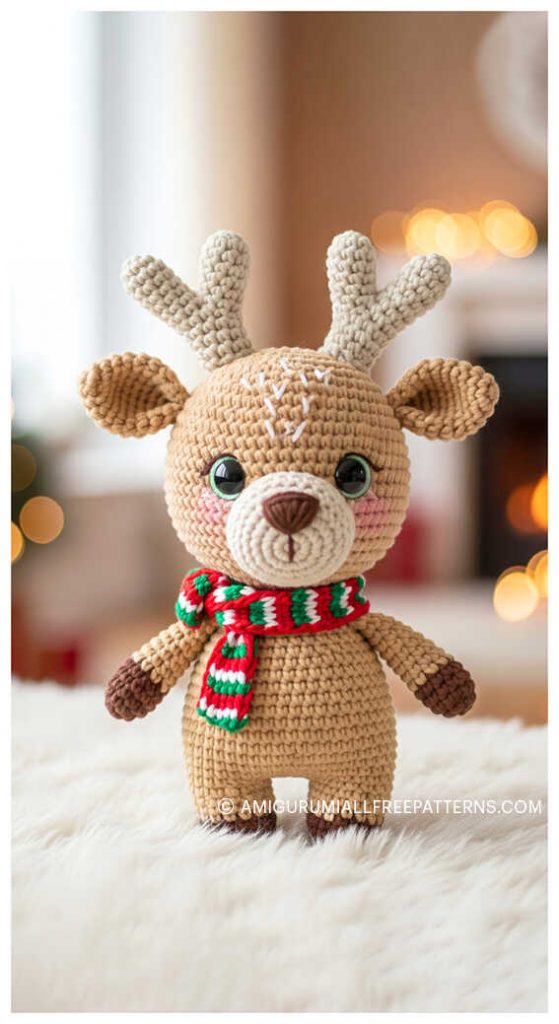
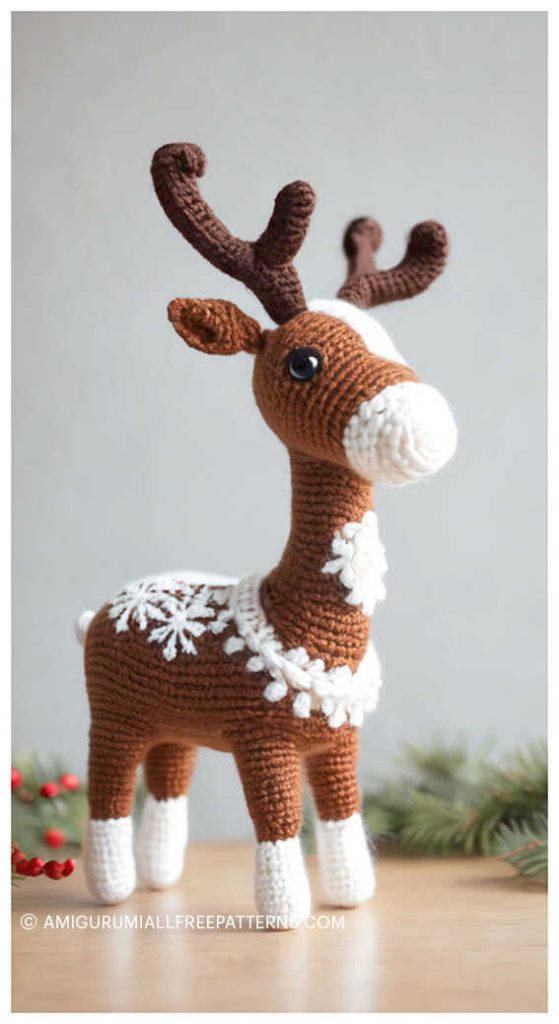
Bring the holiday cheer to life with this heartwarming Amigurumi Rollie the Reindeer! Thoughtfully designed by the talented Olga Shkarlatyuk (Instagram: @olya_and_toys), this free crochet pattern is perfect for adding a handmade touch to your Christmas season. With his festive scarf, gentle face, and iconic antlers, Rollie is sure to steal hearts wherever he goes.
The finished amigurumi reindeer measures approximately 39 cm (15.3″) tall and 28 cm (11″) when sitting, making it a lovely size for cuddles, display, or gift-giving. The pattern is beginner-friendly yet detailed enough to satisfy experienced crocheters looking for a fun seasonal project.
Many thanks to Olga for sharing this charming reindeer design with the crochet community! Are you ready to make your own Rollie the Reindeer? Be sure to check out the end of the pattern for a collection of inspiring amigurumi reindeer ideas to keep your hooks busy all winter long!

Materials:
- Yarn: YarnArt Jeans #07 beige (more than one skein), #01 white for scarf
- Alize Cotton Gold #493 brown (¼ skein for horns, nose and legs), #243 red (¼ skein for sweater), #126 green (¼ skein for scarf)
- Coco Vita Cotton (black) for eyebrows and mouth
- 2.0 mm crochet hook
- 3 mm knitting needle
- 14 mm safety eyes
- White 20 mm felt circles
- Yarn marker
- Sewing needle and scissors
- Fiberfill
Abbreviations:
R = row
mc = magic circle
ch = chain
sl st = slip stitch
sc = single crochet
dc = double crochet
inc = 2 sc in the next stitch
dec = single crochet 2 stitches together
F.o. = finish off
(12) = number of stitches you should have at the end of the round/row
(…)*6 = repeat whatever is between the brackets the number of times stated
AMIGURUMI REINDEER FREE PATTERN
Arms (make 2)
With brown yarn:
R 1: 5 sc in mc (5)
R 2: (inc)*5 (10)
R 3. (1 sc, inc)*5 (15)
R 4. BLO 15 sc
R 5-8. 15 sc (4 rows)
Change to beige yarn:
R 9. BLO 15 sc
R 10-19. 15 sc (10 rows)
R 20. dec, 13 sc (14)
R 21-27. 14 sc (7 rows)
R 28. dec, 12 sc (13)
R 29-37. 13 sc (9 rows)
Stuff till the R 31 with fiberfill.
Fold top of arm flat and 6 sc through both sides across.
F.o.
Legs (make 2)
With brown yarn:
R 1: 6 sc in mc (6)
R 2: (inc)*6 (12)
R 3: (1 sc, inc)*6 (18)
R 4: BLO 18 sc
R 5-8: 18 sc (4 rows)
Change to beige yarn:
R 9: BLO 18 sc
R 10-22: 18 sc (13 rows)
R 23: dec, 16 sc (17)
R 24-34: 17 sc (11 rows)
R 35: dec, 15 sc (16)
R 36-43: 16 sc (8 rows)
R 44: dec, 14 sc
R 45-49: 15 sc (5 rows)
Stuff till the R 42 with fiberfill.
Fold top of leg flat and 7 sc through both sides across.
F.o.
Body
With beige yarn:
R 1: 6 sc in mc (6)
R 2: (inc)*6 (12)
R 3: (1 sc, inc)*6 (18)
R 4: (2 sc, inc)*6 (24)
R 5: (3 sc, inc)*6 (30)
R 6: (4 sc, inc)*6 (36)
R 7: (5 sc, inc)*6 (42)
R 8: (6 sc, inc)*6 (48)
R 9: (7 sc, inc)*6 (54)
R 10: (8 sc, inc)*6 (60)
R 11: (9 sc, inc)*6 (66)
R 12: 66 sc
In the next row we will attach legs:R 13: 13 sc, 7 sc together with sc of the 1st leg, 26 sc, 7 sc together with sc of the 2nd leg, 13 sc (66)
R 14: 66 sc
Change to red/green yarn:
R 15: 66 sc
Don’t cut red/green yarn.
Change to white yarn:
R 16: 66 sc
Change to red/green yarn:
R 17-18: 66 sc (2 rows)
R 19: (9 sc, dec)*6 (60)
R 20-21: 60 sc (2 rows)
R 22: (8 sc, dec)*6 (54)
R 23-25: 54 sc (3 rows)
R 26: (7 sc, dec)*6 (48)
R 27-28: 48 sc (2 rows)
R 29: (6 sc, dec)*6 (42)
R 30-33: 42 sc (4 rows)
R 34: (5 sc, dec)*6 (36)In the next row we will attach arms:
R 35: 10 sc, 6 sc together with sc of the 1st arm, 12 sc, 6 sc together with sc of the 2nd arm, 2 sc (36)
R 36-37: 36 sc (2 rows)
Crochet additional 4 sc (or more/less) to get the position of the yarn marker in the middle of the back.
Don’t cut red/green yarn.
Change to beige yarn:
R 38: BLO 36 sc
R 39: (4 sc, dec)*6 (30)
R 40-42: 30 sc (3 rows)
R 43: (3 sc, dec)*6 (24)
R 44-46: 24 sc (3 rows)
F.o. and leave a long tail for sewing.
Collar
With red/green yarn:
Go to the R 38.
R 1: FLO sl st, 2 ch, 36 dc, sl st
F.o.
Tail
With beige yarn:
R 1: 6 sc in mc (6)
R 2: (1 sc, inc)*3 (9)
R 3: (2 sc, inc)*3 (12)
R 4: (3 sc, inc)*3 (15)
R 5: (4 sc, inc)*3 (18)
R 6-9: 18 sc (4 rows)
R 10: (4 sc, dec)*3 (15)
Stuff with fiberfill.
Fold top of tail flat and 7 sc through both sides across.
F.o. and leave a long tail for sewing.
Sew tail to the body between R 12 and R 13.
Head
With beige yarn:
R 1: 6 sc in mc (6)
R 2: (inc)*6 (12)
R 3: (1 sc, inc)*6 (18)
R 4: 1 sc, inc, (2 sc, inc)*5, 1 sc (24)
R 5: (3 sc, inc)*6 (30)
R 6: 2 sc, inc, (4 sc, inc)*5, 2 sc (36)
R 7: (5 sc, inc)*6 (42)
R 8: 3 sc, inc, (6 sc, inc)*5, 3 sc (48)
R 9: 48 sc
R 10: (7 sc, inc)*6 (54)
R 11-13: 54 sc (3 rows)
R 14: 4 sc, inc, (8 sc, inc)*5, 4 sc (60)
R 15-17: 60 sc (3 rows)
Insert safety eyes between R 13 and R 14 at the distance of 4 stitches from each other. Don’t forget to add felt circles.
R 18: 12 sc, (inc, 1 sc)*17, inc, 13 sc (78)
R 19-20: 78 sc (2 rows)
R 21: 13 sc, (inc, 2 sc)*17, inc, 13 sc (96)
R 22-30: 96 sc (9 rows)
R 31: (2 sc, dec)*24 (72)
R 32: 72 sc
R 33: (4 sc, dec)*12 (60)
R 34: 60 sc
R 35: (3 sc, dec)*12 (48)
R 36: 48 sc
R 37: (2 sc, dec)*12 (36)
R 38: (1 sc, dec)*12 (24)
Stuff with fiberfill.
F.o. and leave a long tail for sewing.Stuff the neck firmly, insert wire or cotton buds in the neck and in the head to give the head stability.
Nose
With red/brown yarn:
Make 5 ch.
R 1: From the 2nd ch from hook: 3 sc, 3 sc in last st, turn and crochet on the opposite side of the chain: 2 sc, inc (10)
R 2: inc, 2 sc, 3 inc, 2 sc, 2 inc (16)
R 3: inc, 3 sc, (inc, 1 sc)*3, 2 sc, (inc, 1 sc)*2 (22)
R 4: 22 sc
R 5: dec, 3 sc, (dec, 1 sc)*3, 2 sc, (dec, 1 sc)*2, sl st
Ears (make 2)
With beige color:
R 1: 6 sc in mc (6)
R 2: (1 sc, inc)*3 (9)
R 3: (2 sc, inc)*3 (12)
R 4: (3 sc, inc)*3 (15)
R 5-12: 15 sc (8 rows)
Fold top of ear flat and 7 sc through both sides across.
Then fold top one time more and join first and last st together with 1 sc.
F.o. and leave a long tail for sewing.
Sew ears under horns (at the distance of 2-3 rows).
Horns (make 2)
With red/brown yarn:
Small part (make 2)
R 1: 6 sc in mc (6)
R 2: (inc)*6 (12)
R 3-7: 12 sc (5 rows)
F.o.
Main part
R 1: 6 sc in mc (6)
R 2: (inc)*6 (12)
R 3: (1 sc, inc)*6 (18)
R 4: 1 sc, inc, (2 sc, inc)*5, 1 sc (24)
R 5-6: 24 sc (2 rows)
R 7: (4 sc, dec)*4 (20)
R 8: 20 sc
R 9: (2 sc, dec)*5 (15)
R 10: 15 sc
R 11: 5 sc, dec, 6 sc, dec (13)
R 12-14: 13 sc (3 rows)
R 15: 6 sc together with sc of the 1st little part, 7 sc (13)
R 16: 6 sc together with sc of the 1st little part (other side), 7 sc (13)
R 17-21: 13 sc (5 rows)
Stuff as you go.
R 22: 1 sc, 6 sc together with sc of the 2nd little part, 6 sc (13)
R 23: 1 sc, 6 sc together with sc of the 2nd little part (other side), 6 sc (13)
R 24-26: 13 sc (3 rows)
R 27: dec, 4 sc, dec, 5 sc (11)
R 28-31: 11 sc (4 rows)
R 32: 11 sc, sl st
F.o. and leave a long tail for sewing.
Sew horns between R 6 and R 11.Mark the muzzle points:
Points #2 and #3, #4 and #5 are located between R 17 and R 18 at the distance of 3 stitches from each other.
The distance between points #4 and #3 is 5 stitches.
Points #1 and #6 are located between R 37 and R 38 at the distance of 3 stitches from each other.
Take a long needle with beige yarn.
Insert the needle in the point #1 and draw it out the point #2, then insert the needle in the point #3 and draw it out the point #1. Pull slightly.
Insert the needle in the stitch near the point #1 and draw it out the point #4, then insert the needle in the point #5 and draw it out the point #6. Pull slightly.
Insert the needle in the stitch near the point #6 and draw it out the point #2, then insert the needle in the point #3 and draw it out the point #1. Pull slightly.
Insert the needle in the stitch near the point #1 and draw it out the point #4, then insert the needle in the point #5 and draw it out the point #6. Pull slightly.
Insert the needle in the stitch near the point #6 and draw it out the point #1. Pull slightly.
Make a knot. F.o.Sew nose between R 18 and R 23.
Embroider eyebrows with black yarn between R 6 and R 14.
Embroider mouth with black yarn between R 24 and R 27.
Scarf
The scarf is 75 cm (29.5″) long.
This scarf is knitted in stockinette stitch (1 row knit, next row purl).
Alternate two colors green/red and white to get stripes (change color every 2 rows).
With the green/red color cast on 9 sts.
Knit in stockinette stitch 2 rows in green/red color.
Attach the white color.
Knit 2 rows in white color.
Repeat this pattern until you almost reached the desired length of scarf.
More amigurumi reindeer ideas:
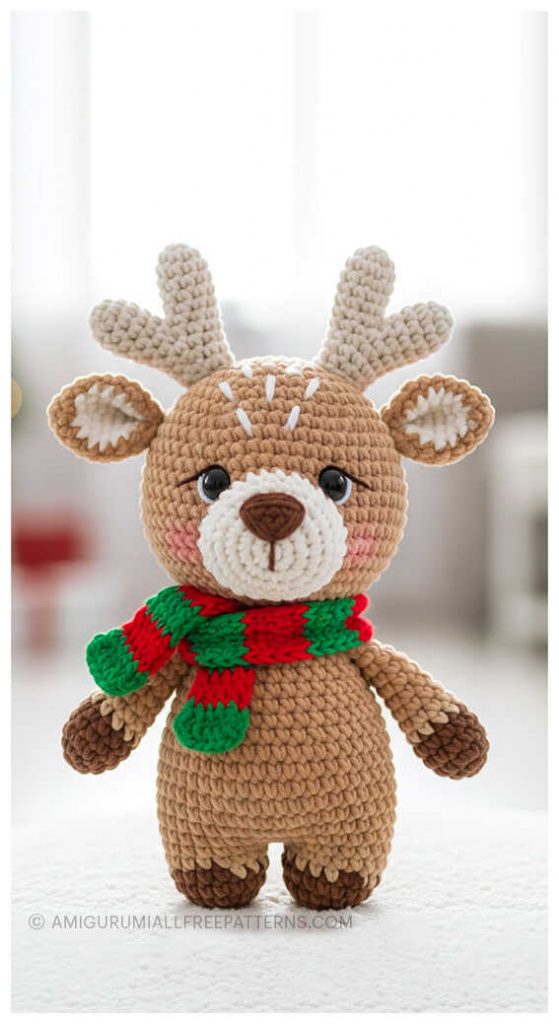
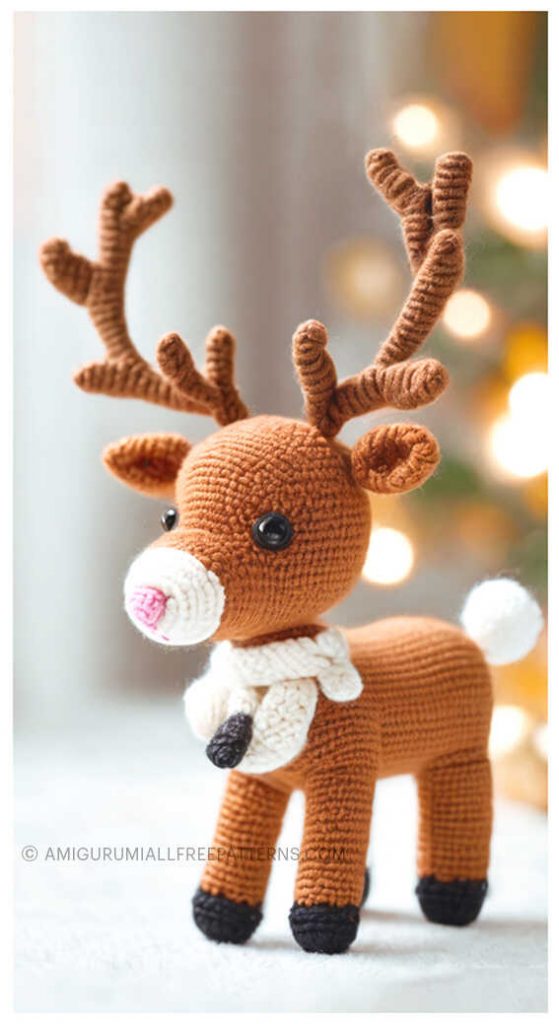
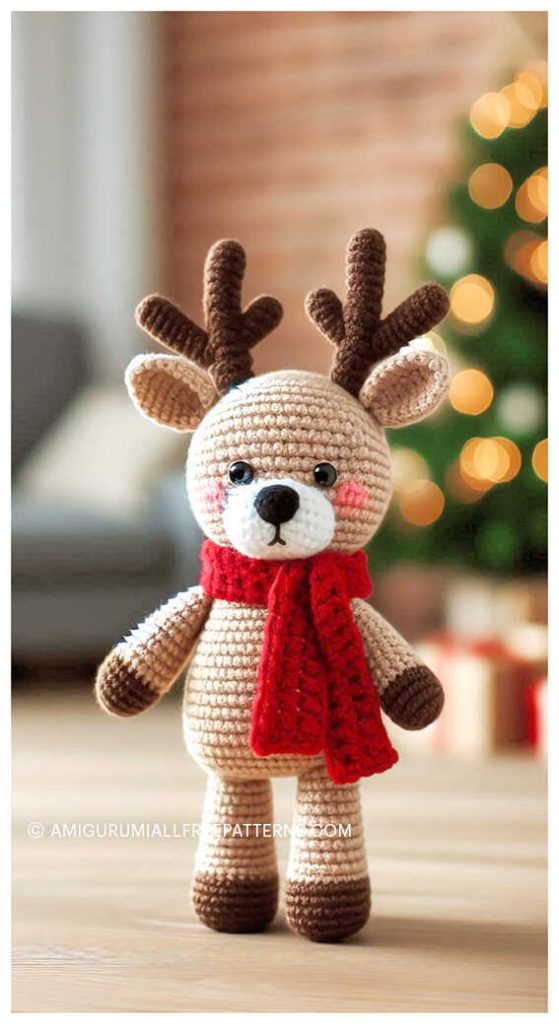
Ready to create your next adorable amigurumi companion? Explore our collection of free patterns featuring amigurumi cats, amigurumi dolls, amigurumi dogs, amigurumi unicorns, amigurumi birds, amigurumi giraffes, amigurumi dinosaurs, amigurumi penguins, amigurumi bunnys, amigurumi bears, and countless other charming creatures. From simple projects perfect for beginners to intricate designs for experienced crocheters, we’ve got patterns for every skill level.
Join our amigurumi community (Instagram, Facebook, YouTube), unleash your creativity, and bring your favorite crochet characters to life. Follow us for fresh inspiration and new patterns that will keep your hooks busy!
Keywords: free amigurumi patterns, crochet toys, amigurumi animals, beginner amigurumi, amigurumi dolls, crochet patterns