Amigurumi Snowman Free Crochet Pattern
Designer: Elena Kharitonova
Instagram: @kharitoshkiny_kroshki
Hello Amigurumi Lovers…
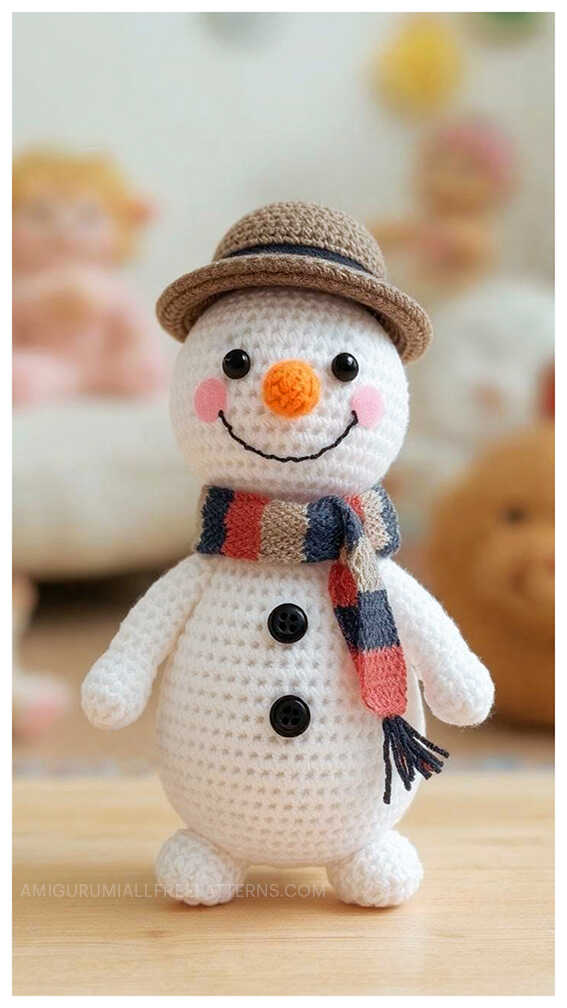
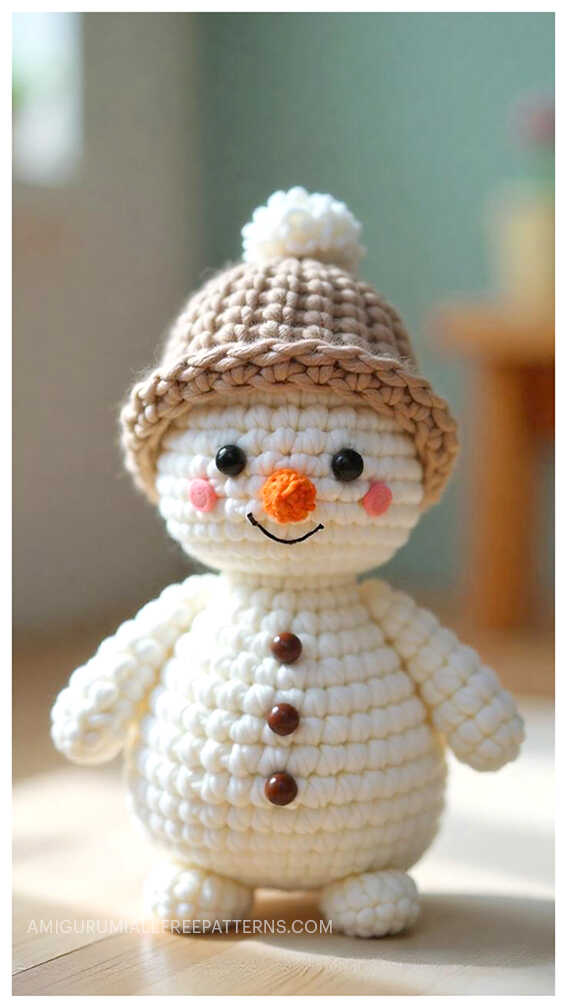
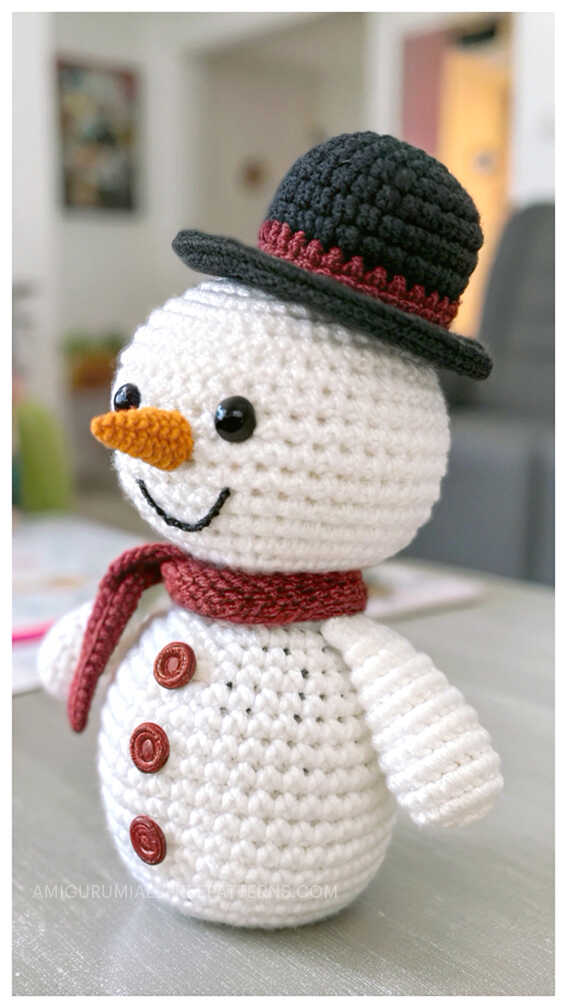
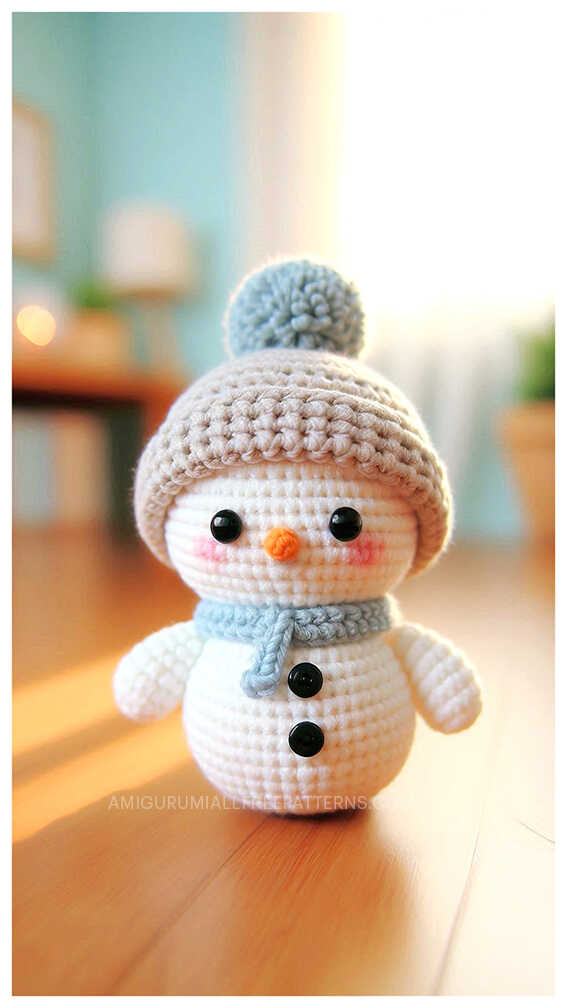
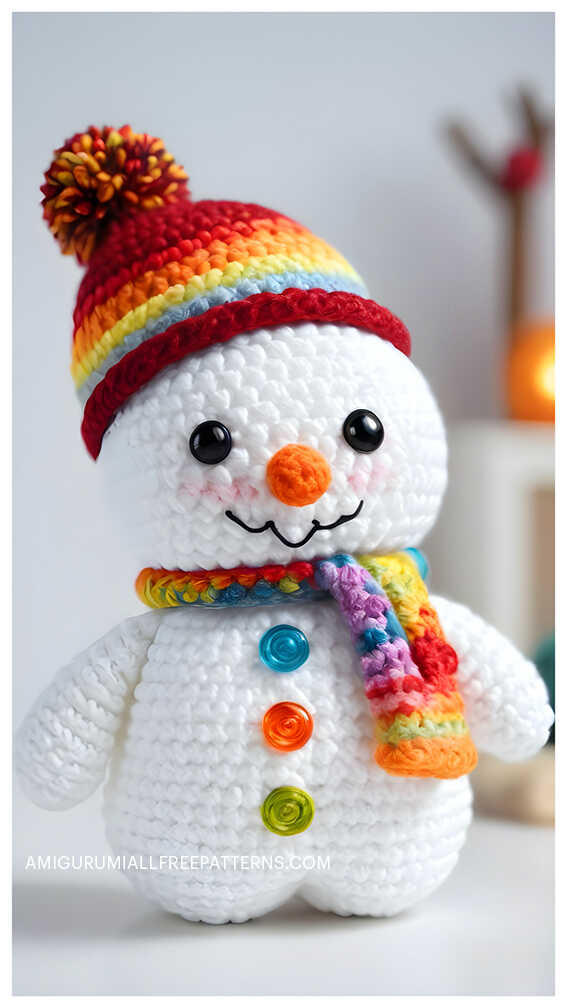
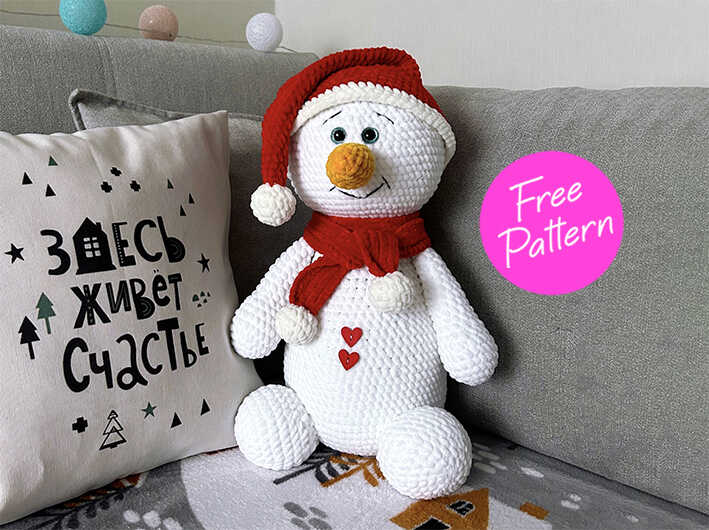
One of the free amigurumi crochet patterns we will share today is the snowman, whose photos and design belong to Elena Kharitonova (VK). You can learn how to crochet this snowman using the free amigurumi pattern. Thanks to dear Elena Kharitonova for this cute snowman. Continue to follow and support us for more free crochet amigurumi patterns.
Amigurumi cats, amigurumi dolls, amigurumi dogs, amigurumi unicorns, amigurumi lambs, amigurumi dinosaurs, amigurumi foxes, amigurumi bears, amigurumi giraffes, amigurumi pigs, amigurumi birds, amigurumi penguins, amigurumi panda, amigurumi llama, amigurumi bunny, amigurumi clowns, amigurumi elephants, amigurumi hippos, amigurumi monkeys will not be difficult for you… Don’t forget to visit our YouTube channel…
Materials needed:
– Himalaya Dolphin Baby yarn in two different colors (1 skein of white for the body, half a skein of any color for the cap and scarf)
– Some orange semi-cotton or cotton yarn for the nose,
– Hooks number 4, 3
– Eyes on a safe fastening with a diameter of 10 mm
– Needle
– Marker
– Filler (holofiber, synthetic fluff)
Abbreviations:
MR- Magic ring
Ch- Chain
Sc- Single crochet
Inc- Increase
Dec- Decrease
Slst- Slip stitch
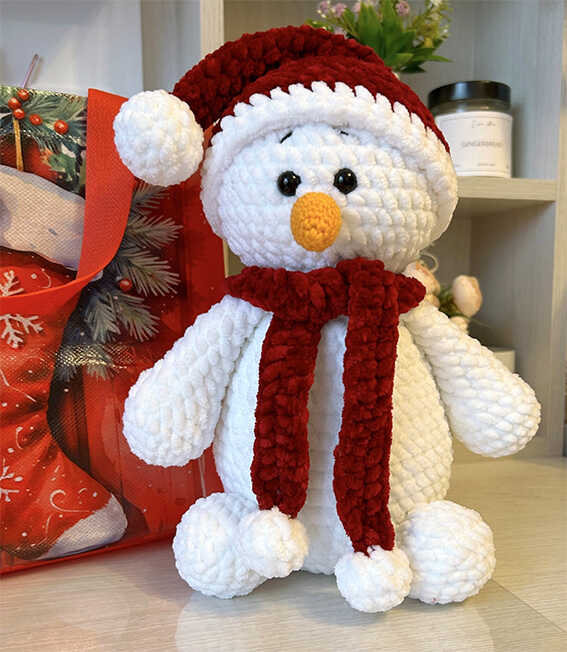
AMIGURUMI SNOWMAN FREE PATTERN
Handles (2 pieces):
We crochet with white yarn.
1. 6 sc in MR
2. 6 inc (12)
3. (sc, inc)*6 (18)
4-5. 18 sc
6. (4 sc, dec)*3 (15)
7.(3 sc, dec)*3 (12)
8-14. 12 sc
Stuff only the lower part. Connect the edges of the piece with sc. Fasten the thread and cut.
Legs (2 parts):
We crochet with white yarn.
1. 6 sc in MR
2. 6 inc (12)
3. (sc, inc)*6 (18)
4. (2 sc, inc)*6 (24)
5. 24 sc
6. (2 sc, dec)*6 (18)
7. (sc, dec)*6 (12)
8. 6 dec (6)
Stuff the piece. Pull the hole together. Leave a thread for sewing.
Body
In white yarn.
1. 6 sc in MR
2. 6 inc (12)
3. (1 sc, inc)* 6 (18)
4. (2 sc, inc)*6 (24)
5. (4 sc, inc)*6 (36)
6. (5 sc, inc)*6 (42)
7. (6 sc, inc)*6 (48)
9-15. 48 sc
16. (6 sc, dec)*6 (42)
17. 42 sc
18. (5 sc, dec)*6 (36)
19. 36 sc
20. (4 sc, dec)*6 (30)
21. 30 sc
22.(3 sc, dec)*6 (24)
23. Crochet in the handles: 5 sc, 6 sc together with the handle, 6 sc, 6 sc together with the handle, 1 sc.
24. (2 sc, dec)*6 (18)
25. 18 sc
Stuff tightly. Secure the thread and cut.
Head:
Crochet with white yarn.
Stuff as you crocheting.
1.6sc in MR
2. 6 inc (12)
3. (1 sc, inc)* 6 (18)
4. 1 sc, inc (2 sc, inc)*5, 1 sc (24)
5. (3 sc, inc)*6 (30)
6. 2 sc, inc (4 sc, inc)*5, 2 sc (36)
7. (5 sc, inc)*6 (42)
8-13. 42sc
Insert eyes between rows 11 and 12 at a distance of 3 sc.
14. (5 sc, dec)*6 (36)
15. 2 sc, dec, (4 sc, dec)*5, 2 sc (30)
16. (3 sc, dec)*6 (24)
17. sc, dec, (2 sc, dec)*5, sc (18)
Pull the hole together. Fasten the thread and cut it, leaving the end for sewing.
Carrot nose:
Crochet with orange yarn, hook number 3.
1. 6 sc in MR
2. (1 sc, inc)*3 (9)
3. (2 sc, inc)*3 (12)
4-8. 12 sc
9.(2 sc, dec)*3 (9)
10.(1 sc, dec)*3 (6)
Fill, tighten the hole. Fasten the thread and cut, leaving the end for sewing.
All that’s left is to crochet a hat and a scarf in any convenient way.
The scarf using turning rows of sc.
Christmas cap
Start crocheting from the pompom.
1. 6 sc in MR
(or ch2, 6 sc in the 2nd ch from the hook) (6)
2. 6 inc (12)
3. (1sc,inc)*6 (18)
4. 18 sc (18)
5. (1sc,dec)*6 (12)
6. 6 dec (6)
Stuff the pompom with fiberfill.
Change color to red.
Do not crochet very tightly.
7. 6 sc
8. (1sc,inc)*3 (9)
9-10. 9 sc (9)
11. (2sc,inc)*3 (12)
12-13. 12 sc (12)
14. (3sc,inc)*3 (15)
15-16. 15 sc (15)
17. (4sc,inc)*3 (18)
18. 18 sc (18)
19. (5sc,inc)*3 (21)
20. 21 sc (21)
21. (6sc,inc)*3 (24)
22. 24 sc (24)
23. (7sc,inc)*3 (27)
24. 27 sc (27)
25. (8sc,inc)*3 (30)
26. 30 sc (30)
27. (9sc,inc)*3 (33)
28. 33 sc (33)
29. (10sc,inc)*3 (36)
30-31. 36 sc (36)
Try on the cap on the toy, you may also need to crochet a round with increases so that the cap is in size.
Change color white (fluffy yarn)
32. (11sc,inc)*3 (39)
33. 39 sc (39)
Fasten off with slst, cut the yarn.
Weave in the yarn ends.
To make the cap more elastic, stretch it slightly with your hands in different directions and in length.
Assembly and design:
Sew the nose to the head.
Embroider the eyebrows and mouth.
Sew the legs.
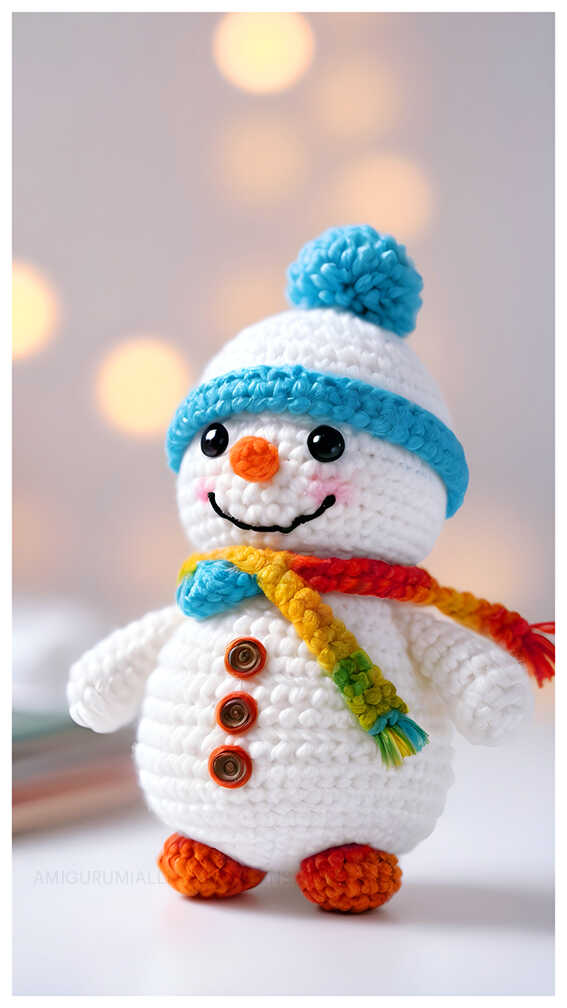
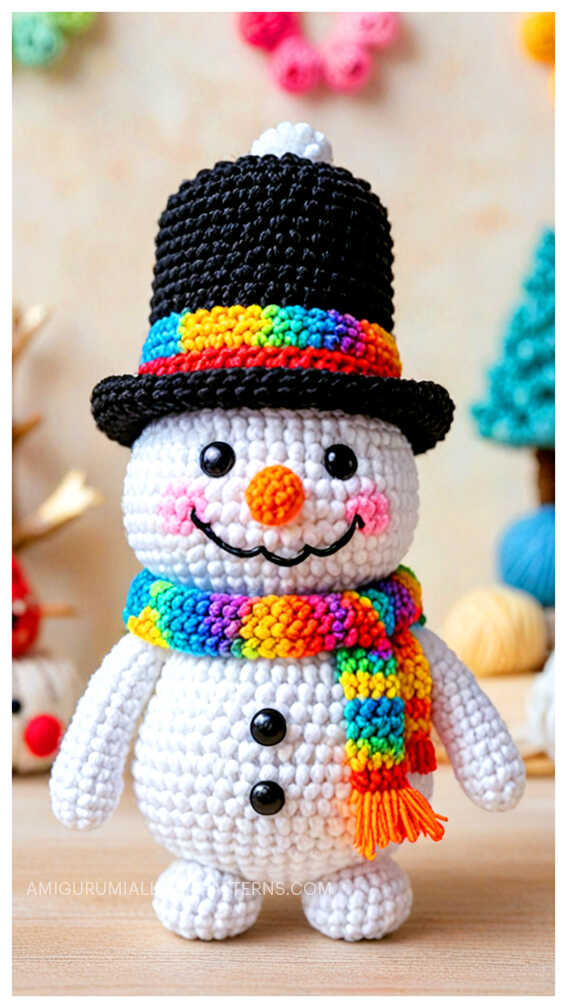
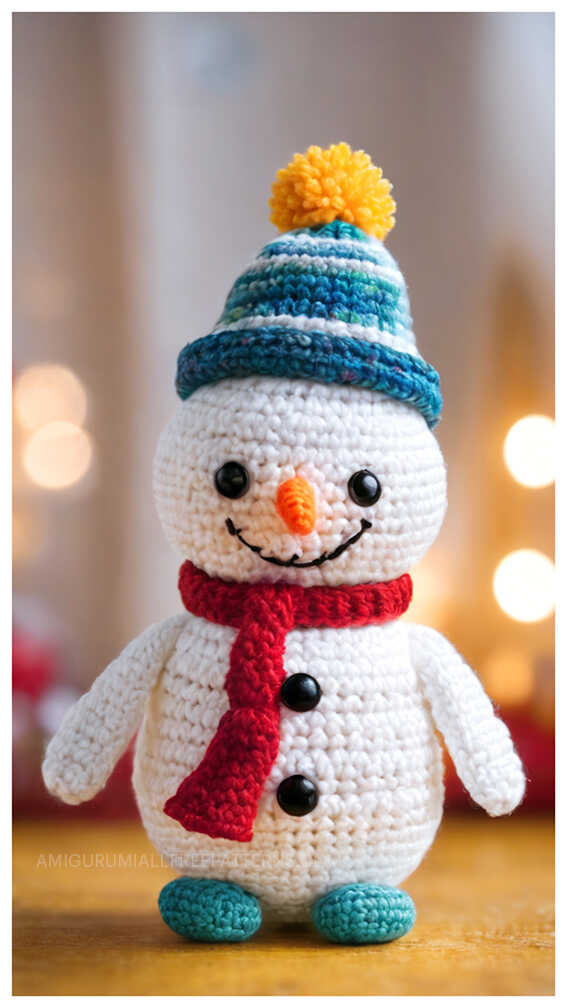
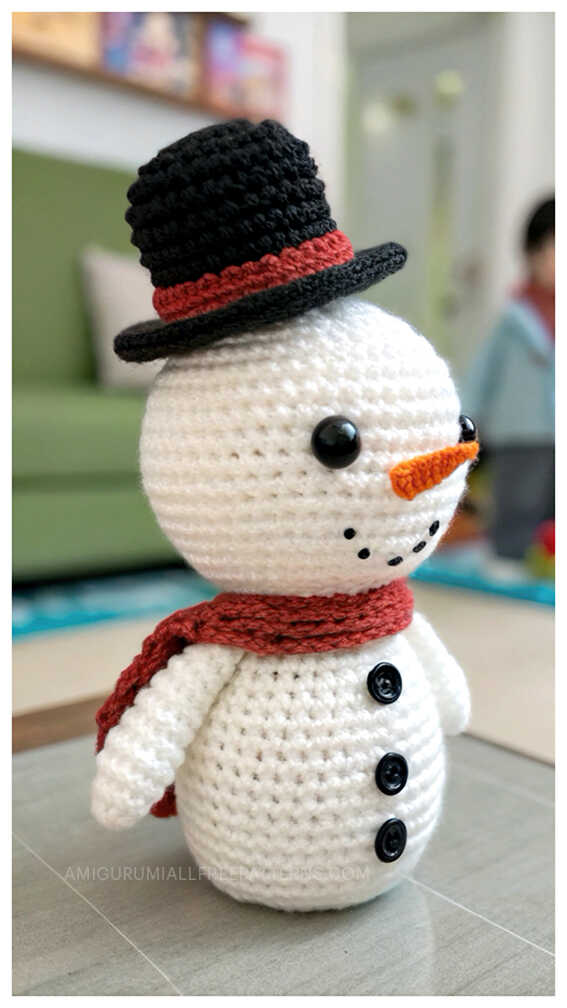
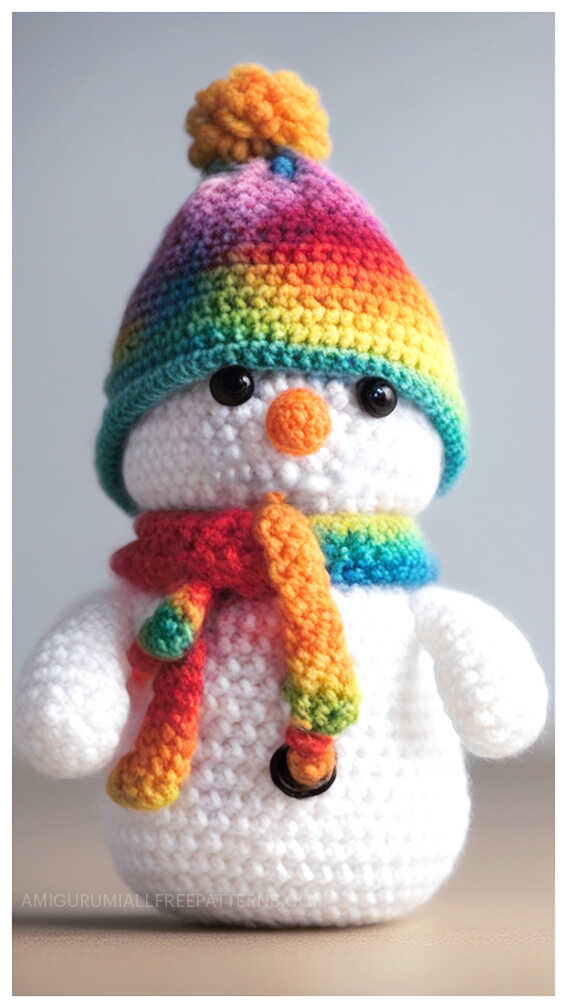
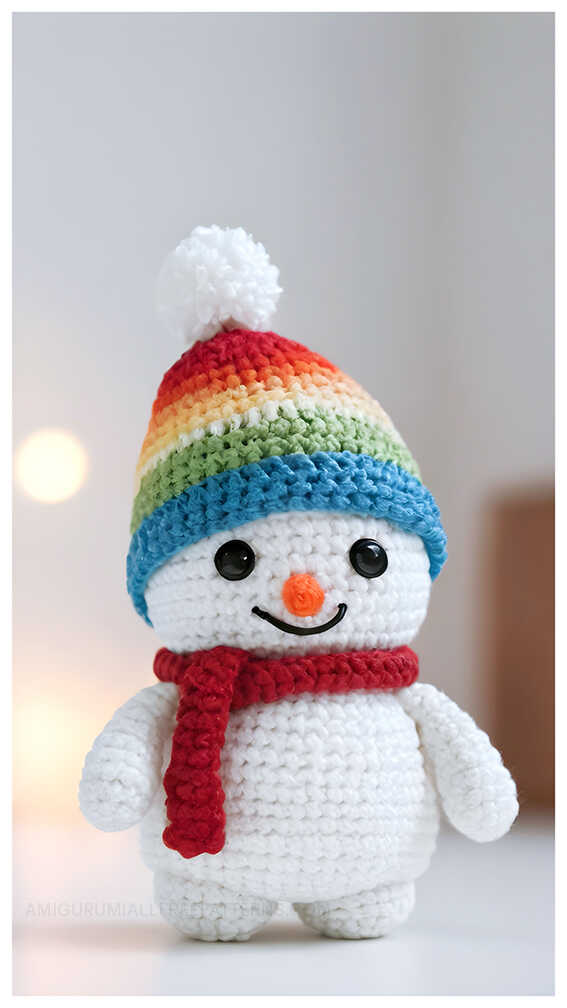
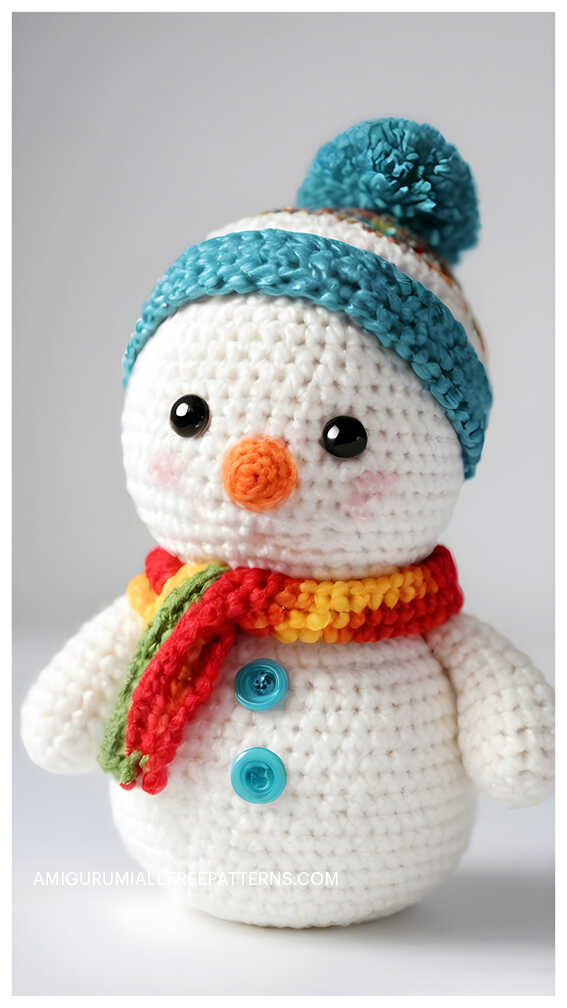
Your amigurumi snowman is ready!
More amigurumi snowman ideas:
