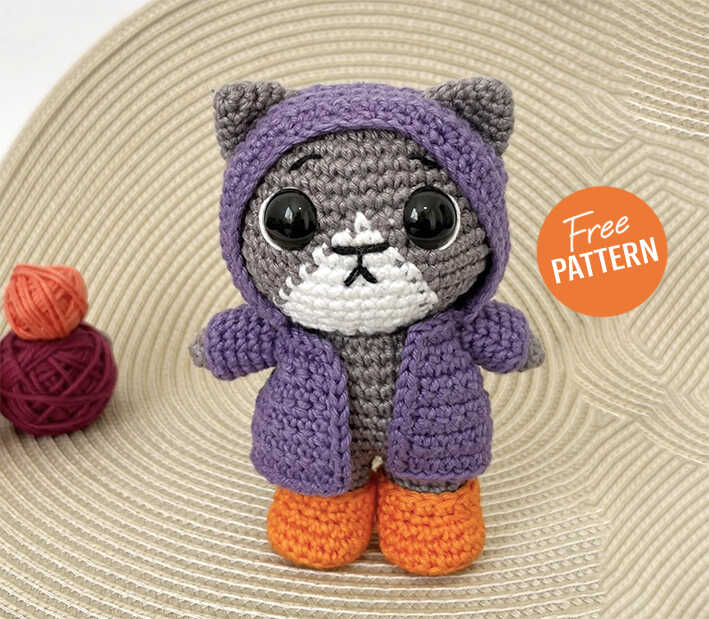
Bibi the Cat Amigurumi Free Crochet Pattern
Designer: Dababi Atelie
Instagram: @dababi.atelie
Let’s make something fun and adorable today…
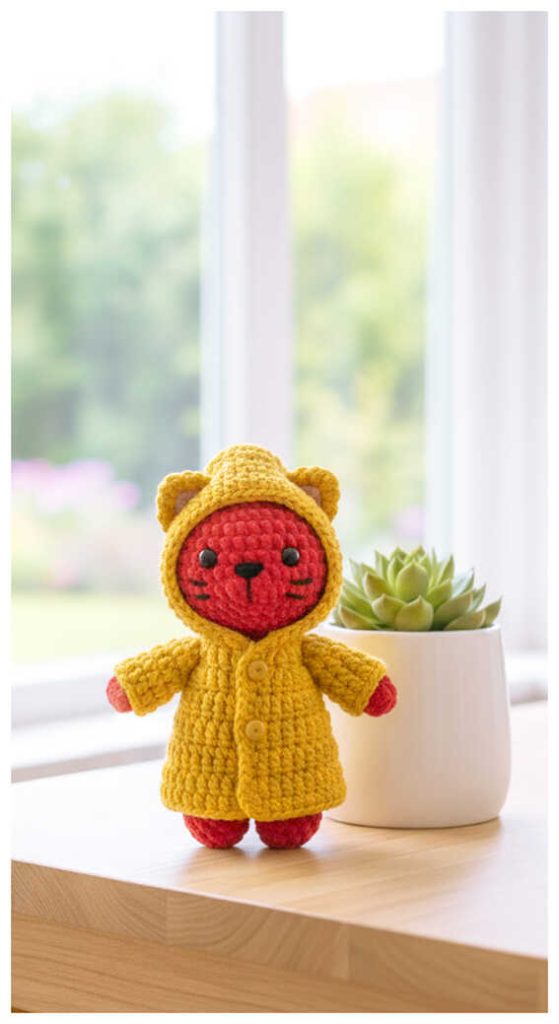
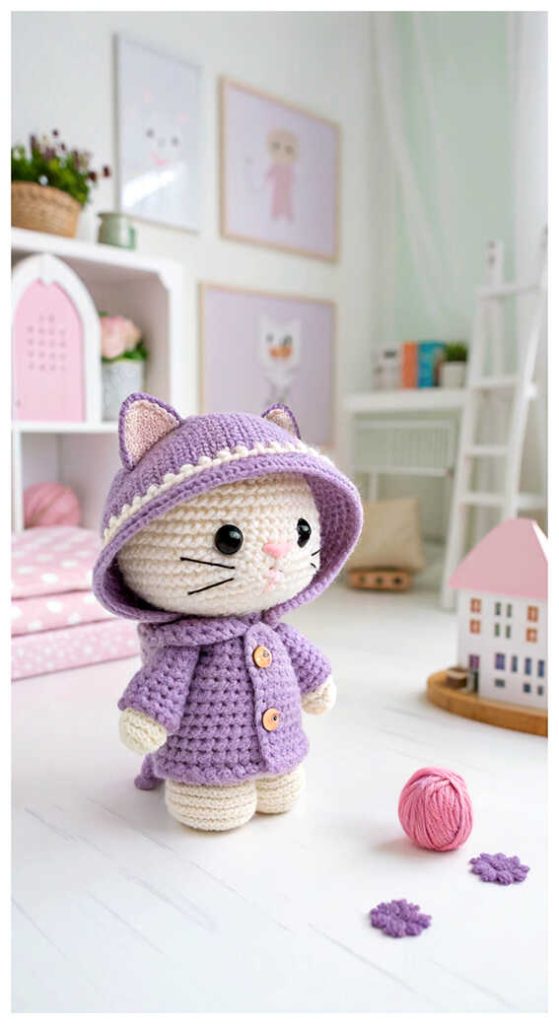
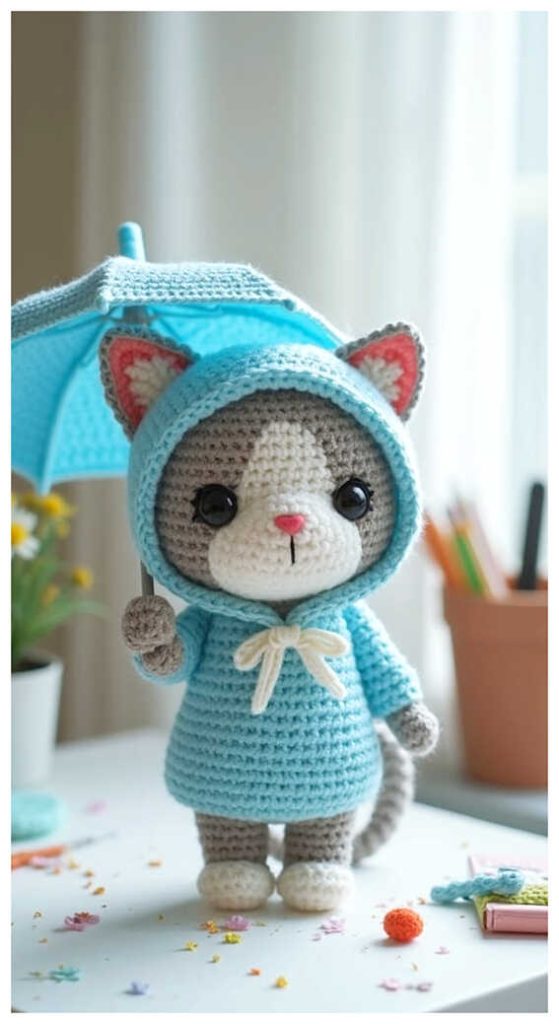
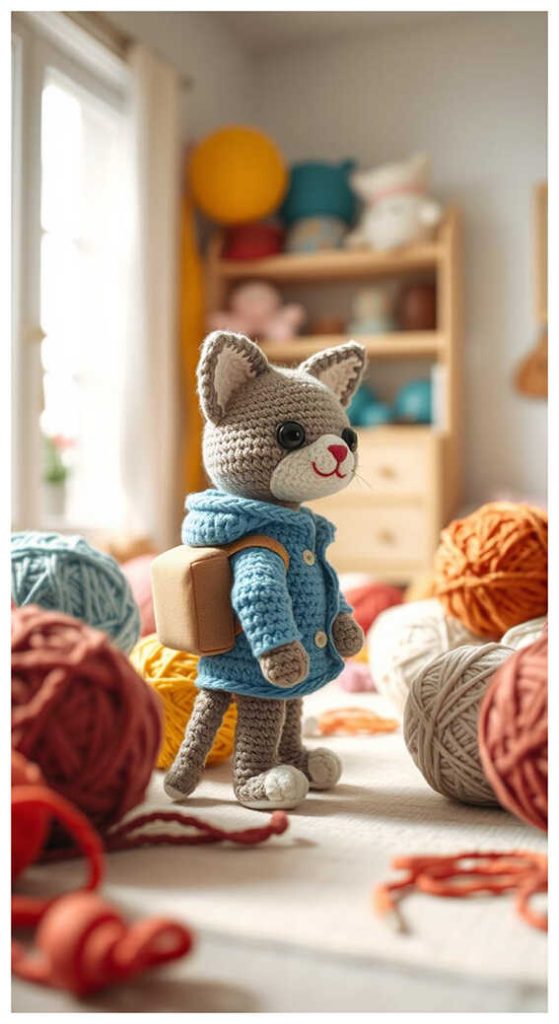
Bibi the Cat with Rain Costume Amigurumi Free Crochet Pattern by Dababi Atelie is a charming and heartwarming design that will melt your heart with its big, expressive 15mm eyes and adorable rain outfit! Created by the talented Bárbara Gonçalves, this cute kitty measures approximately 13cm tall when finished, making it the perfect size for gifts, desk decor, or handmade toy collections. The pattern is step by step and beginner friendly, so even if you’re new to amigurumi, you’ll enjoy every stitch of bringing this sweet little cat to life.
To make your own Bibi, you’ll need traditional amigurumi yarn, a Tulip Gold hook 4.5 (2.75mm), and a Soft Circle hook 3.00mm for those adorable galoshes. Cléa yarn is used to embroider the snout and eyebrows, adding extra character and charm. You can, of course, adjust materials and eye sizes to suit your style — Bárbara herself chose 15mm eyes to give Bibi that irresistibly “begging” look. At the end of the pattern, you’ll also discover more amazing amigurumi cat ideas that will inspire your next crochet creation. 🐱💛
Materials used
• Traditional amigurumi yarn
• Tulip gold hook 4.5 (2.75mm);
• Soft circle hook 3.00mm for the galoshes;
• Eyes size 15mm;
• Cléa yarn for embroidering the snout and eyebrows.
You can use any yarn and needles you prefer. The size of the eyes is also up to you. I put these on because I wanted him to have a begging face. Using the materials mentioned, my mascot was approximately 13cm tall.
Don’t forget to stretch before you start.
Abbreviations
MR:. Magic ring
inc:. Increase
sc:. Single crochet
dec:. Decrease
sl st:. Slip stitch
tr:. trible crochet
ch:. Chain
AMIGURUMI CAT WITH RAIN COSTUME FREE PATTERN
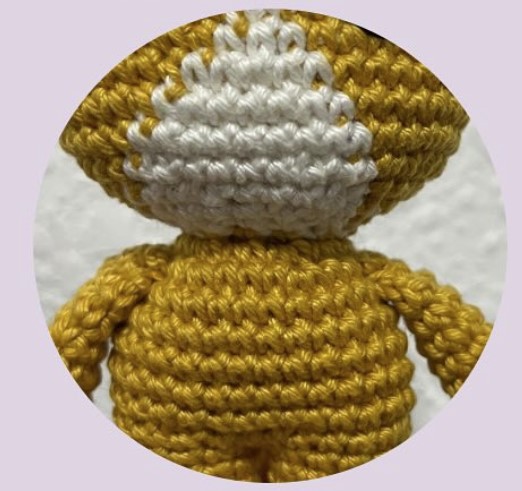
Head
1– MR with 8sc;
2– 8 Inc (16sc);
3– (1sc, 1Inc)8x (24sc);
4– 1sc, Inc, (2sc, 1Inc)7x, 1sc (32sc);
5– (3sc, 1Inc)8x (40sc);
6 to 9 – sc all around (4 rows of 40sc);
Now we will work with color changes. To make it easier to read, the text will be in red in the parts that we should change to the color of the patch, and black where we will use the “base” color of the head (if you prefer, you can do the whole thing in the same color).
10– (9sc, inc) 2x, 1sc, 8sc, inc, 9, inc (44sc);
11– 5sc, inc, 10sc, inc, 4sc, 3sc, 3sc, inc, 10sc, inc, 5sc (48sc);
12– 22sc, 5sc, 21sc (48sc);
13– 21sc, 7sc, 20sc (48sc);
14– 20sc, 9sc, 19sc (48sc);
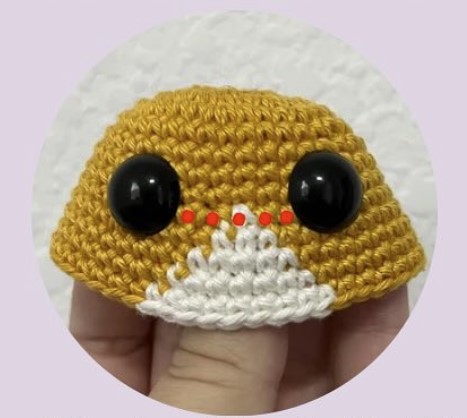
Attach the eyes between rows 9 and 10, with 5 stitches visible between them.
15 – 2sc, dec, (4sc, dec)2x, 3sc, 1sc, dec, 4sc, dec, 2sc, 2sc, dec, (4sc, dec)2x, 2sc (40sc);
16 – (3sc, dec)3x, (3sc, dec)2x, 1sc, 2sc, dec, (3sc, dec)2x (32sc);
17 – 1sc, dec, (2sc, dec)2x (2sc, dec)3x, (2sc, dec)2x 1sc (24sc);
18 – (1sc, dec)2x 1sc, dec, (1sc, dec)3x, (1sc, dec)2x (16sc);
Add stuffing. We will work again only with the 1st color.
19– (2sc, dec)4x (12sc);
20a– BLO 12sc;
20b– FLO 12inc (24sc);
Body
21– (3sc, 1 inc)6x (30sc);
22 to 26 – sc all around (5 rows of 30sc);
27– (3sc, dec)6x (24sc);
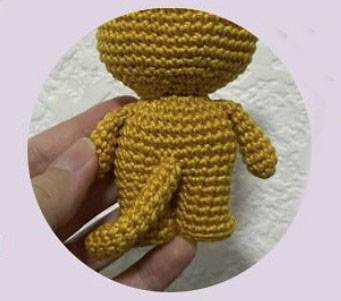
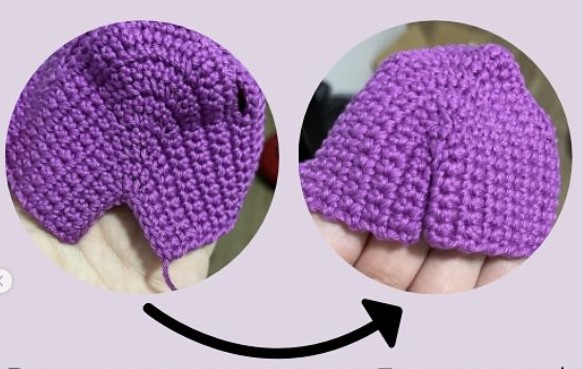
Now we will separate the legs. To do this, fold the piece in half and leave 12 sc on each side.
I made 2sc to reach the center of the body, make as many as needed to center the beginning of the 1st leg.
Consider the beginning of the row as the 1st stitch made on the front of the body.
Leg 1
1 to 4– 12sc;
In the next rows we will have increases centered in the front of the legs – if you find it necessary, change the amount of sc before the increases.
5– 2sc, 3inc, 7sc (15sc);
6– 3sc, 3inc, 9sc (18sc);
7– BLO – 18sc;
Place stuffing in the length of the 1st leg before the next row.
8– 9dec.
Close with inverted magic ring and fasten off.
Leg 2
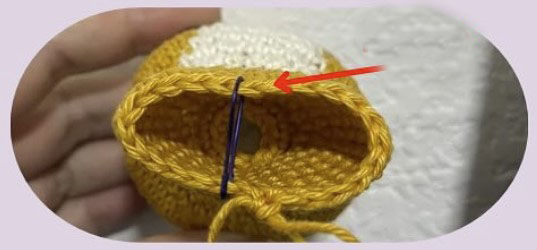
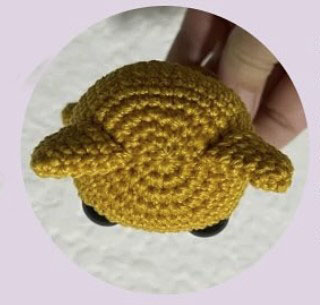
Before starting, stuff the body. Here the beginning of the row will be at the back of the body, as shown in the photo. Therefore, the amount of sc before the increases in the 5th row will change.

Insert a new yarn in the first free stitch of the back.
Rows 1 to 4 – 12 sc;
5– 7 sc, 3 inc, 2 sc (15 sc);
6– 9 sc, 3 inc, 3 sc (18 sc);
7– BLO – 18 sc;
Insert stuffing.
8– 9 dec. Close with inverted magic ring and fasten off.
Arms (make 2)
1– MR with 6sc;
2– (2sc, 1inc)2x (8sc);
3 to 8– 8sc (for 6 rows);
If necessary, add a little stuffing only halfway up the arms.
Fold in half and close with 3sc; Fasten off, leaving a long thread for sewing.
Sew in the second row below the head.
Ears (make 2)
1– 6sc;
2– (2sc, inc)2x (8sc);
3– (3sc, inc)3x (10sc);
4– 2sc, inc, 4sc, inc, 2sc (12sc);
5– (5sc, inc)2x (14sc);
6– 3sc, inc, 6sc, inc, 3sc (16sc);
Fasten off, leaving a tail for sewing.
Sew between rows 3 and 8, counting from the top of the head. The position of the ears is important for the coat to fit. Use pins to position them before sewing.
Tail
1– MR with 6sc;
2 to 12– 6sc;
Fasten off, leaving a thread for sewing, and sew between rows 6 and 7 counting from the neck.
Now embroider the details of the face and your kitty is ready! The accessories are optional.
Rain Boots (make 2) – we will work in oval crochet.
To make it easier to put on the rain boots, I recommend using a hook 0.5mm larger than the one we used for the other parts of our mascot (especially if your stitch is tighter).
CH 15, start in the 2nd chain 3sc, triple inc, 2sc, inc (10sc);
2– inc, 2sc, 3inc, 2sc, 2inc (16sc);
3– 1sc, inc, 3sc, inc, 1sc, inc, 1sc, inc, 3sc, inc, 1sc, inc (22sc);
4– 22sc in BLO;
5– 22sc;
6– 4sc, 5dec, 8sc (17sc);
7– 5sc, 1dec, 10sc (16sc);
8– 16sc.
*The decreases should be centered on the front of the galoshes. If necessary, change the number of stitches before the decreases on rows 6 and 7.
To center well, define where the middle of the piece is, and count 5 stitches for each side, as shown in the photo.

Coat
We will work in back and forth rows.
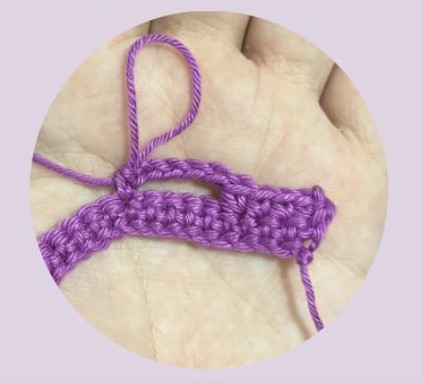
1– 25 ch, return from the 2nd ch, totaling 24sc, 1 ch and turn the work (repeat this at the end of each row);
2– 4sc, 5ch, skip 5sc from the previous row, 6sc, 5ch, skip 5sc, 4sc (24sc);
3– 3sc, inc, 5sc in the chains, inc, 4sc, inc, 5sc in the chains, inc, 3sc (28sc);
4– Stitch over stitch (28sc);
5– 5sc, inc, 5sc, inc, 4sc, inc, 5sc, inc, 5sc (32sc);
6 to 9 – Stitch over stitch (4 rows of 32 sc);
10 – 32 sc, 1 ch, turn, go around the entire piece with sl st and fasten off.
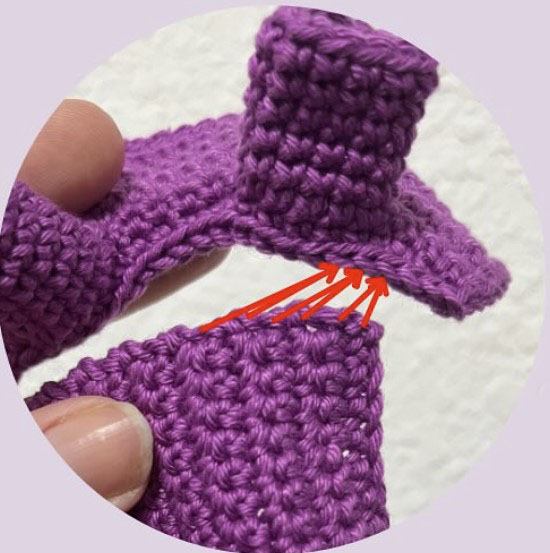
In the openings left in row 2, we will make the sleeves.
Introduce a new thread, and make 12 sc in the available stitches, including the sides, as per the dots marked in the photo.

Make 5 more rows of 12 sc and fasten off.
Repeat in the other opening.
Hood
Back and forth rows. At the end of each row, make 1 chain stitch and turn the work.
1– 37 ch, return from the 2nd chain stitch making 36sc;
2– 4sc, 1inc (8sc, 1Inc)3x, 4sc (40sc);
3 to 5- 40sc;
6– 9sc, 8ch, skip 8 stitches, 6sc, 8ch, skip 8 stitches, 9sc (40sc);
7 and 8– 40sc;
9– 14sc, 6dec, 14sc (34sc);
10– 34sc;
11– 11sc, 6dec, 11sc (28sc);
12– 28sc;
13– 9sc, 5dec, 9sc (23sc);
14– 23sc;
15– 6sc, 2dec, 1 triple dec (using 3 loops instead of 2), 2 dec, 6sc (17sc);
16– 17sc;
17– 5sc, dec, triple dec, dec, 5sc (13sc);
Fold in half and join the sides to form the back of the hat.
To sew, count 3 stitches from the collar of the coat, only in the area delimited between the white lines in the image below.

Sew 2 stitches from the base of the hat to each stitch from the base of the coat, since there are more stitches at the base of the hat than at the collar of the coat.
Put the ears in the holes in the hood, and your mascot will be ready for a cold and rainy day (which I honestly love for crocheting while drinking a hot tea).
You may also like Little Mouse Crochet Free Pattern
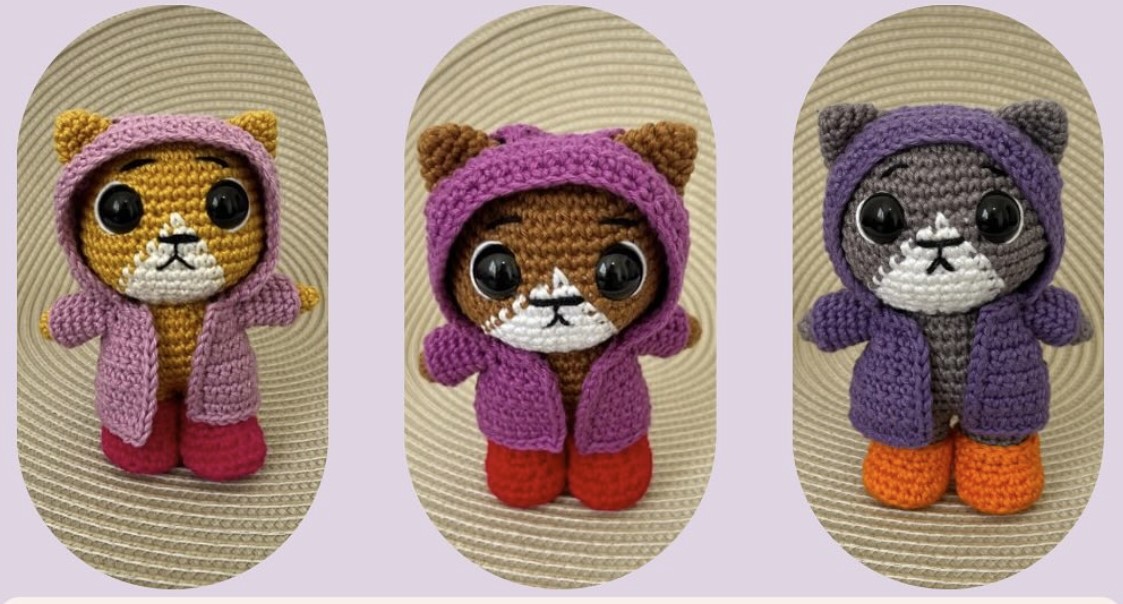
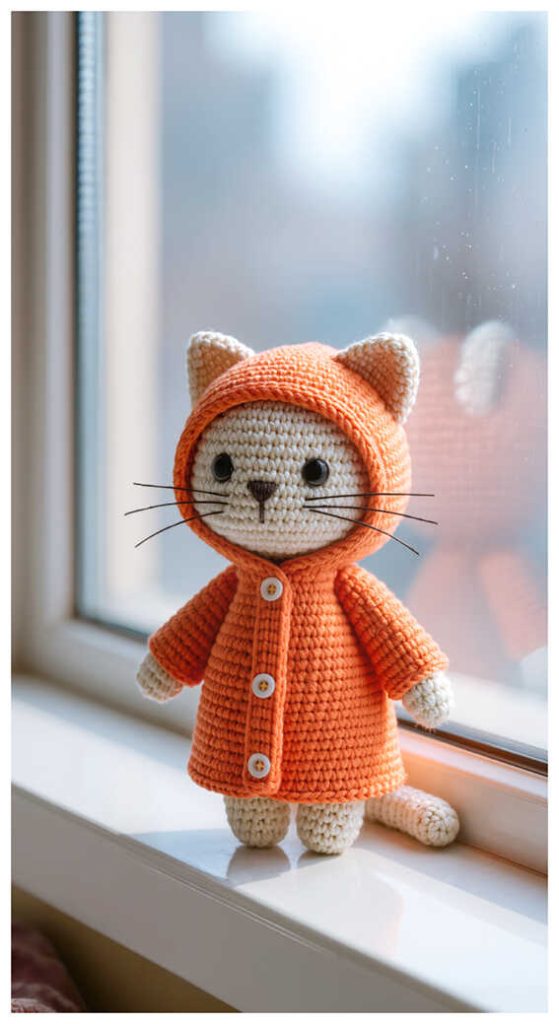
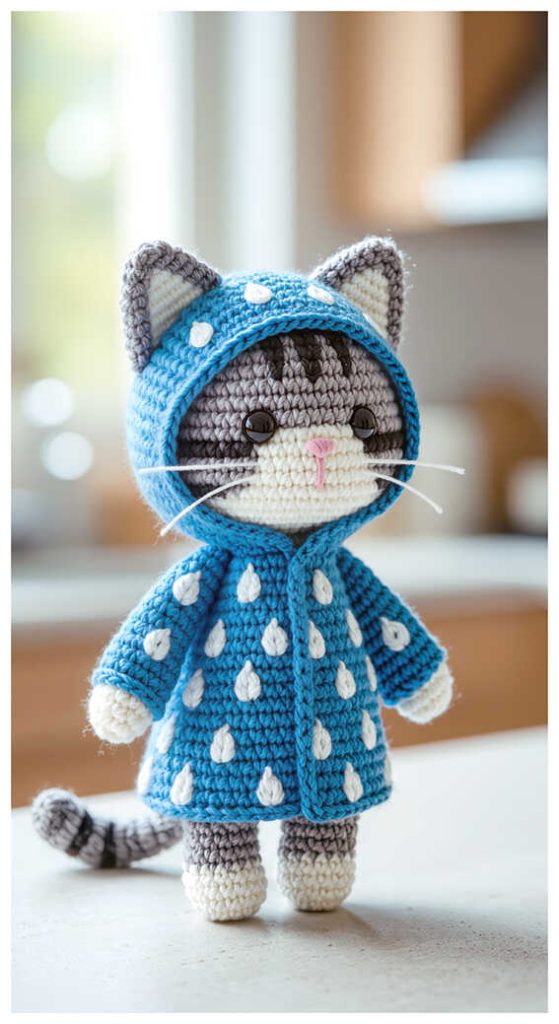
Stylish amigurumi cat ideas:
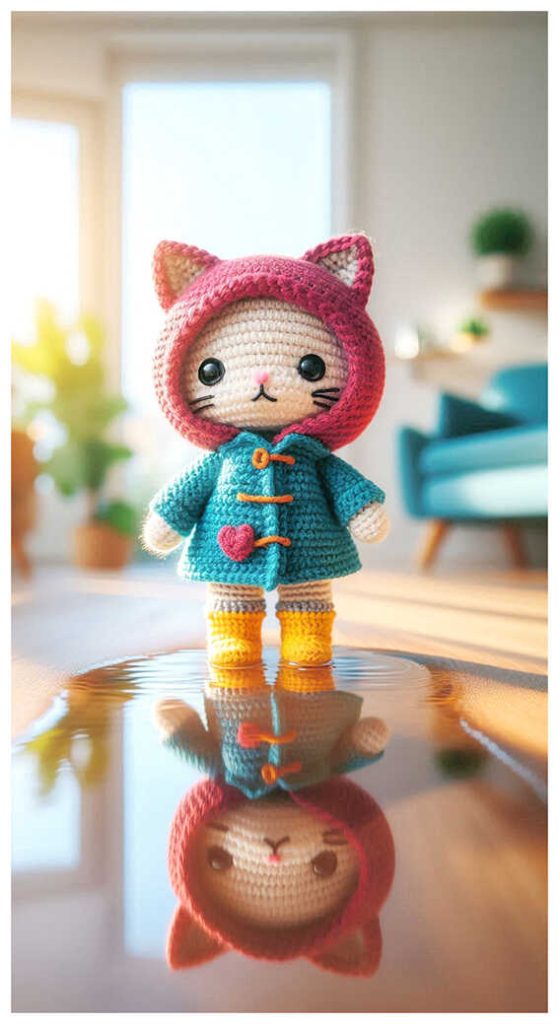

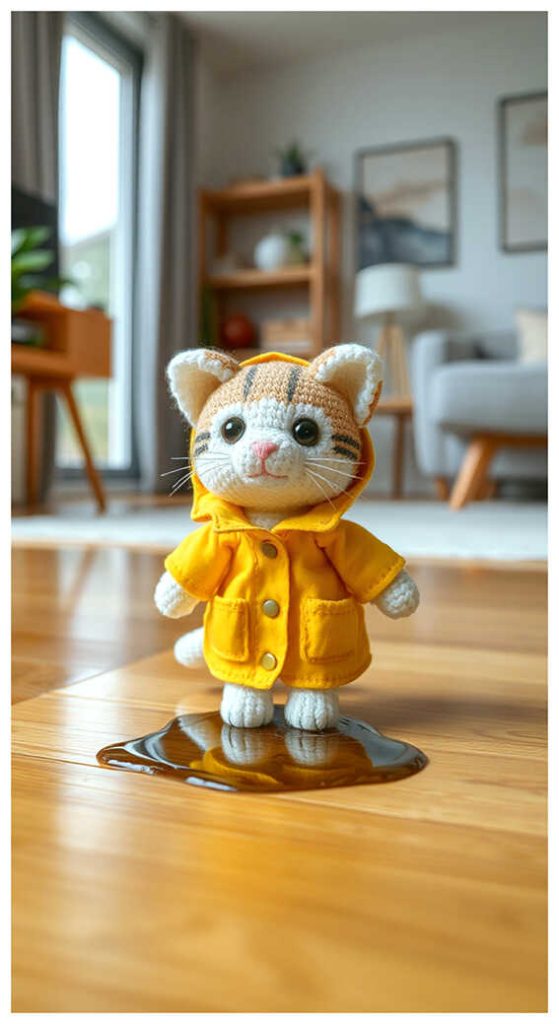
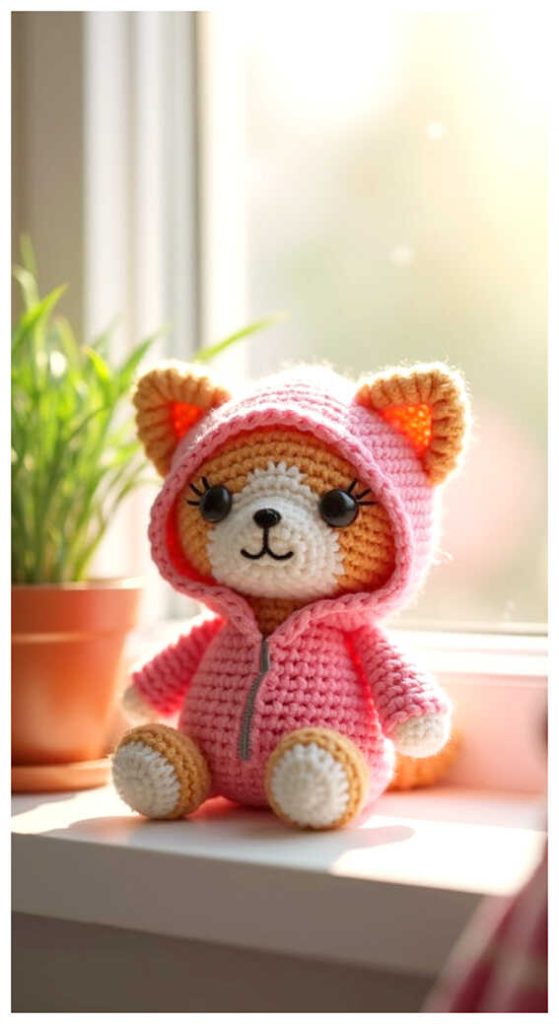
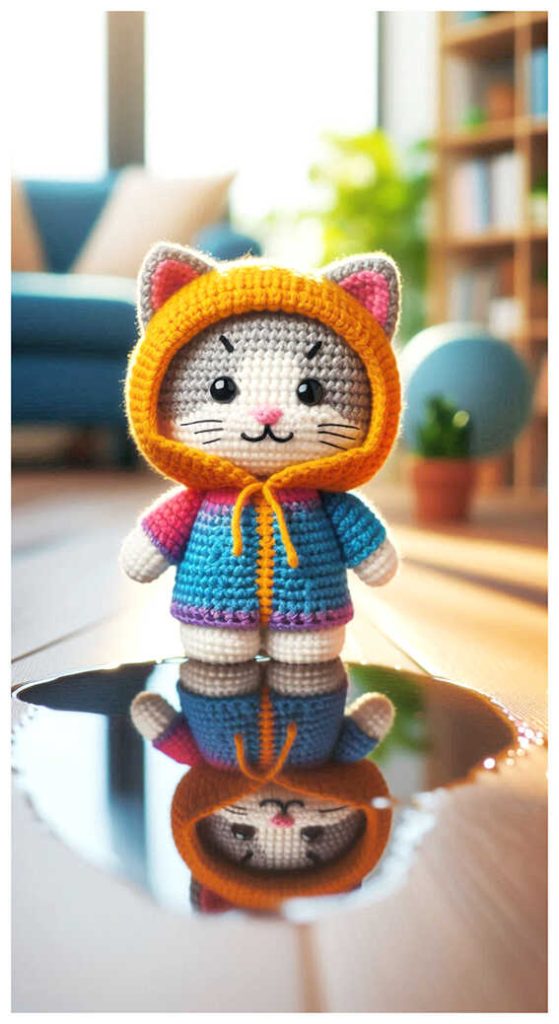
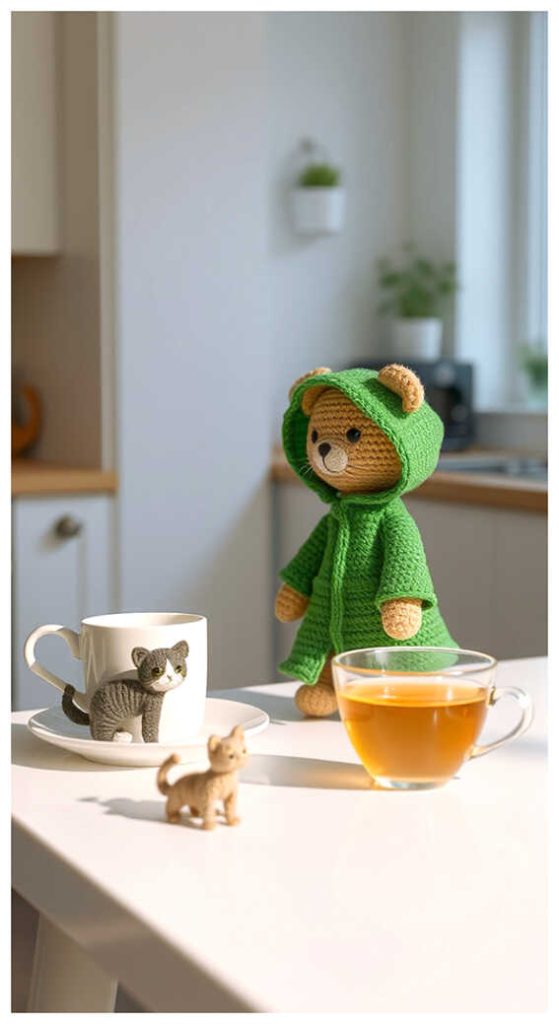
Ready to create your next adorable amigurumi companion?
Explore our collection of free patterns featuring amigurumi cats, amigurumi dolls, amigurumi dogs, amigurumi unicorns, amigurumi birds, amigurumi giraffes, amigurumi dinosaurs, amigurumi penguins, amigurumi bunnys, amigurumi bears, and countless other charming creatures. From simple projects perfect for beginners to intricate designs for experienced crocheters, we’ve got patterns for every skill level.
Join our amigurumi community (Instagram, Facebook, YouTube), unleash your creativity, and bring your favorite crochet characters to life. Follow us for fresh inspiration and new patterns that will keep your hooks busy!
Keywords: free amigurumi patterns, crochet toys, amigurumi animals, beginner amigurumi, amigurumi dolls, crochet free patterns, crochet patterns, easy crochet