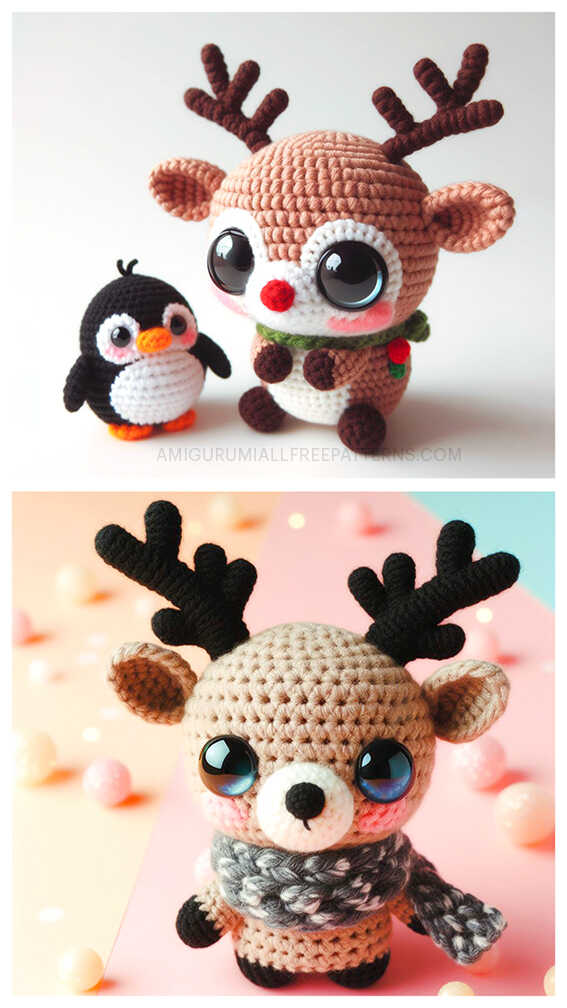
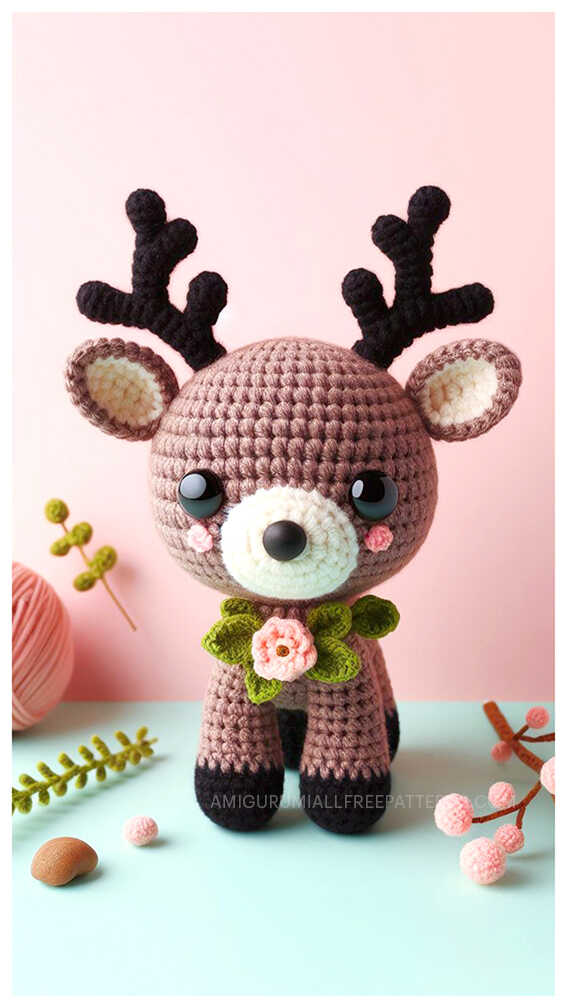
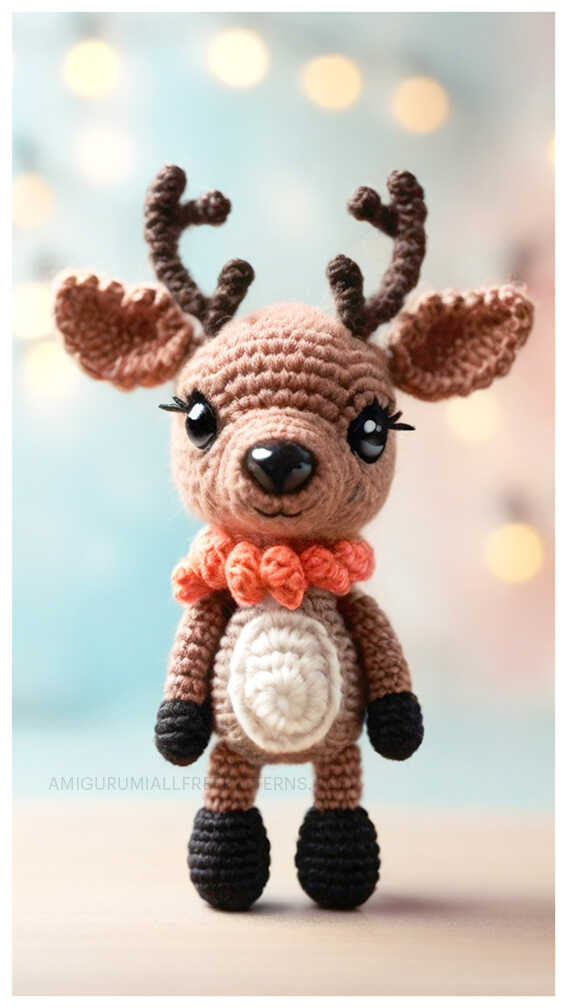
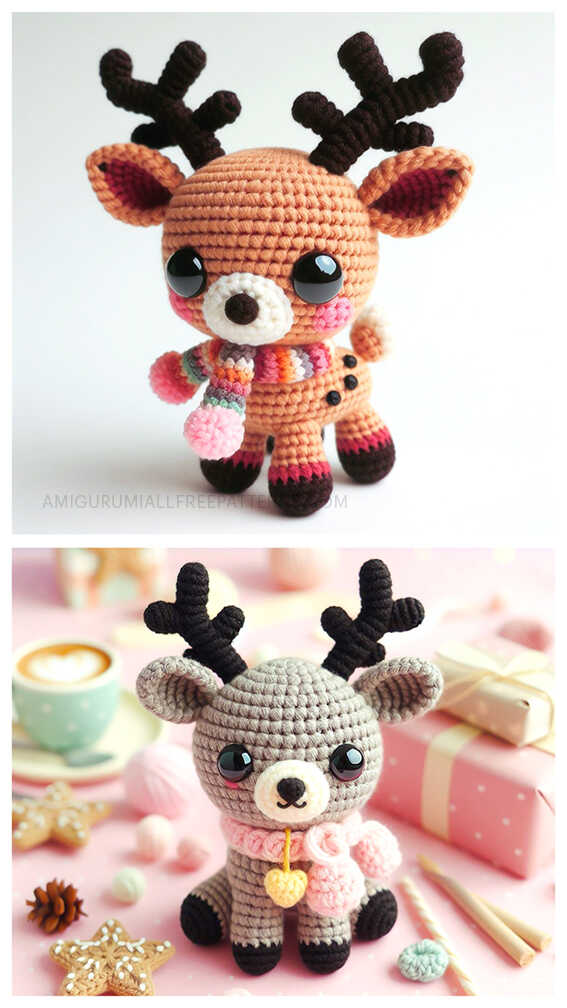
Crochet Reinder Free Amigurumi Pattern
Designer: Nadia Lukhlina
Instagram: @scandistyle_dolls
Hello Amigurumi Lovers…
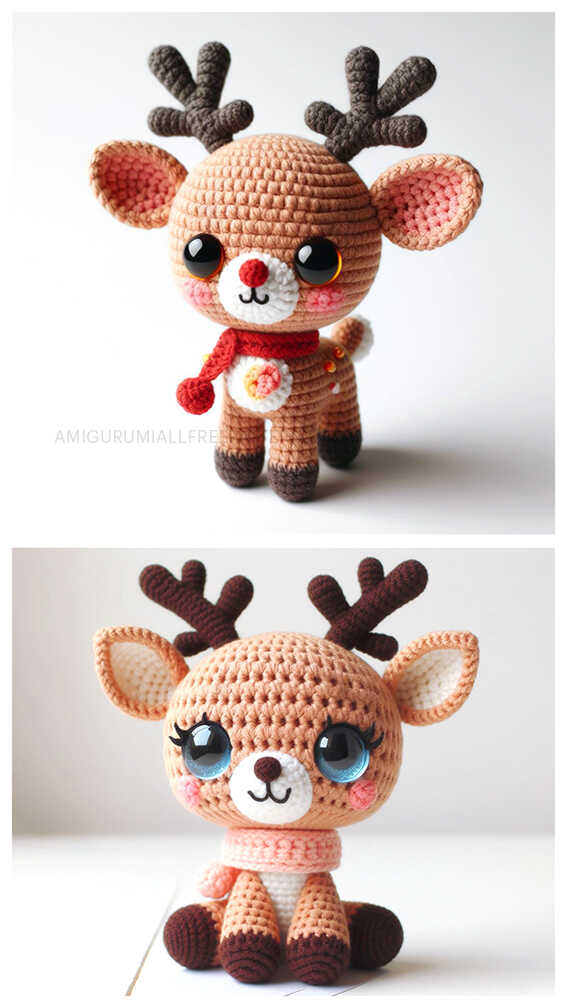
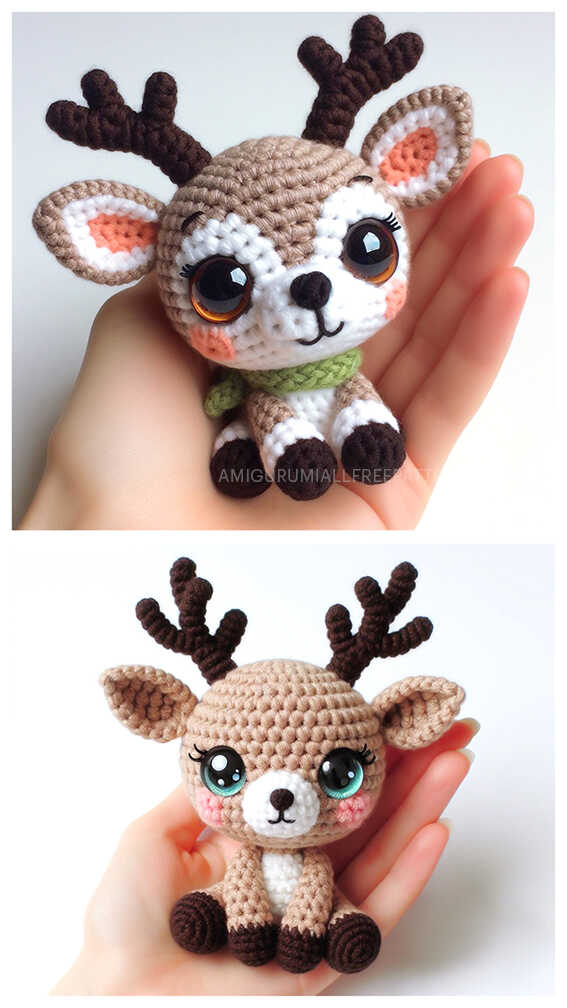
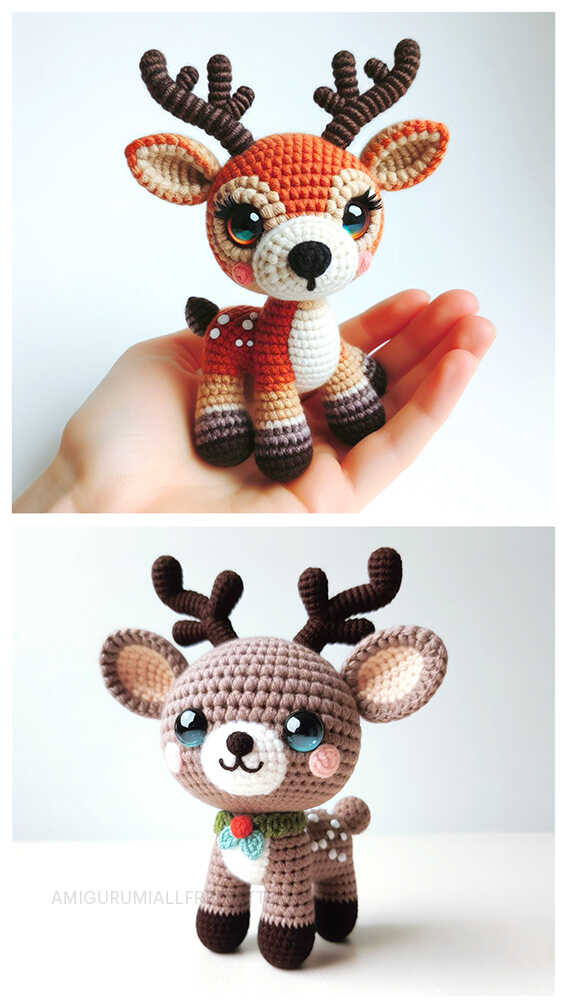
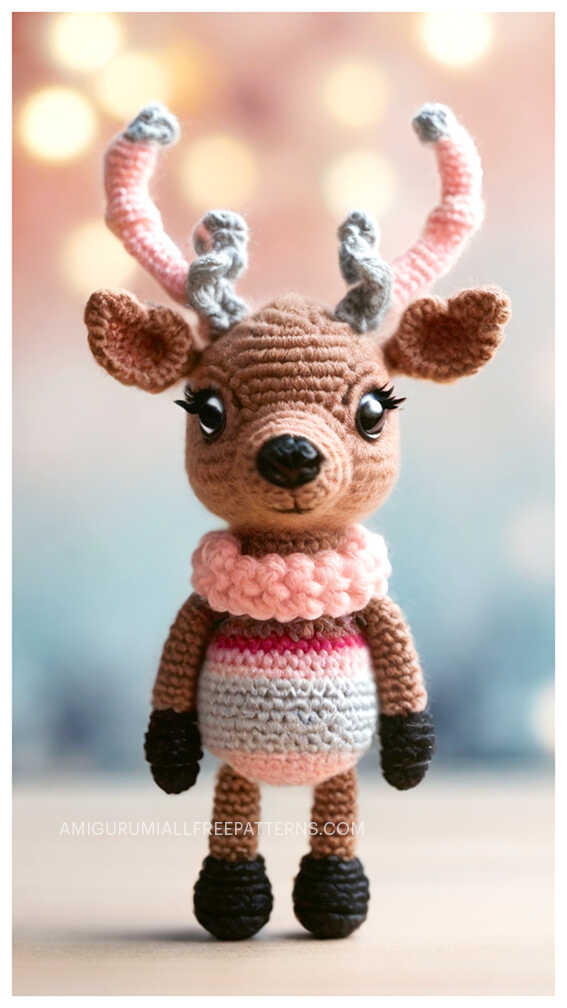
One of the free amigurumi crochet patterns we will share today is the reindeer, whose photos and design belong to Nadia Lukhlina (Etsy store). You can learn how to crochet these reindeer using the free amigurumi pattern. Thanks to dear Nadia Lukhlina for this tiny reindeer.
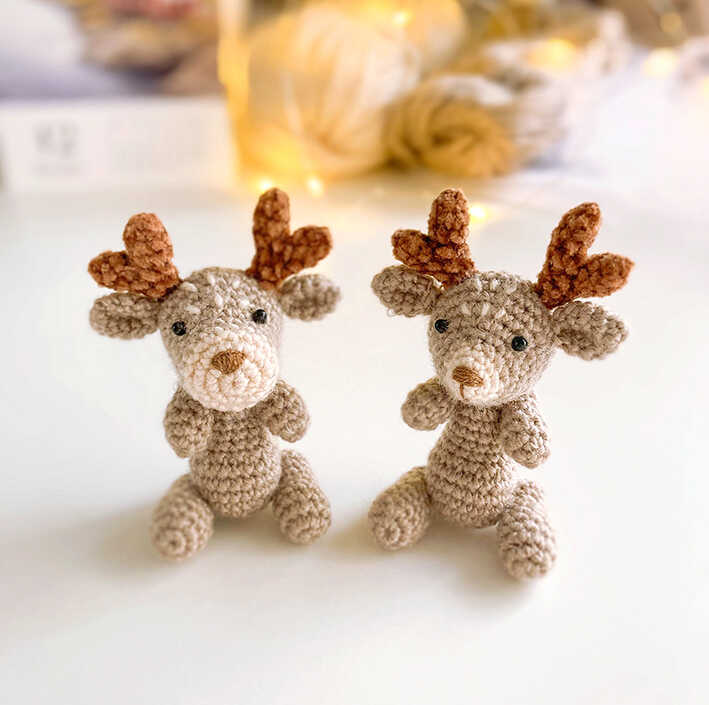
Amigurumi cats, amigurumi dolls, amigurumi dogs, amigurumi unicorns, amigurumi lambs, amigurumi dinosaurs, amigurumi foxes, amigurumi bears, amigurumi giraffes, amigurumi pigs, amigurumi birds, amigurumi penguins, amigurumi panda, amigurumi llama, amigurumi bunny, amigurumi clowns, amigurumi elephants, amigurumi hippos, amigurumi monkeys will not be difficult for you…
Materials
1. Yarn (beige, milky, brown). I have beige and milky – Vita Brilliant (380 m /100 g), brown – thin chenille yarn (regular yarn can be used). Any yarn can be used for the whole toy.
2. Crochet hook, I have Clover size 1,5 mm.
3. Plastic eyes size 3 mm, glue.
4. Brown thin thread for nose embroidery.
5. Polyester fiberfill, needle, pins, scissors.
Size of the finished toy is 6-7 cm.
Abbreviations
MR – magic (amigurumi) ring
ch – chain
sc – single crochet
inc – increase
dec – decrease
slst – slip stitch
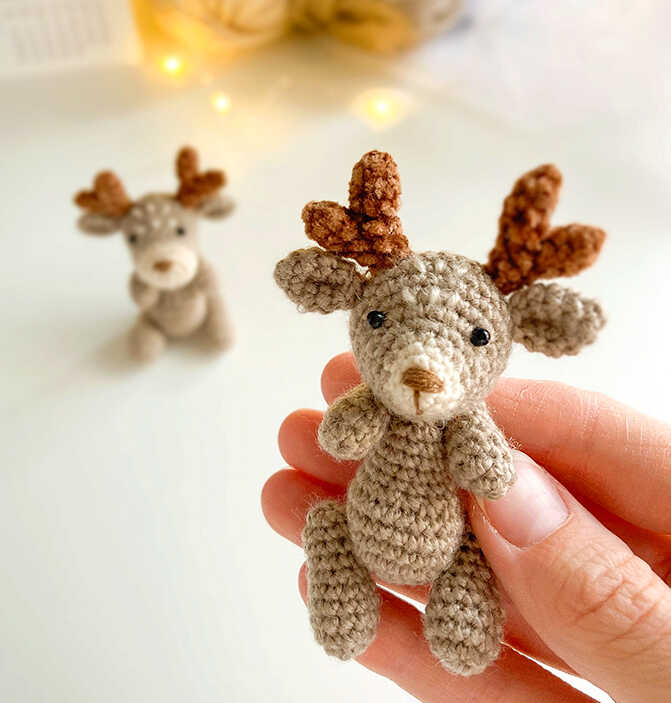
AMIGURUMI LITTLE REINDEER FREE PATTERN
Head, option 1 (wide muzzle)
Milky.
1 – 6 sc in MR
2 – 6 Inc (12)
3 – (1 sc, inc)*6 (18)
4– 18 sc
Change to beige.
5-6 – 18 sc (3 rounds)
7 – 7 sc, 4 inc, 7 sc (22)
8 – 7 sc, inc, 6 sc, inc, 7 sc (24)
9 – (3 sc, inc)*6 (30)
10-12 – 30 sc (3 rounds)
13 – (3 sc, dec)*6 (24)
14 – (2 sc, dec)*6 (18)
15 – (1 sc, dec)*6 (12) Stuff.
16 – 6 dec
Secure and cut off the thread, weave in the ends.
Head, option 2 (narrow muzzle)
Milky.
1 – 6 sc in MR
2 – (1 sc, inc)*3 (9)
3 – (2 sc, inc)*3 (12)
Change to beige.
4 – (3 sc, inc)*3 (15)
5 – (4 sc, inc)*3 (18)
6 – 7 sc, 4 inc, 7 sc (22)
7 – 7 sc, inc, 6 sc, inc, 7 sc (24)
8 – (3 sc, inc)*6 (30)
9-11 – 30 sc (3 rounds)
12 – (3 sc, dec)*6 (24)
13 – (2 sc, dec)*6 (18)
14 – (1 sc, dec)*6 (12) Stuff.
15 – 6 dec
Secure and cut off the thread, weave in the ends.
Ears (make 2)
Beige.
1 – 6 sc in MR
2 – (1 sc, inc)*3 (9)
3 – (2 sc, inc)*3 (1 2)
4 – 12 sc
5 – (2 sc, dec)*3 (9)
Cut off the thread, leave a thread for sewing. Fold the edges together, sew them using a needle, then fold the ear in half and sew it again.
Horns (make 2)
Brown.
1 – 5 sc in MR
2-3 – 5 sc (2 rounds)
Crochet 2 equal parts. Cut off the thread on the first part, do not cut off the thread on the second part, but continue crocheting the horn. Connect the first part:
4 – 5 sc on the fist part, 5 sc on the second part (10)
5 – 5 dec (5)
6 – 5 sc
Cut off the thread, leave a thread for sewing. Do not stuff the horn. Make the second horn similarly.
Body
Beige.
1 – 6 sc in MR
2 – 6 inc (12)
3 – (1 sc, inc)*6 (18)
4 – (2 sc, inc)*6 (24)
5-7 – 24 sc (3 rounds)
8 – 6 dec, (1 sc, dec)*4 (14)
9-11 – 14 sc (3 rounds)
12 – (5 sc, dec)*2 (12)
13 – 12 sc
Cut off the thread, leave a thread for sewing. Stuff.
Tail
Beige.
1 – 6 sc in MR
2 – (1 sc, inc)*3 (9)
3 – 9 sc
Cut off the thread, leave a thread for sewing. Fold the edges together and sew them using a needle.
Legs (make 2)
Beige.
1 – 6 sc in MR
2 – 6 inc (12)
3-5 – 12 sc (3 rounds)
6 – (2 sc, dec)*3 (9)
7-10 – 9 sc (4 rounds) Stuff.
Tighten the hole, secure the thread and weave in the ends.
Arms (make 2)
Beige.
1 – 6 sc in MR
2 – (1 sc, inc)*3 (9)
3-4 – 9 sc (2 rounds)
5 – (1 sc, dec)*3 (6)
6-7 – 6 sc (2 rounds) Stuff.
Tighten the hole, secure the thread and weave in the ends.

Assembly
1 – glue on the eyes between 7th and 8th rounds, on the edges of the 4 increases of 7th round (for wide muzzle reindeer), or between 6th and 7th rounds, on the edges of the 4 increases of 6th round (for narrow muzzle reindeer). Embroider a nose with a brown thread on the second round of the muzzle.
2 – sew on the ears on 10-11 rounds (11-12 rounds for the wide muzzle reindeer) on the sides of the head (at the level of the eyes). Sew on the horns above the ears, close to them. Embroider white stitches on the forehead randomly.
3 – sew on the head to the body.
4 – attach arms using thread attaching (or sew) 1 round below the seam between head and body.
5 – attach legs using thread attaching (or sew) between 4th and 5th rounds of the body on the sides.
6 – sew on the tail at the back of the toy approximately on 5-6 rounds.
More amigurumi reindeer ideas:
