Free Crochet Turtle Amigurumi Pattern
Designer: Alesya Chacschina
Instagram: @amiguruminka_35
Hello Amigurumi Lovers…
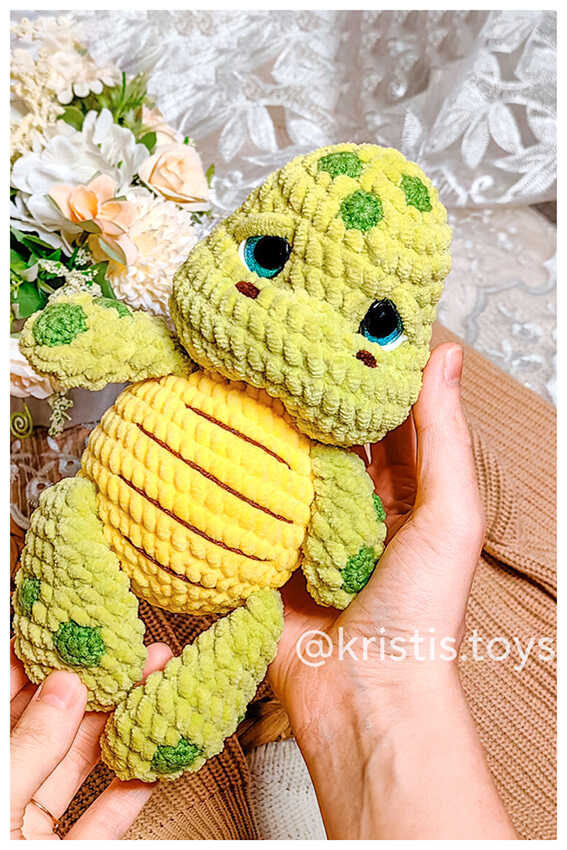
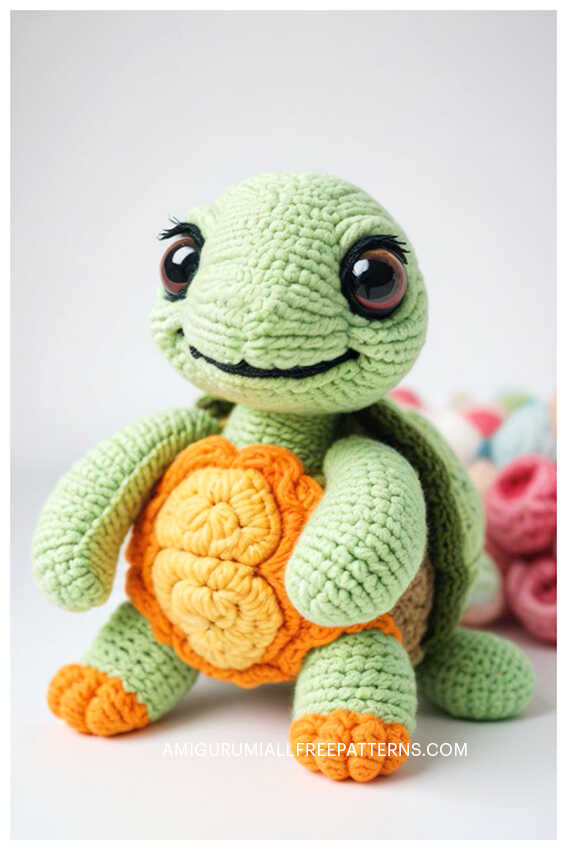
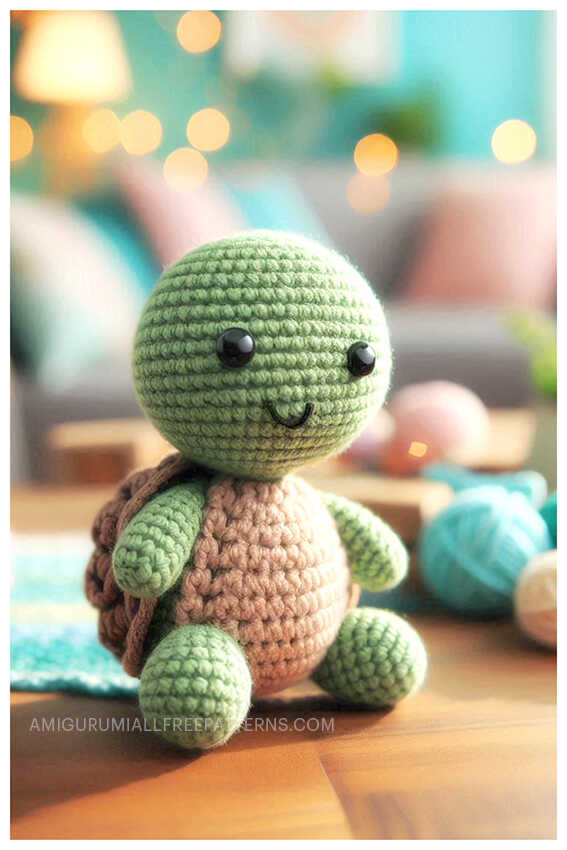
One of the free amigurumi crochet patterns we will share today is the turtle, whose photos and design belong to Alesya Chacschina (VK). You can learn how to crochet turtle using the free amigurumi pattern. Thanks to dear Alesya Chacschina for this cute turtle.

Amigurumi cats, amigurumi dolls, amigurumi dogs, amigurumi unicorns, amigurumi lambs, amigurumi dinosaurs, amigurumi foxes, amigurumi bears, amigurumi giraffes, amigurumi pigs, amigurumi birds, amigurumi penguins, amigurumi panda, amigurumi llama, amigurumi bunny, amigurumi clowns, amigurumi elephants, amigurumi hippos, amigurumi monkeys will not be difficult for you…
Materials and tools
1. Plush yarn 100g/120m.
2. Semi-cotton yarn Yarnart Jeans 50g/160m.
3. Hook 4 mm and 1.75 – 2 mm.
4. Sewing pins for fastening small details before sewing.
5. Fiberfill.
6. Needle with a wide eye for sewing details.
7. Marker (pin) to mark the beginning of the row.
8. Scissors.
9. Knitting needles are thin for fixing parts in front of sewing.
Abbreviations
MR: Magic ring
Ch: Chain
Sc: Single crochet
Slst: Slip stitch
Hdc: Half double crochet
Dc: Double crochet
Inc: Increase
Dec: Decrease
AMIGURUMI PLUSH TURTLE FREE PATTERN
Head
Rnd 1. 9 sc in MR (9)
Rnd 2. 9 inc (18)
Rnd 3. (2 sc, inc)*6 (24)
Rnd 4. (3 sc, inc)*6 (30)
Rnd 5-7. 30 sc (3 rows)
bias loop
Rnd 8. (4 sc, inc)*6 (36)
Rnd 9-10. 36 sc (2 rows)
bias loop
Rnd 11. (4 sc, dec)*6 (30)
Rnd 12. (3 sc, dec)*6 (24)
bias loop
Rnd 13. (2 sc, dec)*6 (18)
Insert filler.
Rnd 14. (1 sc, dec)*6 (12)
Rnd 15. 6 dec (6)

Shell
Rnd 1. 6 ch
Rnd 2. We start knitting from the second ch from the hook: 1 sc, 2 hdc, 1 sc, 3 sc in one loop, 1 sc, 2 hdc, 1 sc, 3 sc in one loop (in the one that we skipped starting to knit from the second loop) (14)
Rnd 3. hdc, 2 dc, 1 hdc, 3 inc , 1 hdc, 2 dc, 1 hdc, 3 inc (20)
Rnd 4. hdc, 2 dc, 1 hdc, (1 sc, inc)*3, 1 hdc, 2 dc, 1 hdc, (1 sc, inc)*3 (26)
Loop offset sc.
Rnd 5. hdc, 4 dc, 1 hdc, inc, 2 sc, inc, 2 sc, one increase of 1 sc and 1 hdc, 4 dc, (2 hdc, inc hdc) * 3 (32)
Rnd 6. 1 slst, 20 sc, inc hdc , 2 hdc, 4 inc hdc , 2 hdc, inc hdc, 1 sc (38)
Rnd 7. 38 sl st behind the front wall of the loop
Rnd 8. 3 sl st behind the front wall of the loop, ch, cut the thread.
Tummy
Rnd 1. 5 ch
Rnd 2. From the second loop from the hook inc, 2 sc, inc (6)
Rnd 3. 2 ch, 6 hdc
Rnd 4. 2 ch, inc hdc, 4 hdc, inc hdc (8)
Rnd 5-6. 2 ch, 8 hdc (2 rows)
Rnd 7. 2 ch, dec hdc, 4 hdc, dec hdc (6)
Rnd 8. ch, dec sc, 2 sc, dec sc (4)
ch, tie a tummy.
Upper paws
Rnd 1. 8 in MR
Rnd 2. 8 inc (16)
Rnd 3. (1 sc, inc)*8 (24)
Fold in half and crocheting together 12 sc.
Lower legs
Rnd 1. 6 in MR
Rnd 2. 6 inc (12)
Rnd 3. (1sc, inc) (18)
Fold in half and knit together 9 sc.
Eyes
Rnd 1. Black 9 in MR
We knit the following rows for the back wall of the loop:
Rnd 3. 9 inc on the last increase change of color to blue (18)
Rnd 4. 2 slst, 2 sc, 2 slst on the second slst, color change to white, 2 slst on the second slst, color change to black, 9 slst on the last slst, color change to white, 1 slst (18)
15. slst, 1 sc, 2 inc, 2 sc, 2 inc, 2 slst (22)
Assembly and decoration
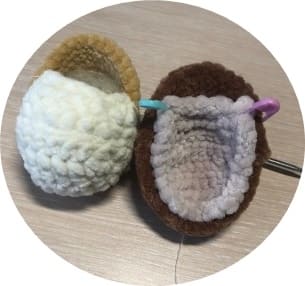
– We put the belly into the shell, fix it with markers, the first we fix the marker at the beginning of the shell row, from it it is necessary to count 13 columns in the opposite direction and attach the second edge of the belly to the 14th column.
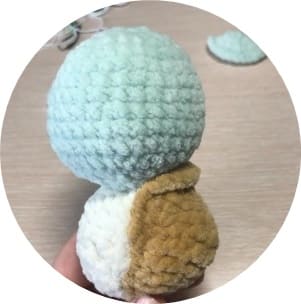
– Sew on the head. We begin to sew on the head from the front, while sewing the head along the back, we bend the top of the shell and sew the head to the crease from the bend.
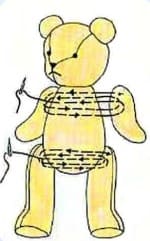
– We sew paws. We attach the upper paws with a thread fastening stepping down 1 row from the head.
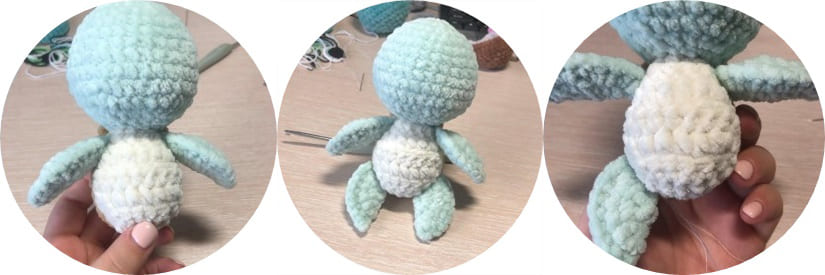
– For the lower legs, we retreat down 3-4 rows and sew them to the junction of the shell and tummy.
More amigurumi turtle ideas:
