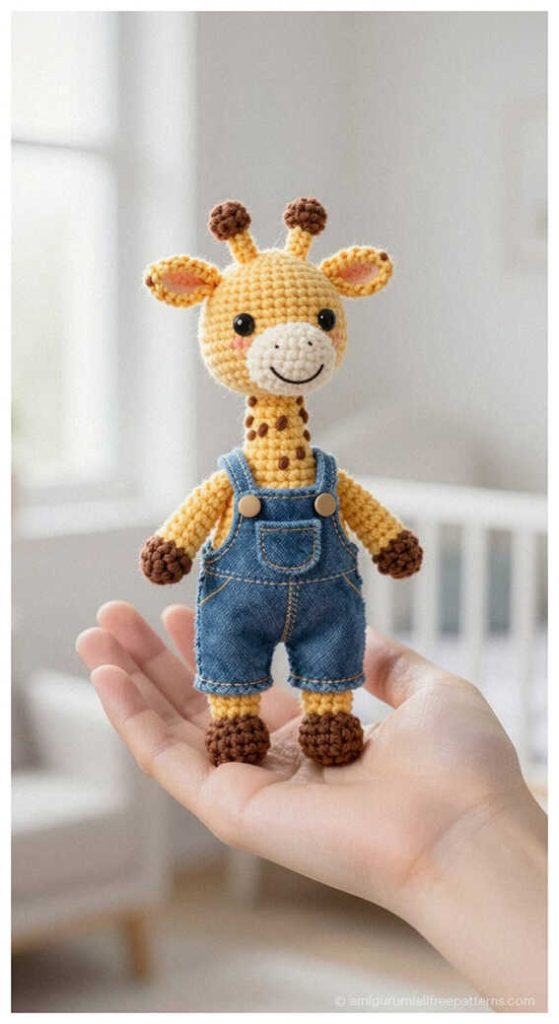
Giraffe in Overalls Amigurumi Free Crochet Pattern
Designer: Mine Mira Toys
Instagram: @mine_mira_toys
Difficulty Level: Beginner
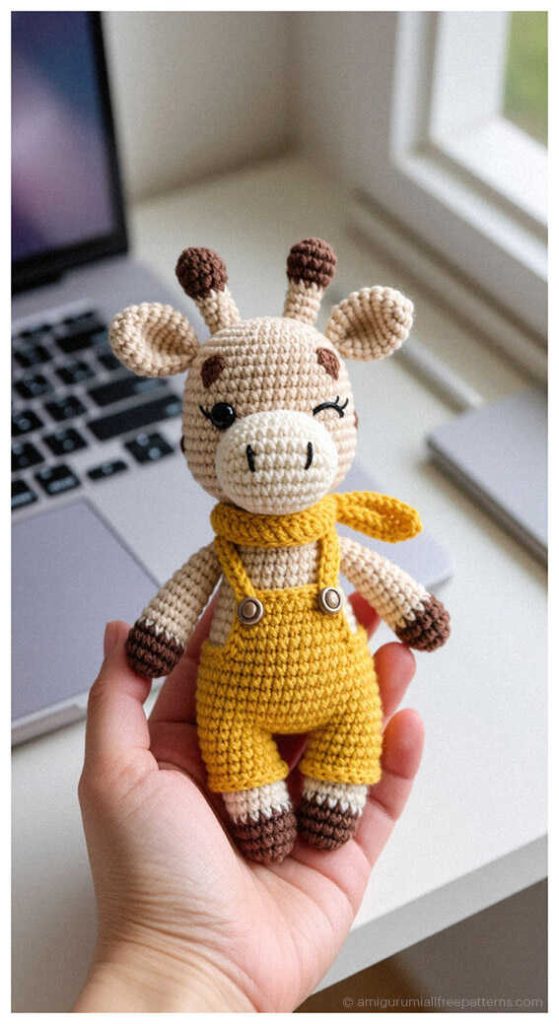
A soft and playful amigurumi project to brighten your crochet moments.
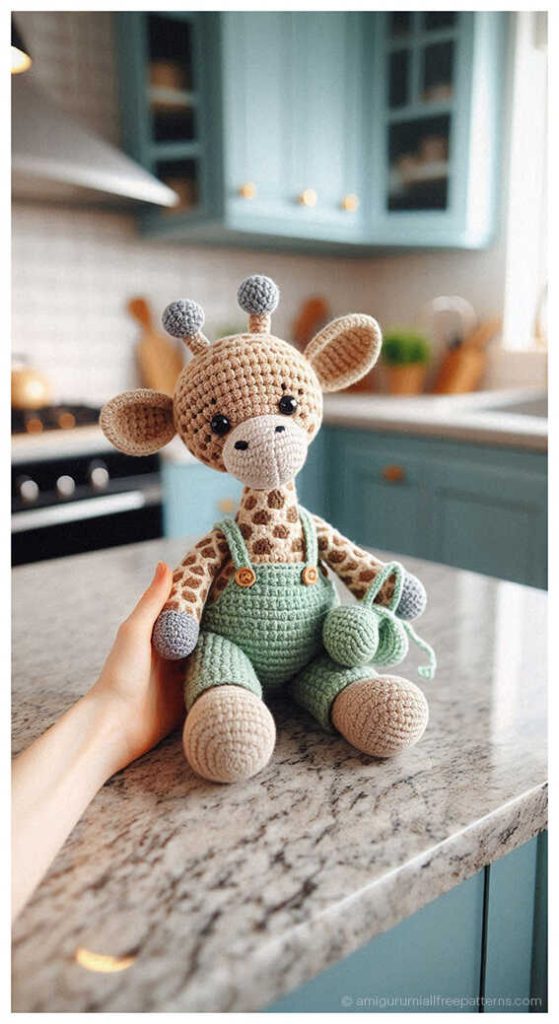
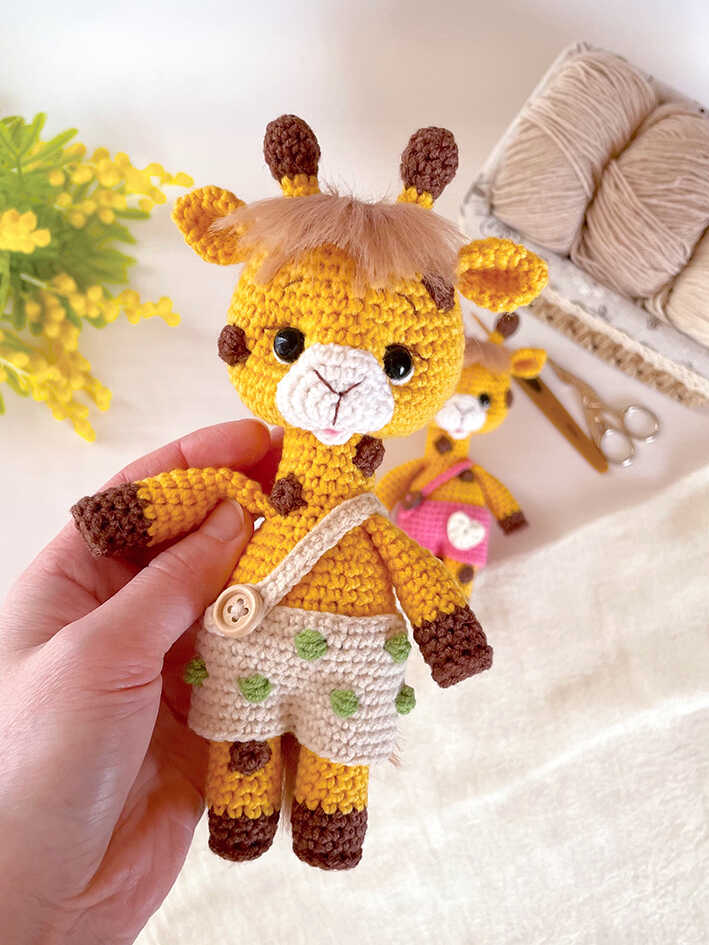
This free giraffe amigurumi crochet pattern is designed by Mine Mira Toys (@mine_mira_toys) and features a charming giraffe dressed in cute overalls. With its gentle expression and romper-style outfit, this design is a lovely choice for DIY Crochet Gift Ideas, nursery decor, or cozy handmade toys. You will also find giraffe amigurumi ideas shared at the end of the pattern, and we sincerely thank Mine Mira Toys for sharing this adorable design.
This is a beginner-friendly amigurumi pattern written in a clear, step-by-step format using basic stitches and simple shaping. The project follows a low-sew construction and includes added neck support, helping the finished toy stand nicely. Difficulty Level: Beginner, and it works well as a quick-to-make amigurumi completed at a relaxed pace.
The pattern is designed using cotton yarn such as YarnArt Jeans for clean, well-defined stitches, along with simple tools like a 2 mm hook, safety eyes, and fiberfill stuffing. If you enjoy small animal projects, you may also like the baby dragon amigurumi, another sweet design shared on our blog.
Materials and Tools
• YarnArt Jeans yarn (50 g / 160 m):
▸ 35 – body
▸ 70 – arms, legs, horns, and facial details
▸ 01 – muzzle and eye whites
• YarnArt Piuma 4405 – tail and bangs
• Fiberfill stuffing
• 2 mm crochet hook
• 9 mm safety eyes
• Scissors
• Cotton swabs or wire (for neck stability)
• Needle
• 12 mm button
Abbreviations
MR – magic ring
sc – single crochet
inc – increase
dec – decrease
ch – chain
sl st – slip stitch
dc – double crochet
tr – treble crochet
FREE GIRAFFE AMIGURUMI CROCHET PATTERNS
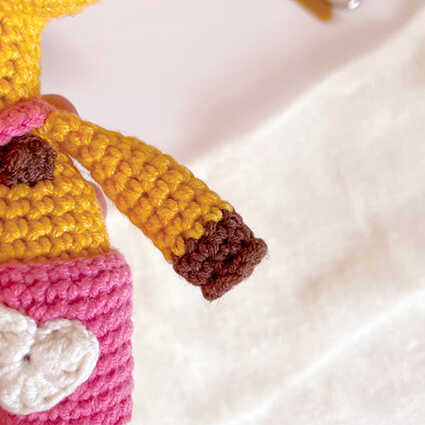
Arms
Start with brown yarn.
R1: 5 sc in MR
R2: inc x5 (10)
R3: 10 inverted sc
R4–R6: 10 sc (3 rounds), change to yellow
R7–R15: 10 sc (9 rounds), adjust stitches if needed so the color change stays on the inner side (I had 2 stitches)
Stuff the arm until R12.
Fold in half and crochet 5 sc through both loops.
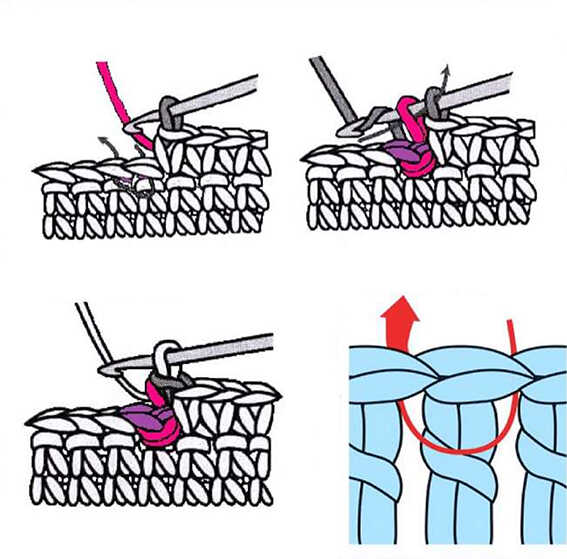
Attach brown yarn in the round where inverted sc were made and work a round of sl st (insert hook as shown in the photo).
How to Crochet Inverted sc
Legs
Start with brown yarn.
R1: 6 sc in MR
R2: inc x6 (12)
R3: 12 inverted sc
R4–R6: 12 sc (3 rounds), change to yellow
R7–R15: 12 sc (9 rounds), adjust stitches so the color change stays on the inner side
For the first leg, finish with sl st and cut yarn.
For the second leg, do not cut yarn.
Attach brown yarn in the round with inverted sc and work a round of sl st.
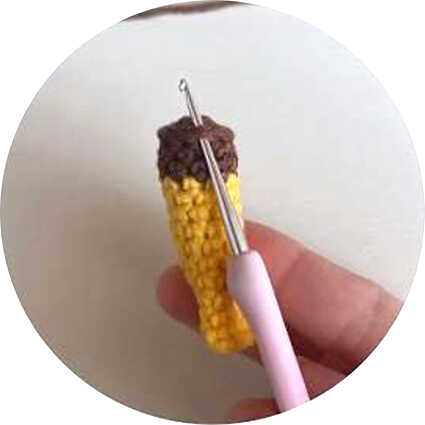
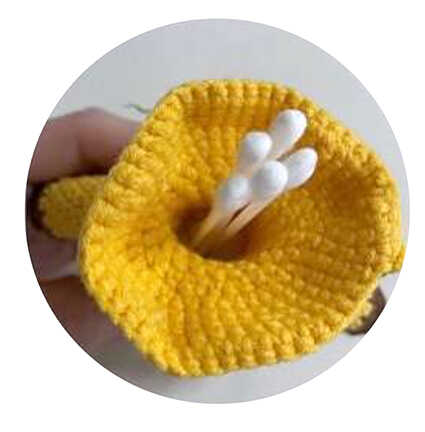
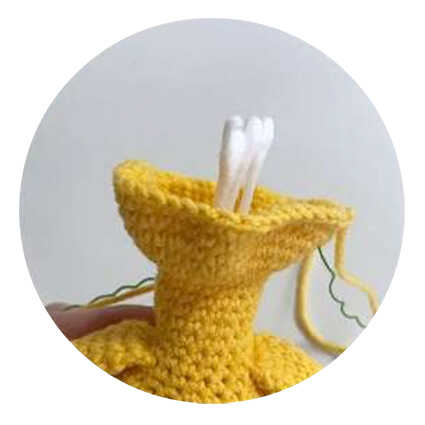
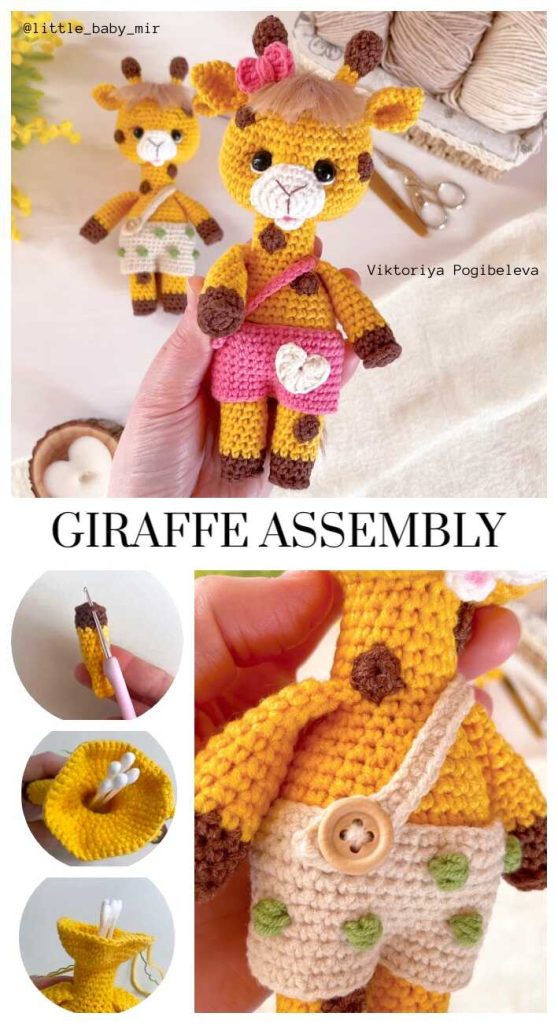
Neck
To make the neck stable, use cotton swabs (or wire).
Stuff the body up to the arm level.
Insert 4–5 cotton swabs into the crocheted neck so the lower ends are inside the body and the upper ends inside the head.
Add stuffing around them.
Head
R24: (1 sc, inc) x9 (27)
R25: (1 sc, inc) x13, 1 sc (40)
R26: (19 sc, inc) x2 (42)
R27: (6 sc, inc) x6 (48)
R28–R33: 48 sc (6 rounds)
R34: (6 sc, dec) x6 (42)
R35: 42 sc
Insert eyes between R32 and R33, with 5 visible stitches between them.
R36: (5 sc, dec) x6 (36)
R37: 36 sc
R38: (4 sc, dec) x6 (30)
R39: 30 sc
R40: (3 sc, dec) x6 (24)
R41: (1 sc, dec), (2 sc, dec) x5, 1 sc (18)
R42: (1 sc, dec) x6 (12)
R43: dec x6, pull closed
Body
Attach the first leg, insert hook into the next stitch after sl st.
R1: 12 sc on first leg, 12 sc on second leg (24)
R2: (3 sc, inc) x6 (30)
R3: 30 sc
R4: (4 sc, inc) x6 (36)
R5–R6: 36 sc (2 rounds)
R7: (4 sc, dec) x6 (30)
R8–R11: 30 sc (4 rounds)
R12: (3 sc, dec) x6 (24)
R13: 24 sc
R14: (2 sc, dec) x6 (18)
R15: 18 sc (attach arms symmetrically in this round)
R16–R23: 18 sc (8 rounds)
Stuff the body as you crochet.
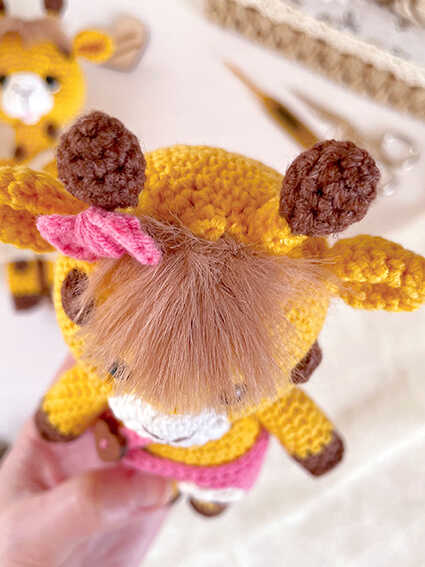
Horns
Start with brown yarn.
R1: 6 sc in MR
R2: (1 sc, inc) x3 (9)
R3–R4: 9 sc (2 rounds)
R5: (1 sc, dec) x3 (6), change color
R6–R8: 6 sc (3 rounds)
Fasten off, leave a long tail for sewing.
Ears
R1: 5 sc in MR
R2: 5 sc
R3: inc x5 (10)
R4: (1 sc, inc) x5 (15)
R5–R6: 15 sc (2 rounds)
R7: (1 sc, dec) x5 (10)
Fold in half, crochet 5 sc, leave a long tail, fold ear and sew a few shaping stitches.
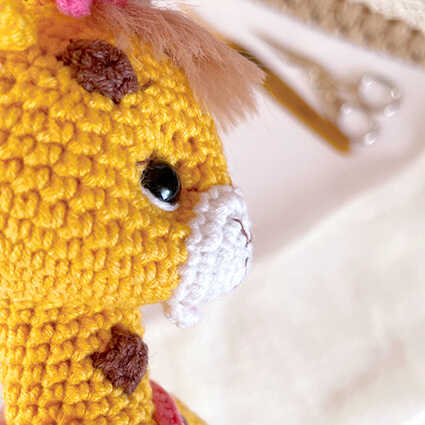
Muzzle
R1: 6 sc in MR
R2: inc x6 (12)
R3: (1 sc, inc) x6 (18)
R4: (2 sc, inc) x6 (24), sl st, cut yarn, leave tail
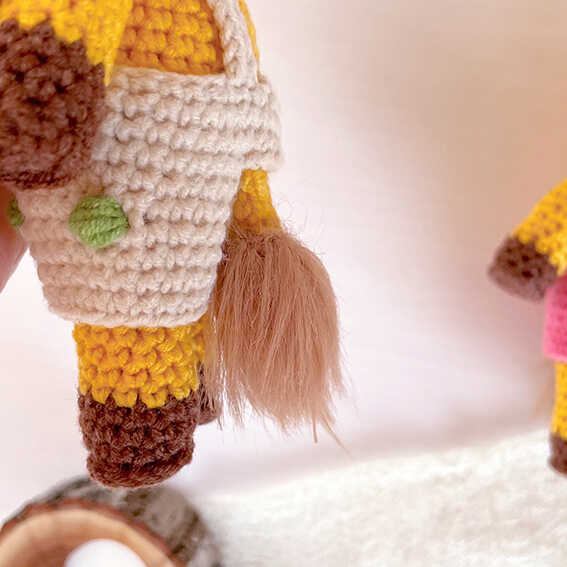
Tail
Start with YarnArt Piuma.
R1: 6 sc in MR
R2: inc x6 (12)
R3: 12 sc
R4: dec x6 (6), change yarn
R5–R7: 6 sc
Fold in half, crochet 3 sc, leave tail for sewing.
Bangs
Work with YarnArt Piuma.
R1: ch 3, start from second chain from hook
R2: inc x2 (4)
R3: inc, 2 sc, inc (6)
R4: inc, 4 sc, inc (8), sl st, cut yarn
Spots (6 pieces)
R1: 6 sc in MR, sl st, cut yarn, leave tail for sewing.
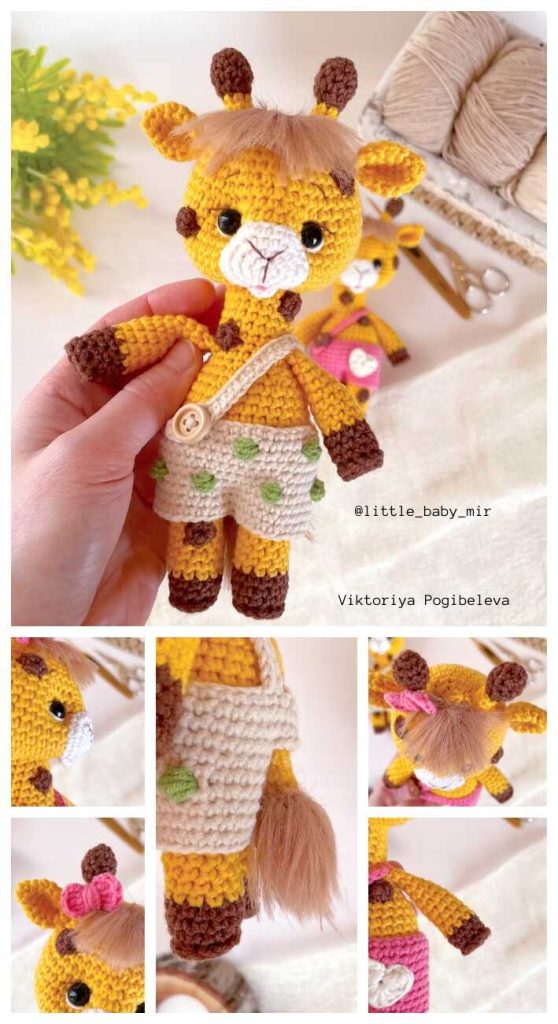
Assembly
Sew horns between R3 and R4.
Sew ears 2 rounds below the horns.
Sew the muzzle (do not stuff).
Sew the tail between R4 and R5 (count from the bottom, from leg join).
Attach bangs and comb them gently.
Embroider nose, eyebrows, and eyelashes.
Sew on the spots.
Overalls
Ch 41, join to work in the round.
Work 3 rounds of 40 sc.
In R4, make an opening for the tail: crochet 37 sc, ch 6, skip 6 stitches, insert hook into the 7th stitch, continue with 37 sc.
Work 4 more rounds of 40 sc.
Straps
Ch 31, from second chain from hook crochet 2 sc, ch 3, skip 3 stitches, 26 sc.
Sew straps and attach a button.
Overall Pocket
Make a MR, ch 3, 2 dc, ch 3, sl st, ch 3, 2 dc, ch 3, sl st, tighten ring.
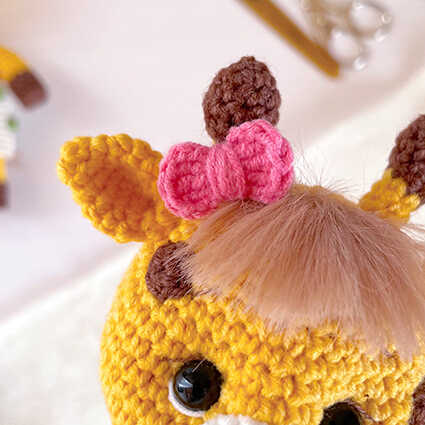
Bow
Make a MR, ch 3, 3 dc, ch 3, sl st, ch 3, 3 dc, ch 3, sl st, tighten ring.
Copyright & Credits
This pattern is designed by Mine Mira Toys (@mine_mira_toys).
The pattern itself may not be redistributed, copied, translated, or republished in any form without the designer’s permission.
You may sell finished toys made from this pattern, provided the designer is clearly credited and tagged on social media.
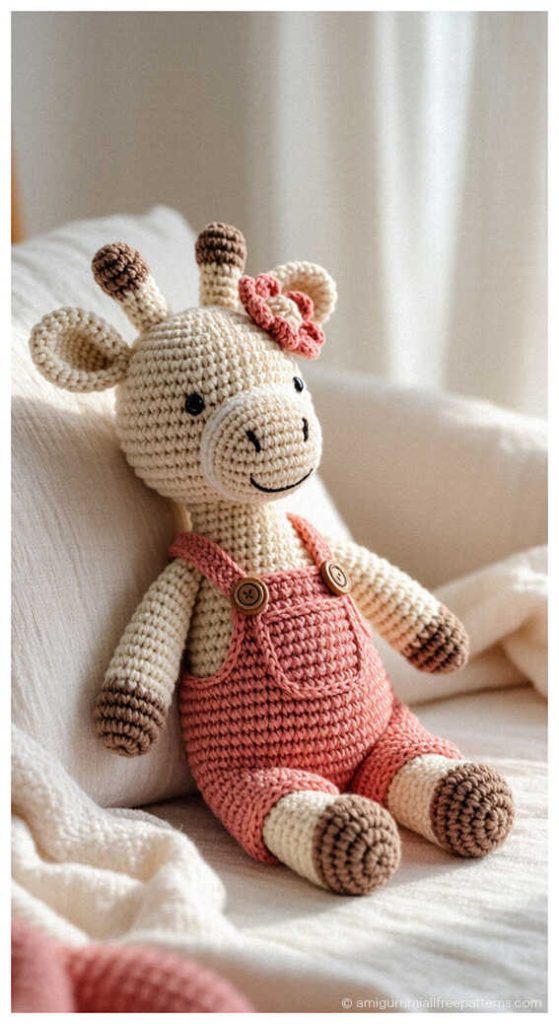
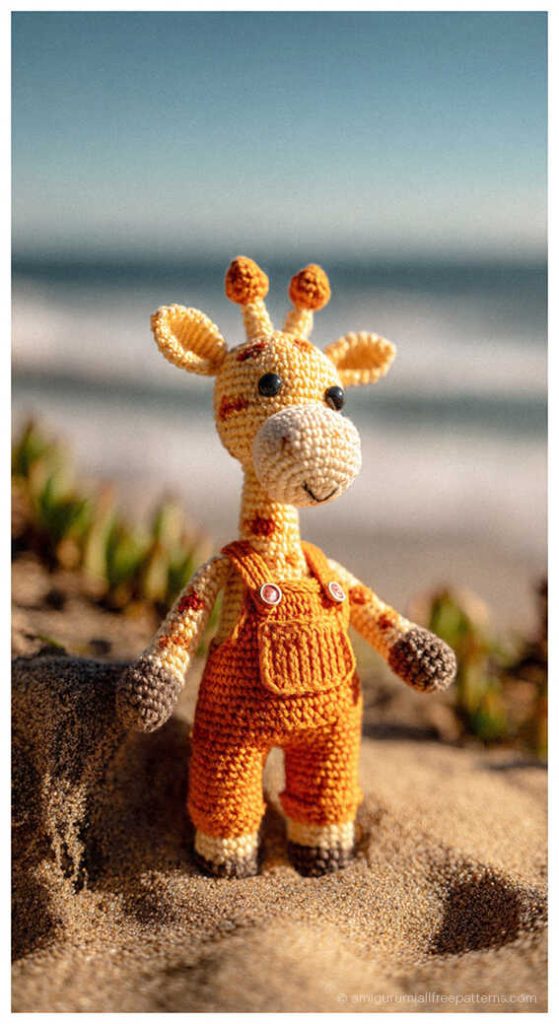
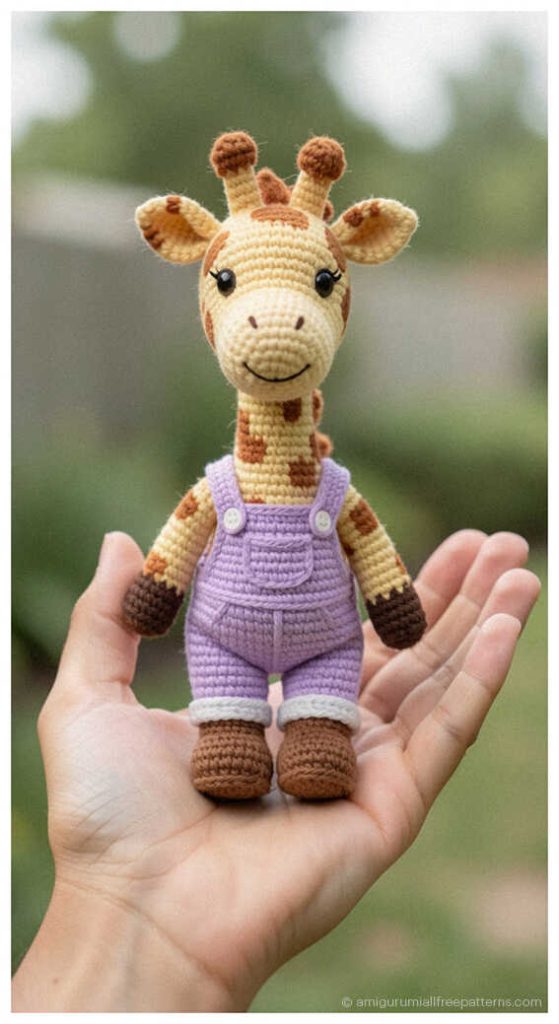
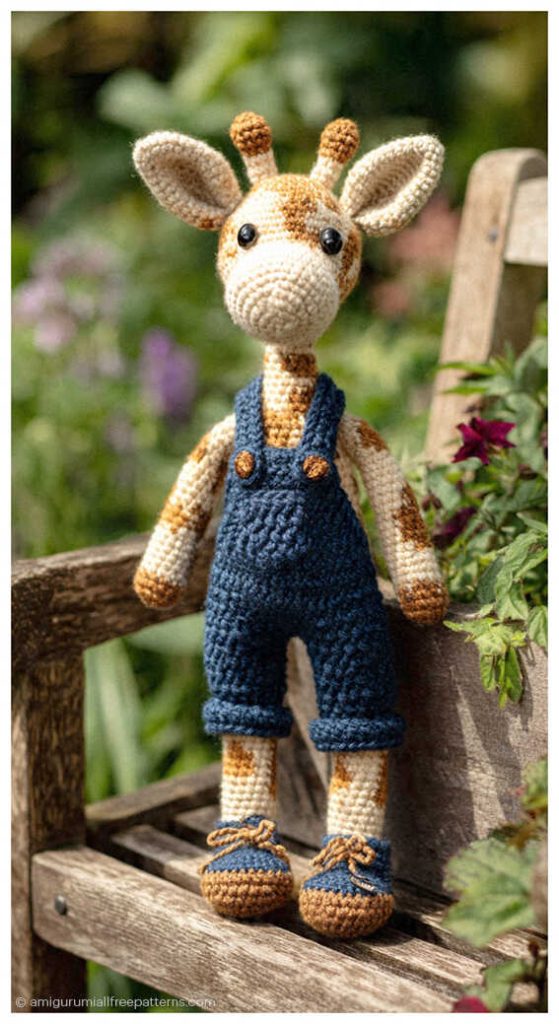
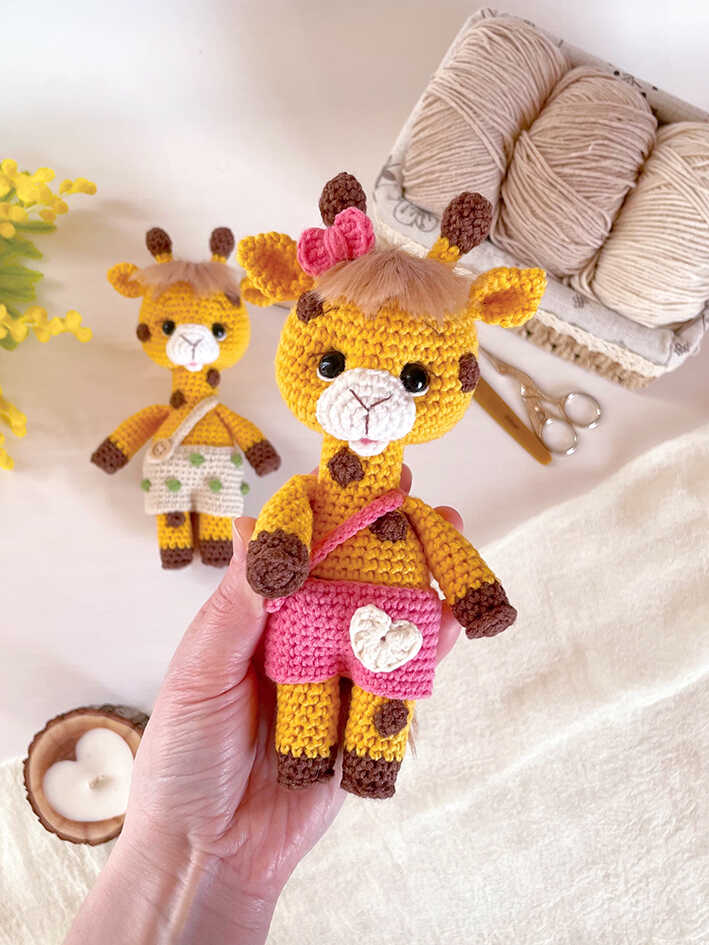
SAFE FOR LATER
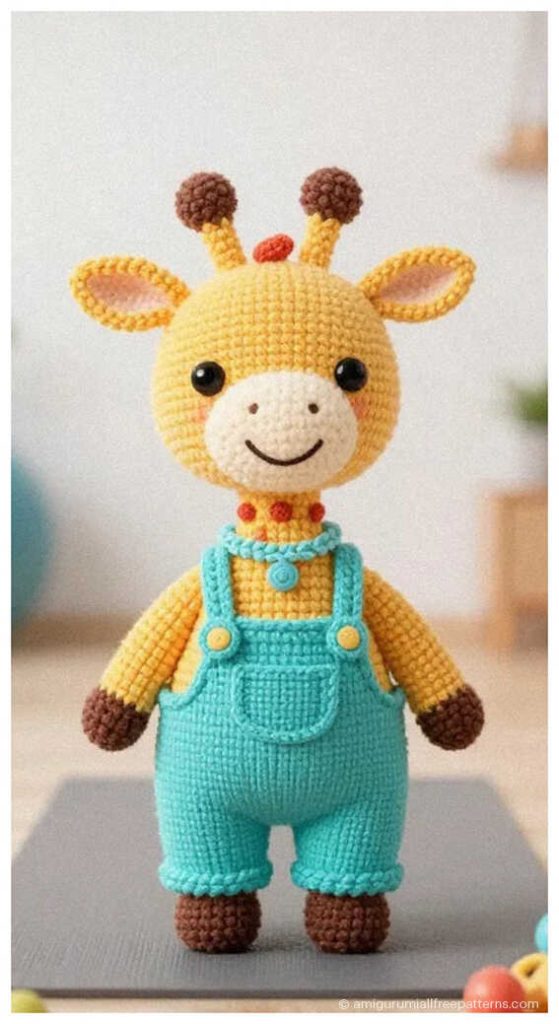
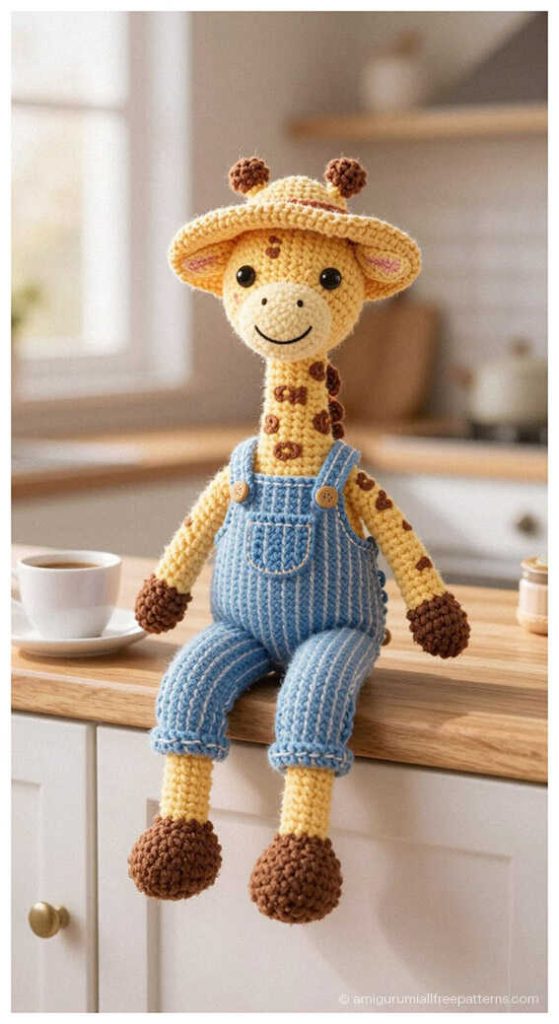
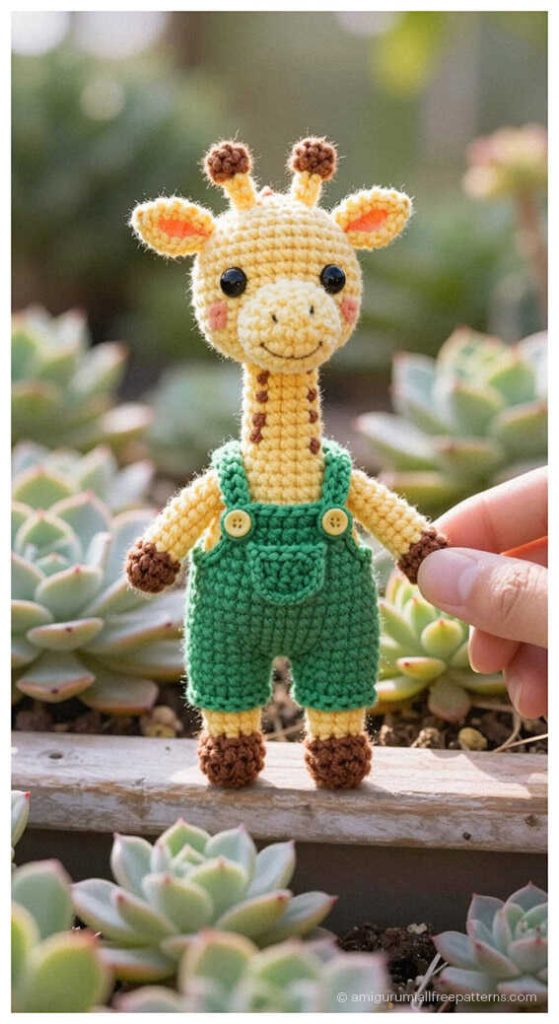
Lovely Giraffe Amigurumi Ideas for Inspiration