Puffin Amigurumi Free Pattern
Hello…
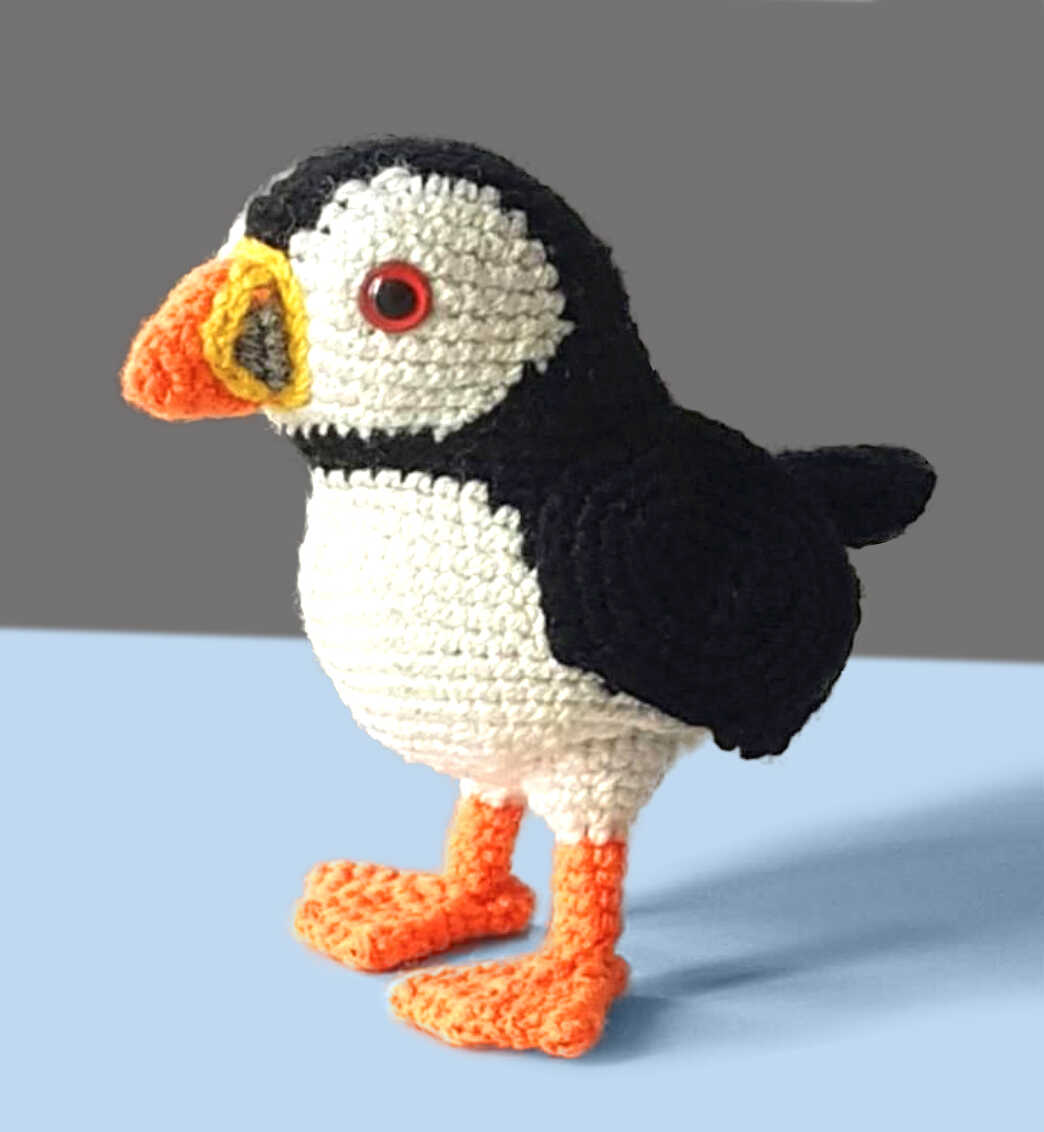
One of the free amigurumi crochet patterns we will share today is the amigurumi puffin. You can learn how to crochet these puffin using the free amigurumi pattern.

Amigurumi cats, amigurumi dolls, amigurumi dogs, amigurumi unicorns, amigurumi lambs, amigurumi dinosaurs, amigurumi foxes, amigurumi bears, amigurumi giraffes, amigurumi pigs, amigurumi birds, amigurumi penguins, amigurumi panda, amigurumi llama, amigurumi bunny, amigurumi clowns, amigurumi elephants, amigurumi hippos, amigurumi monkeys will not be difficult for you…
Materials
• Yarn in black, white, orange, dark grey, yellow
• Hook
• Stuffing
• Safety eyes (red)
• Scissors
• Tapestry needle
Abbreviations
ch : chain
sc : single crochet
inc : increase
dec : decrease
st : stitch
*n : repeat n times
The number at the end of the line is the total number of stitches in the row
AMIGURUMI PUFFIN CROCHET FREE PATTERN
Body
Starting with black yarn
1. 6sc in magic ring – 6
2. 6inc – 12
3. (sc, inc)*6 – 18
4. (2sc, inc)*6 – 24
From next round on we alternate between black (written in black) and white (written in grey)
5. (3sc, inc)*3, 3sc, inc, 2sc, inc, sc, 2sc, inc – 30
6. sc, 3sc, inc, 4sc, inc, 4sc, inc [1st st of inc in black, 2nd in white], 4sc, inc, sc, 3sc, inc, 4sc, inc – 36
7. 2sc, 3sc, inc, 5sc, inc, 5sc, inc, 5sc, inc, sc, 4sc, inc [1st st of inc in black, 2nd in white], 5sc, inc – 42
8. 2sc, 17sc, 11sc, 4sc, 8sc – 42
9. 3sc, 16sc, 12sc, 2sc, 9sc – 42
10. 3sc, 16sc, 23sc – 42
11. 3sc, 3sc, inc, 6sc, inc, 6sc, inc, 21sc – 45
12. 3sc, 4sc, inc, 7sc, inc, 7sc, inc [1st st of inc in black, 2nd in white], 21sc – 48
13. 2sc, 13sc, ch7, 6sc down the chain [sc in 2nd chain from hook and in the next 5], 12sc, 3sc, (sc, dec)*6
14. sc, 14sc, 6sc up the opposite side of ch, 19sc, 14sc – 54
15. sc, 53sc – 54
16. 42sc, 6dec – 48
17. 21sc, 4sc in next st, 4sc in next st, 16sc, 9sc – 54
18. 3sc, 31sc, 10sc – 54 Attach safety eyes (I placed mine between rounds 9 and 10, around 6st from the limit between black and white)
19. 4sc, 40sc, 6sc, 4sc in next st, 4sc in next st, 2sc – 60
20. 4sc, 39sc, 17sc – 60
21. 5sc, 38sc, 17sc – 60
22. 6sc, 37sc, 17sc – 60
23. 3sc, dec, 2sc, sc, dec, (3sc, dec)*6, 2sc, sc, dec, (3sc, dec)*3 – 48
24. 7sc, 26sc, 15sc – 48 From next round on, everything is in white
25-26. (2 rounds) 48sc – 48
27. (2sc, dec)*12 – 36
28. 36sc – 36
29. (4sc, dec)*6 – 30
30. (3sc, dec)*6 – 24
Stuff
31. (2sc, dec)*6 – 18
32. (sc, dec)*6 – 12
22. 6dec – 6
Finish off, sew shut
Beak
Start with orange yarn
1. 4sc in magic ring – 4
2. 4inc – 8
3. 4sc, 2inc, 2sc – 10
from next round on, alternate between orange and grey yarn
4. 3sc, 2sc, 2inc, 2sc, sc – 12
5. 2inc, 4sc, 2inc 4sc – 16
6. sc, 2sc, 6sc, 2sc, 5sc – 16
Finish off, leave a long tail for sewing
Feet (Make Two)
with orange yarn
1. 6sc in magic ring – 6
2. 6sc – 6
3. 6sc – 6
4. (inc, 2sc)*2 – 8
5. (2inc, 2sc)*2 – 12
6. 12sc – 12
7. sc, (inc, sc)*3, inc, sc – 16
8. 2sc, (inc, 3sc)*3, inc, sc – 20
9. 3sc, (inc, 4sc)*3, inc, sc – 24
Finish off, leave a long tail for sewing
Fold your piece flat. The edge should be along the increases. Remove the cotton from two q-tips and fold them in half. Insert the first q-tip horizontally along the edge of the piece to make the two external toes of the bird. Insert the second qtip in the middle to make the middle toe, and poke it through the top/back of the foot (between round 3 and 4) to go in the leg.
Use the tail of your piece to sew along the toe, to fix the q-tips in place, then sew the top and bottom edge of the piece to shut the piece.
Legs (Make Two)
You can crochet directly around the q-tip from the foot or insert it later, but it can be difficult if your magic ring is tight.
Start with orange yarn
1. 6sc in magic ring – 6
2-5. (4 rounds) 6sc – 6
change to white yarn
6. 6sc – 6
7. 6inc – 12
8. 12sc – 12
9. (sc, inc)*6 – 18
10. turn, 9sc – 9
Finish off, leave a long tail for sewing
Wings (Make Two)
With black yarn
1. ch7, sc in 2nd st from hook and in 5 next st, 6sc on the opposite side of the ch – 12
2. (sc, inc)*6 – 18
3. (2sc, inc)*6 – 24
4. (3sc, inc)*6 – 30
5. (4sc, inc)*6 – 36
6. 6sc – 6
7. turn, sc in 2nd st from hook and in next 10st – 11
8. turn, sc in 2nd st from hook and in next 9st – 10
9. turn, sc in 2nd st from hook and in next 8st – 9
10. turn, sc in 2nd st from hook and in next 7st – 8
11. turn, sc in 2nd st from hook and in next 6st – 7
12. turn, sc in 2nd st from hook and in next 5st – 6
13. turn, sc in 2nd st from hook and in next 4st – 5
14. turn, sc in 2nd st from hook and in next 3st – 4
15. turn, sc in 2nd st from hook and in next 2st – 3
16. turn, sc in 2nd st from hook and in next st – 2
17. turn, sc in 2nd st from hook – 1
sc down the side and around the edge of the piece, stopping when there is 6 st
left in the “round” part of the piece before reaching the part where you worked in rows. Do this in the opposite direction for the second wing.
Tail
With black yarn
1. ch5, sc in 2nd st from hook and in next 3st
2. 4sc down the other side of the ch, 4sc in the first side – 8
3. ch1, turn, 2sc, 4inc, 2sc – 12
4. ch1, turn, 3sc, inc, sc, 2inc, sc, inc, 3sc – 16
5. ch1, turn, 3sc, inc, 2sc, inc, 2sc, inc, 2sc, inc, 3sc – 20
Finish off, leave a long tail for sewing
Assembly
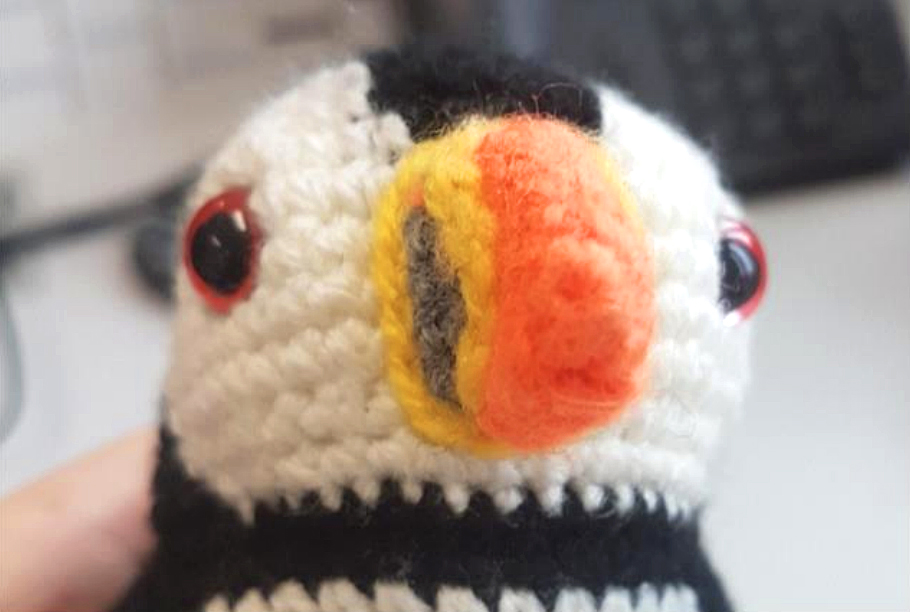
Sew the beak to the head, approx on 4 st wide, 1 row above the white/black separation. With yellow yarn, surface crochet with ss along the orange/grey separation of the beak, on each side, then surface crochet with ss around the joint between beak and head.

To do surface crochet, insert your hook in one of the stitch, and poke it out in the stitch next to it. Make a slip knot and put it on your hook. Draw the slip knot out . Insert your hook in the stitch where you poked it out the first time and out in the stitch next to it. Yarn over and pull through stitches and the loop on your hook. Repeat. There is a better tutorial (with pictures) on 53stitches.com/picking-up-stitches, except it’s with sc instead of ss.
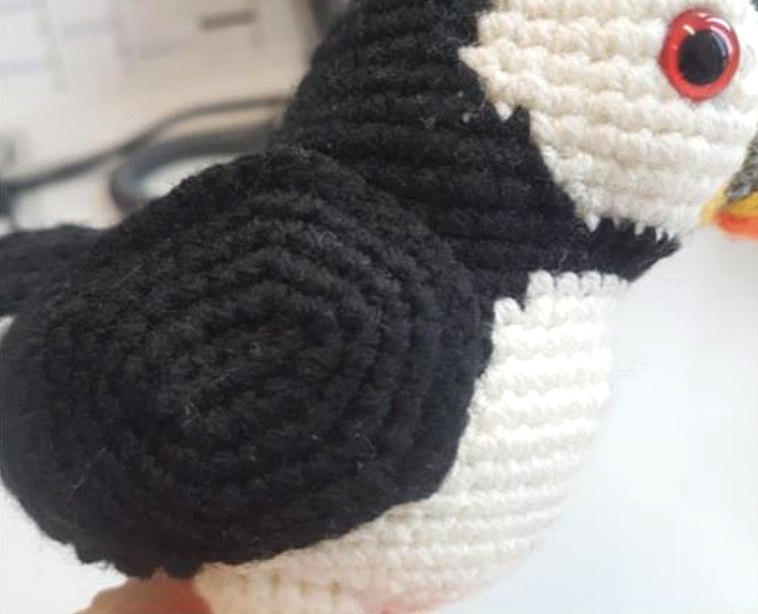
Sew wings to each side of the body. The bottom of the wing should follow the black/white separation on the body. I only attached the 12 front st of the wings so that I can spead them out.

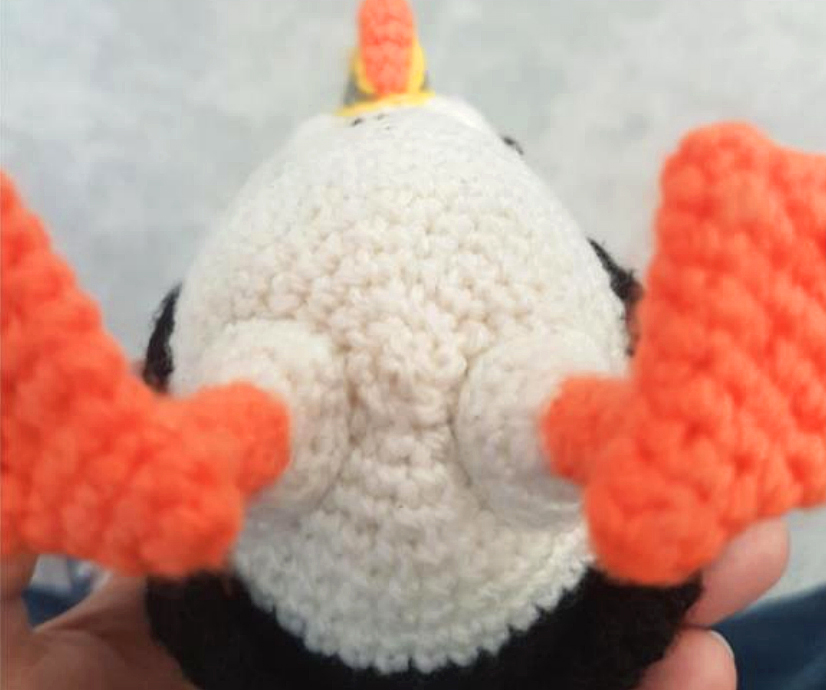
Sew the feet to the legs so that the last raw of the haunch that sticks out is on the outside (one on each side). Sew the leg to the bottom of the body, a little beneath the center (where you finished the body).

