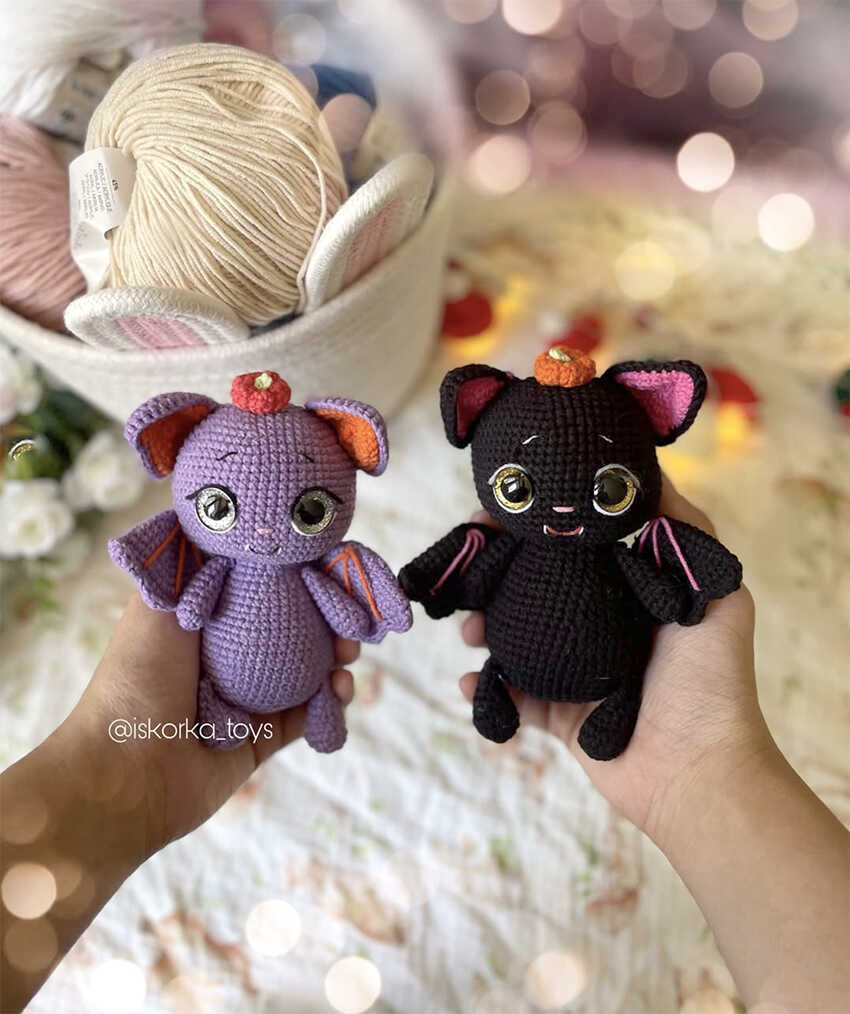
Mini Bat Amigurumi Crochet Pattern
Designer: Veronika Romanova
Instagram: @iskorka_toys
Difficulty Level: Intermediate
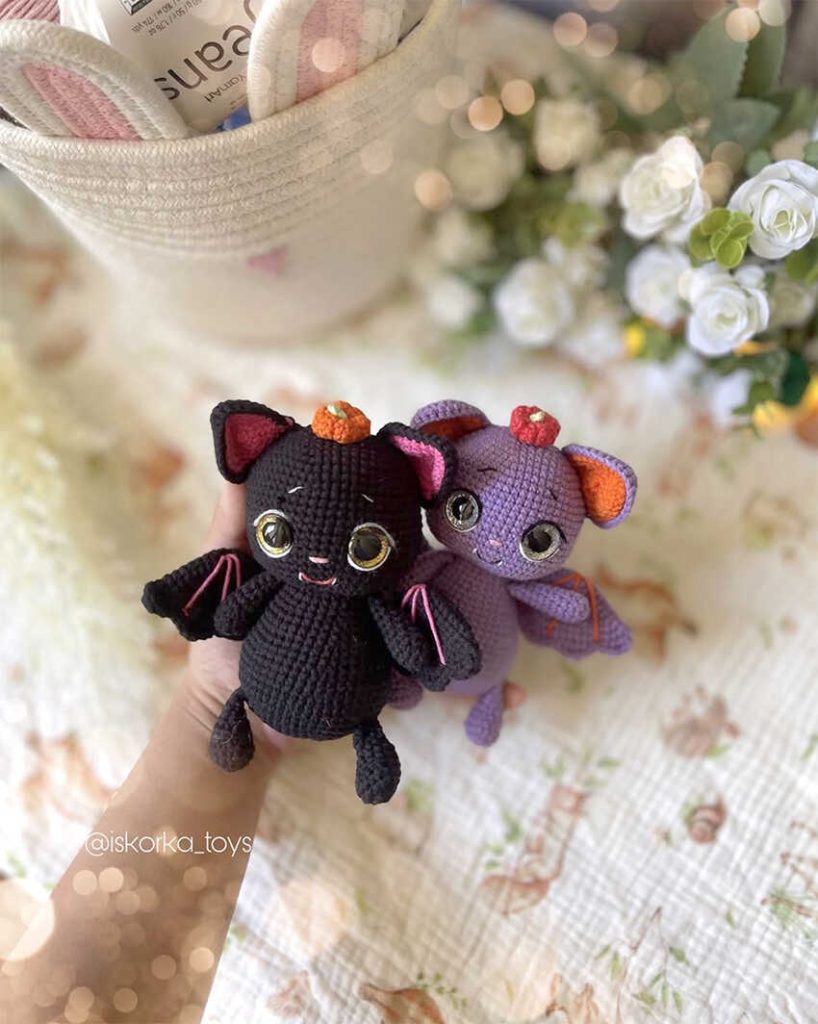
A tiny bat with big personality, ready to brighten your crochet moments.
This Cute Bat Amigurumi Crochet Pattern is designed by iskorka_toys and brings a playful, slightly whimsical bat to life—perfect for seasonal décor, desk companions, or sweet handmade gifts. Beyond the finished toy, the pattern also includes lovely amigurumi bat ideas at the end to spark creativity for DIY Crochet Gift Ideas and Easy Crochet Projects. It’s a thoughtful design with charm and purpose, and special thanks go to the designer, Veronika Romanova, for sharing such an inspiring beginner amigurumi pattern.
Designed with beginners in mind, this project focuses on clear shaping and a smooth flow, making it ideal if you’re exploring how to crochet amigurumi and want something Quick to Make Amigurumi. Difficulty Level: Beginner. If you’ve been wondering how to crochet an amigurumi that looks adorable yet stays easy and step by step, beginner friendly, this bat is a great place to start. The finished size, including ears, is approximately 14–15 cm, making it cute yet display-friendly. With minimal assembly, it fits well into Low Sew amigurumi patterns.
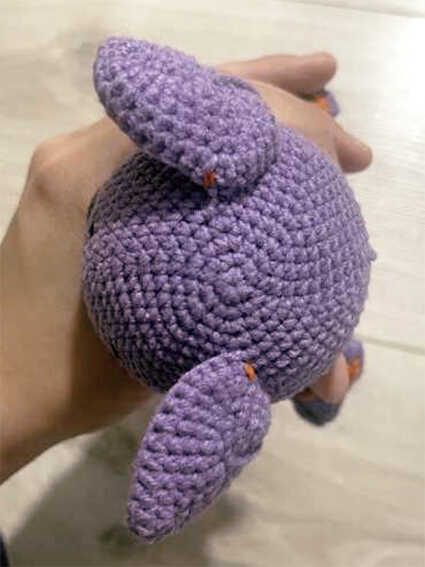
The pattern uses YarnArt Jeans yarn for a neat, crisp look, paired with a 2.0 mm crochet hook, 14 mm glitter safety eyes, fiberfill stuffing, and a yarn needle. While it’s written for cotton yarn, you can switch to velvet yarn for a plush, chunky effect—just note the final toy will turn out much larger. As you work through the process, you might also enjoy exploring Mini Fox Doll for another small, character-filled project with a similar cozy feel.
Abbreviations
MR – magic ring
sc – single crochet
inc – increase
dec – decrease
sl st – slip stitch
hdc – half double crochet
dc – double crochet
tr – treble crochet
ch – chain
(…) x n – repeat the instructions in parentheses n times
(…) – number of stitches at the end of the round
Materials
- Yarn
- YarnArt Jeans
- 72 (purple) – main color (1 skein)
- 85 (orange) – ears and wings (half skein)
- 74 (pink) – nose
- 01 (white) and 53 (black) – eyes
- YarnArt Jeans
- 14 mm glitter safety eyes
- Fiberfill stuffing
- Yarn needle
- 2.0 mm crochet hook
Finished size including ears: approx. 14–15 cm
MINI BAT AMIGURUMI CROCHET DESIGN
Head
R1: 6 sc in MR
R2: inc x6 (12)
R3: (1 sc, inc) x6 (18)
R4: (2 sc, inc) x6 (24)
R5: (3 sc, inc) x6 (30)
R6: (4 sc, inc) x6 (36)
R7: (5 sc, inc) x6 (42)
R8: (6 sc, inc) x6 (48)
R9: (7 sc, inc) x6 (54)
R10: 54 sc (54)
R11: (8 sc, inc) x6 (60)
R12–R17: 60 sc (60)
R18: 25 sc, ch 2, skip 2 sc, 8 sc, ch 2, skip 2 sc, 23 sc (60)
R19–R25: 60 sc (60). Insert the eyes into the formed openings
R26: dec x30 (30)
R27: (3 sc, dec) x6 (24)

Fasten off and cut yarn.
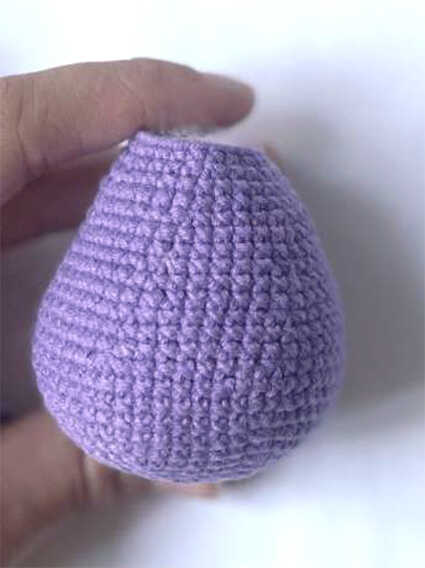
Body
R1: 6 sc in MR
R2: inc x6 (12)
R3: (1 sc, inc) x6 (18)
R4: (2 sc, inc) x6 (24)
R5: (3 sc, inc) x6 (30)
R6: (4 sc, inc) x6 (36)
R7: (5 sc, inc) x6 (42)
R8: (6 sc, inc) x6 (48)
R9: (15 sc, inc) x3 (51)
R10: (16 sc, inc) x3 (54)
R11–R12: 54 sc (54)
R13: (7 sc, dec) x6 (48)
R14–R15: 48 sc (48)
R16: (6 sc, dec) x6 (42)
R17–R18: 42 sc (42)
R19: (5 sc, dec) x6 (36)
R20–R21: 36 sc (36)
R22: (4 sc, dec) x6 (30)
R23–R24: 30 sc (30)
R25: (3 sc, dec) x6 (24)
R26: 24 sc (24)
Fasten off, leaving a long tail for sewing.
Upper Arms
R1: 6 sc in MR (6)
R2: (1 sc, inc) x3 (9)
R3–R10: 9 sc (9)
Stuff about 2/3 full.
Fold flat and crochet 4 sc through both layers.
Fasten off, leaving a long tail for sewing.
Lower Legs
R1: 6 sc in MR (6)
R2: inc x6 (12)
R3: (1 sc, inc) x6 (18)
R4: 18 sc (18)
R5: 6 dec, 6 sc (12)
R6: 12 sc (12)
R7: (2 sc, dec) x3 (9)
R8–R9: 9 sc (9)

Stuff about 2/3 full.
If needed, crochet 1–2 extra stitches to align before folding.
Fold flat and crochet 4 sc through both layers.
Fasten off, leaving a long tail for sewing.
Wings
R1: 4 sc in MR (4)
R2: inc x4 (8)
R3: (1 sc, inc) x4 (12)
R4: (2 sc, inc) x4 (16)
R5: (3 sc, inc) x4 (20)
R6: (4 sc, inc) x4 (24)
R7: (5 sc, inc) x4 (28)
R8: (6 sc, inc) x4 (32)
R9: (7 sc, inc) x4 (36)
R10: (8 sc, inc) x4 (40)
R11: (9 sc, inc) x4 (44)

Fold flat and crochet through both layers:
5 sc, 1 hdc, 1 dc, 2 tr in one stitch, 1 dc, 1 hdc, sl st,
1 hdc, 1 dc, 2 tr in one stitch, 1 dc, 1 hdc, sl st,
1 hdc, 1 dc, 2 tr in one stitch, 1 dc.
Fasten off and hide yarn.
Second wing:
Fold flat and crochet through both layers:
1 dc, 2 tr in one stitch, 1 dc, 1 hdc, sl st,
1 hdc, 1 dc, 2 tr in one stitch, 1 dc, 1 hdc, sl st,
1 hdc, 1 dc, 2 tr in one stitch, 1 dc, 1 hdc, 5 sc.
Fasten off, leaving a long tail for sewing.
Ears
Important: ear increases are made with 3 sc in one stitch, not 2.
First part (orange)
R1: 9 sc in MR (9)
R2: (2 sc, inc) x3 (12)
R3: (4 sc, inc) x3 (18)
R4: (6 sc, inc) x3 (24)
R5: (8 sc, inc) x3 (30)
Second part (purple)
Work exactly the same.
Place both parts together with matching sides facing.
Pull yarn through the orange part and crochet sc evenly around to join.

Pumpkin
R1: 6 sc in MR (6)
R2: inc x6 (12)
R3: (1 sc, inc) x6 (18)
R4: 18 sc (18)
R5: 18 sc (12)
R6: dec x6
Pull the opening closed, do not cut yarn.
Create indentations by pulling the yarn to the opposite side, tightening slightly, wrapping around the pumpkin, and returning through the original opening.
Repeat several times, then fasten off.

Stem
Ch 3, starting from the second chain, sl st 2.
Cut yarn and sew to the center of the pumpkin.
Sew the pumpkin to the head.
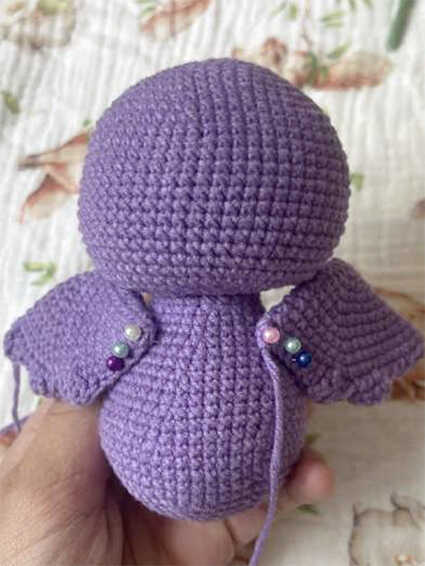
Assembly
Sew upper arms between R24 and R25 with 8 sc between them.
Sew lower legs between R9 and R10, parallel to the upper arms.
Attach wings by the 5 sc section between R18 and R22, spacing about 7 sc.
Sew ears in a semicircle between R4 and R14 so they slightly lie down.
Embroider eyelashes and eye whites.
Embroider eyebrows at R12–R13 over 2 sc.
Embroider the mouth at R22–R23 in a small V shape.
Embroider fangs.
Embroider the nose between R20–R21 over 2 sc.
Add decorative lines on the wings.
Copyright & Credits
This pattern is designed by iskorka_toys; you may sell finished toys made from this pattern, but please credit the designer by tagging @iskorka_toys and linking to their social media when sharing your work.