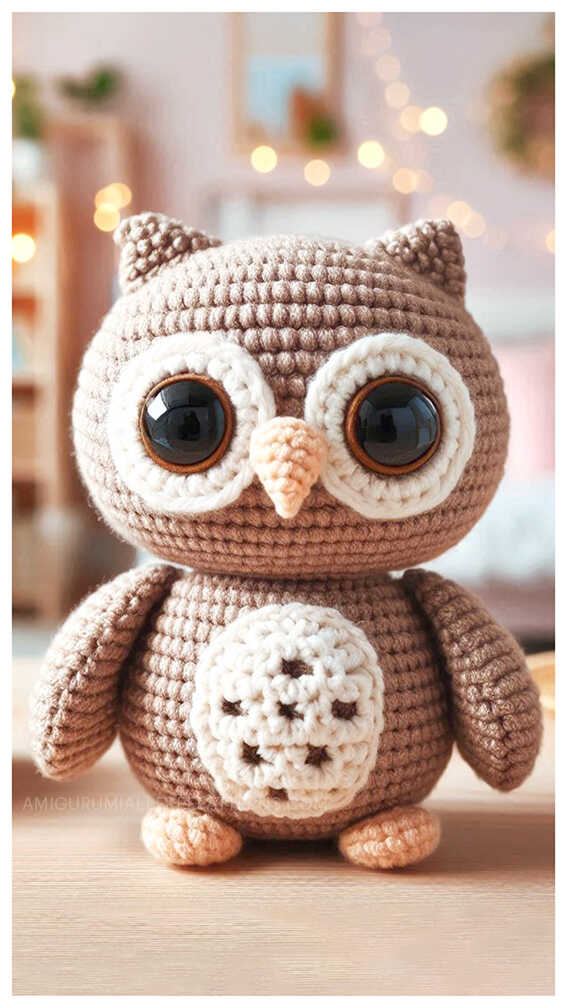
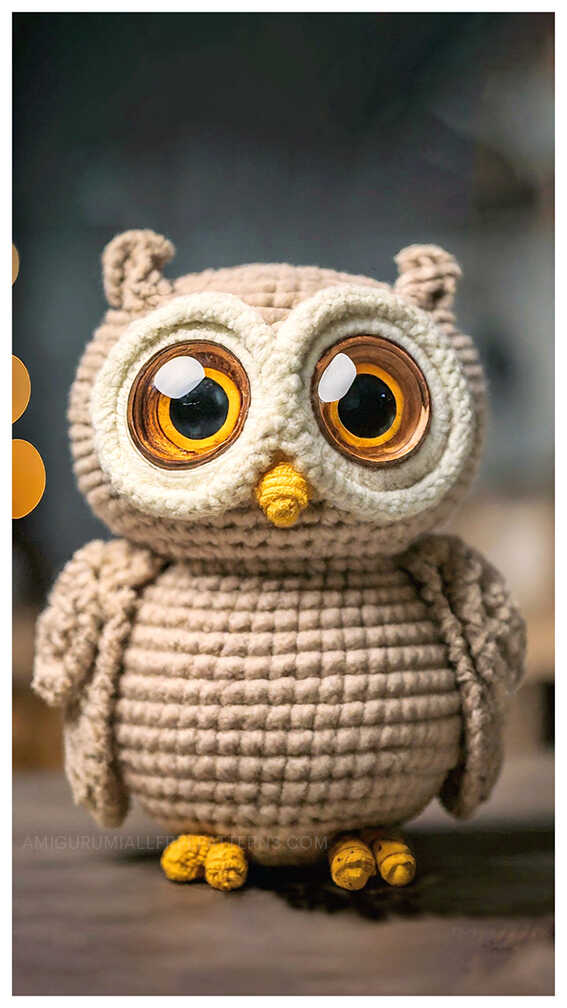
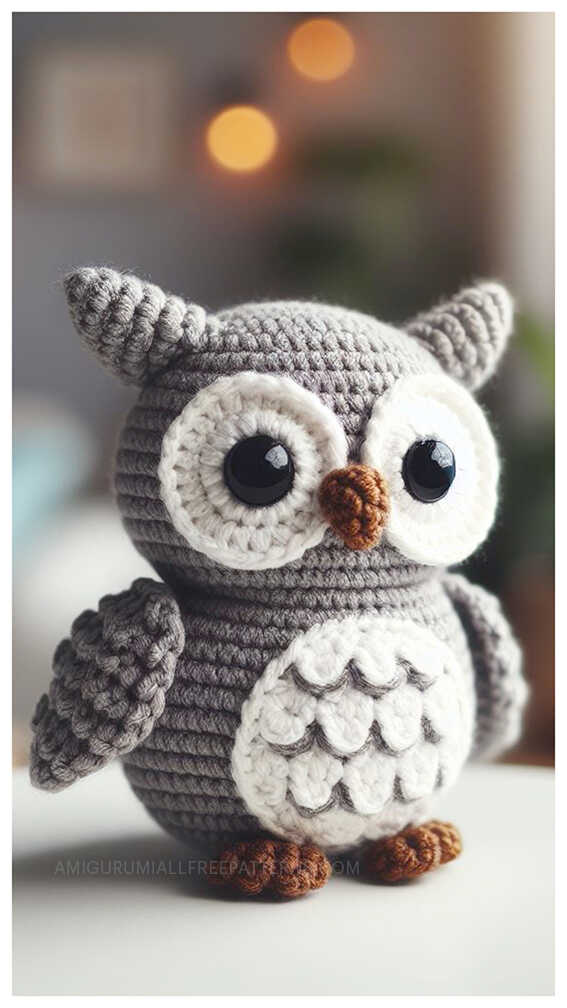
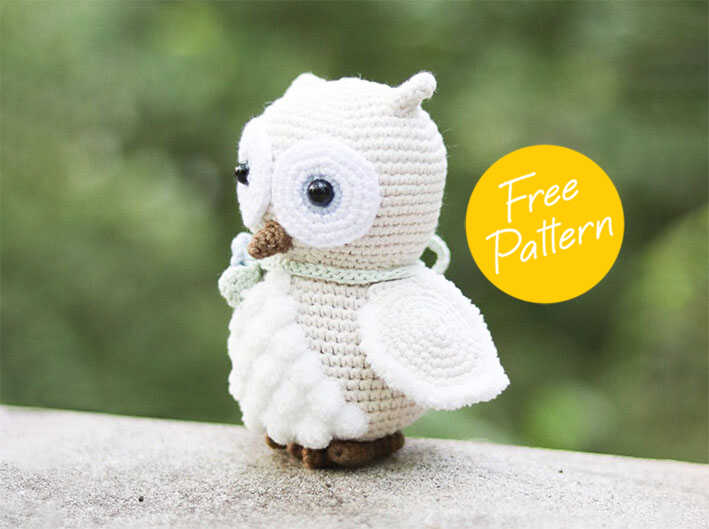
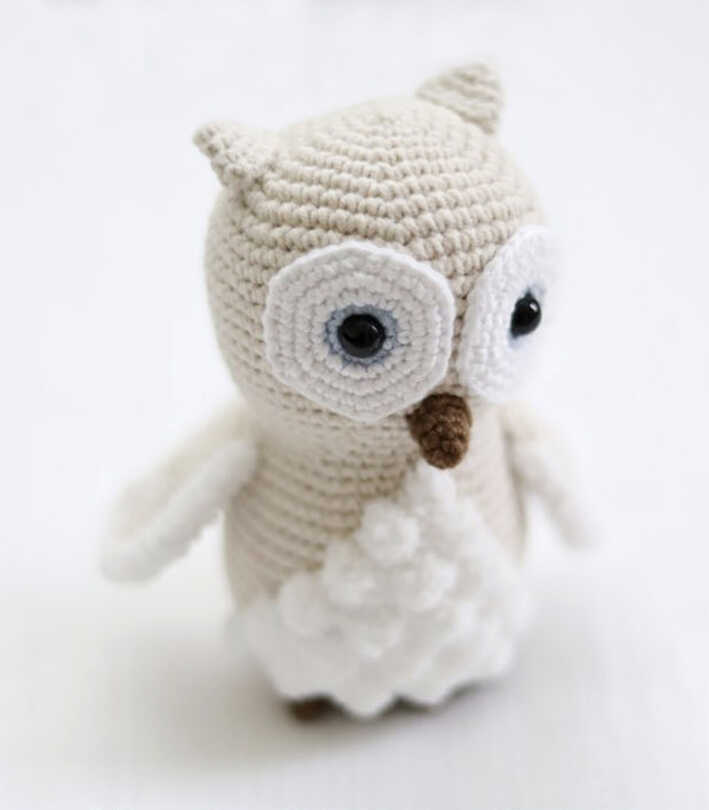
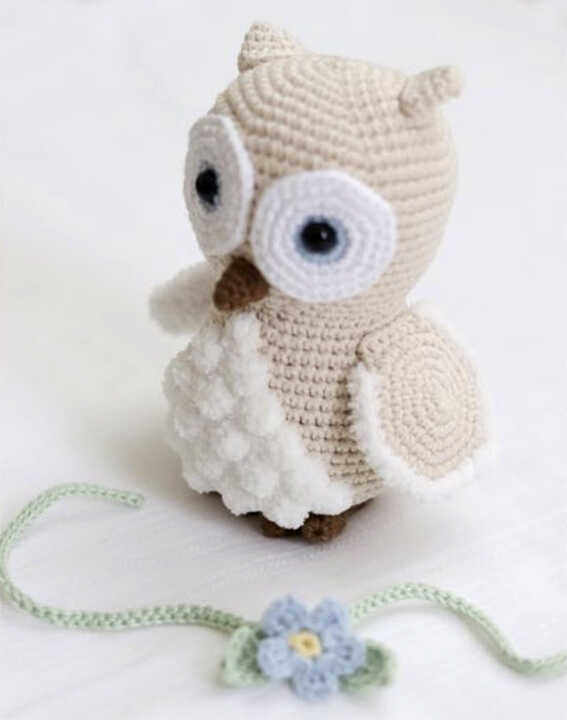
Crochet Owl Free Amigurumi Pattern
Designer: Hairloom & Knitwear
Instagram: @tatiana_arpag
Hello Amigurumi Lovers…
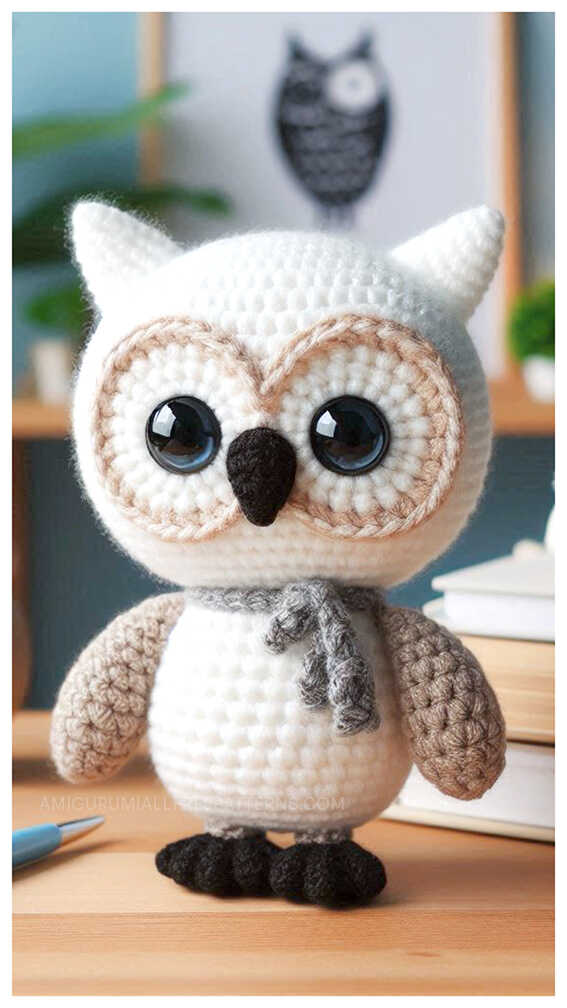
One of the free amigurumi crochet patterns we will share today is the owl, whose photos and design belong to Hairloom & Knitwear (YouTube). You can learn how to crochet this owl using the free amigurumi pattern. Thanks to Hairloom & Knitwear for this cute owl. Continue to follow and support us for more free crochet amigurumi patterns.
Amigurumi cats, amigurumi dolls, amigurumi dogs, amigurumi unicorns, amigurumi lambs, amigurumi dinosaurs, amigurumi foxes, amigurumi bears, amigurumi giraffes, amigurumi pigs, amigurumi birds, amigurumi penguins, amigurumi panda, amigurumi llama, amigurumi bunny, amigurumi clowns, amigurumi elephants, amigurumi hippos, amigurumi monkeys will not be difficult for you… Don’t forget to visit our YouTube channel…
Materials
• 3-4 ply yarn of few colors total of about 1.76 oz (ı used Yarnart jeans).
• The owl chest can be detailed by a textured yarn (optional).
• Crochet hook.
• Sew on 9 mm eyes.
• Fiberfill.
• Upholstery needle.
Abbreviations
MR: Magic ring
Sc: Single crochet
Ch: Chain
Inc: Increase
BLO: Back loop only
Dec: Decrease
Dc: Double crochet
Slst: Slip stitch
AMIGURUMI OWL FREE PATTERN
Head, Body, Tail
Rnd 1. 6 sc in MR (6)
Rnd 2. 6 inc (12)
Rnd 3. (1sc,inc)*6 (18)
Rnd 4. (2sc,inc)*6 (24)
Rnd 5. (3sc,inc)*6 (30)
Rnd 6. (4sc,inc)*6 (36)
Rnd 7. (5sc,inc)*6 (42)
Rnd 8. (6sc,inc)*6 (48)
Rnd 9. (7sc,inc)*6 (54)
Rnd 10-19. 54 sc (54)
Rnd 20. (7sc,dec)*6 (48)
Rnd 21. (6sc,dec)*6 (42)
Rnd 22. (5sc,dec)*6 (36)
Rnd 23. 36 sc
Rnd 24. (6sc,inc)*6 (42)
Rnd 25. (7sc,inc)*6 (48)
In round 26 start forming a chest with another color using 3 dc bobble stitch.
I advice you to make a before the body and incorporate it into the work, while crocheting the body.
The details is made in back and forth technique.
Chain 8.
Row 1. 7 sc
Row 2-5. crochet into the back loop
Row 2. 4 sc, 3 hdc, 4 sc
Row 3. 7 sc
Row 4. 4 sc, 3 hdc, 4 sc
Row 5. 7 sc
1 chain and crochet 4 sc on the shorter side of the tail. Finish off, hide the thread from the beginning of the work under these 4 sc, and leave the thread from the end of the work up until the moment of the tail attachment to the body. After the body is finished, hide this thread inside the toy.
Rnd 26. 4 sc, bobble, 43 sc (48)
Rnd 27. (7sc, inc)*6 (54) (3 sc around the bobble from the previous round the bobble color yarn).
Rnd 28. 2 sc, bobble, 3 sc, bobble, 41 sc (54)
Rnd 29. 54 sc (54) (7 sc around the bobbles from the previous round are the bobble color yarn).
Rnd 30. bobble, 3 sc, bobble, 3 sc, bobble, 39 sc (54)
Rnd 31. 54 sc (54). (11 sc around the bobbles from the previous round are the bobble color yarn).
Rnd 32-36. gradually increase the triangle formed by bobbles on the chest. Total, it should increase up to 6 bobbles.
In round 36 (last round with bobbles): crochet in the tail at the center of the back by crocheting through the 4 sc from the body and the 4 sc from the tail, accordingly.
Rnd 37. crochet with a single yarn (7sc,dec)*6 (48)
Rnd 38. (6sc,dec)*6 (42)
Rnd 39. (5sc,dec)*6 (36)
Rnd 40. (4sc,dec)*6 (30)
Starting from the next round, gradually fill in the toy with a fiberfill.
Rnd 41. (3sc,dec)*6 (24)
Rnd 42. (2sc,dec)*6 (18)
Rnd 43. (1sc,dec)*6 (12)
Rnd 44. dec*6 (6)
Finish off, hide the thread into the toy.
Wings
Rnd 1. 6 sc in MR (6)
Rnd 2. 6 inc (12)
Rnd 3. (1sc,inc)*6 (18)
Rnd 4. (2sc,inc)*6 (24)
Rnd 5. (3sc,inc)*6 (30)
Rnd 6. (4sc,inc)*3, 4sc, (1hdc, 1dc, 1hdc) in the next sc, (4sc,inc)*2 (37)
Make two details, put them together wrong side to wrong side and attach to each other by a round of sc and (1 hdc, 1dc, 1 hdc) in the 1 dc from the previous round.
Ears
Rnd 1. 6 sc in MR (6)
Rnd 2. 6 sc (6)
Rnd 3. (inc)*6 (12)
Rnd 4. 12 sc (12)
Finish off, leave some thread for stitching it to the body.
Eyes
Rnd 1. 6 sc in MR (6)
(Do not tighten it too much, to leave some space for the button).
Rnd 2. (inc)*6 (12)
Change the yarn color.
Rnd 3. (1sc,inc)*6 (18)
Rnd 4. (2sc,inc)*6 (24)
Rnd 5. (3sc,inc)*6 (30)
Beak
Rnd 1. 5 sc in MR (5)
Rnd 2. 1sc, inc, 1sc, inc, 1sc (7)
Rnd 3. 7 sc
Rnd 4. 2sc, inc, 2sc, inc, 1sc (9)
Finish off leave some thread for stitching it to the body.
Paws
Paws are made of two tows.
Rnd 1. 6 sc in MR (6)
Rnd 2-4. 6 sc
Finish off one tow, similary make another one.
Rnd 5. 3 sc on one tow, 6sc on another tow, 3sc on the first tow (12)
Rnd 6. (1sc,dec)*4 (8)
Rnd 7-10. 8 sc
Rnd 11. (2sc,dec)*2 (6)
Finish off, leave some thread for stitching it to the body.
Assembly
Stitch on wings, eyes with buttons, beak, ears, and paws.
You can decorate the owlet according to your taste: with a scarf, flower.
Or leave it as it is. The owlet is super cute anyways.
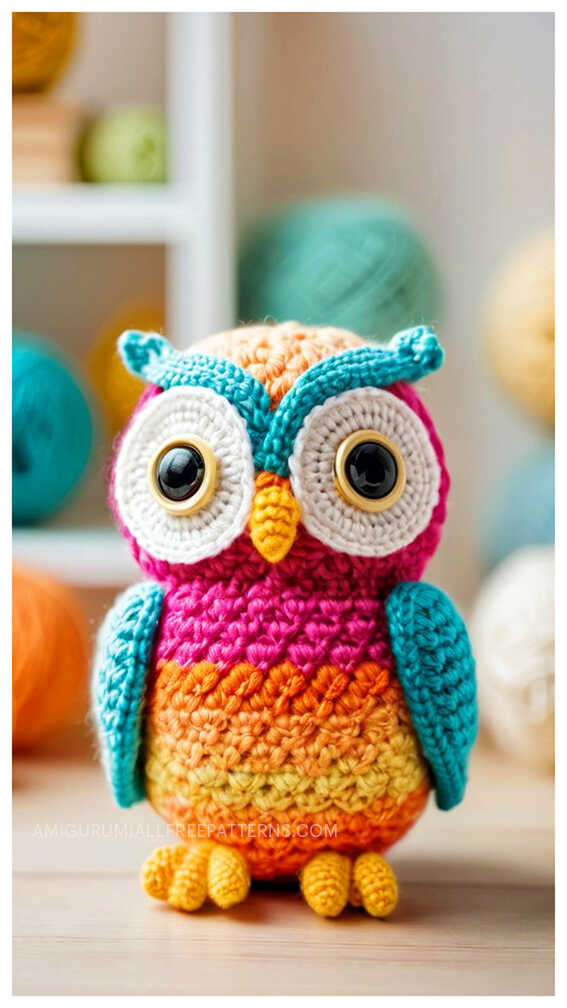
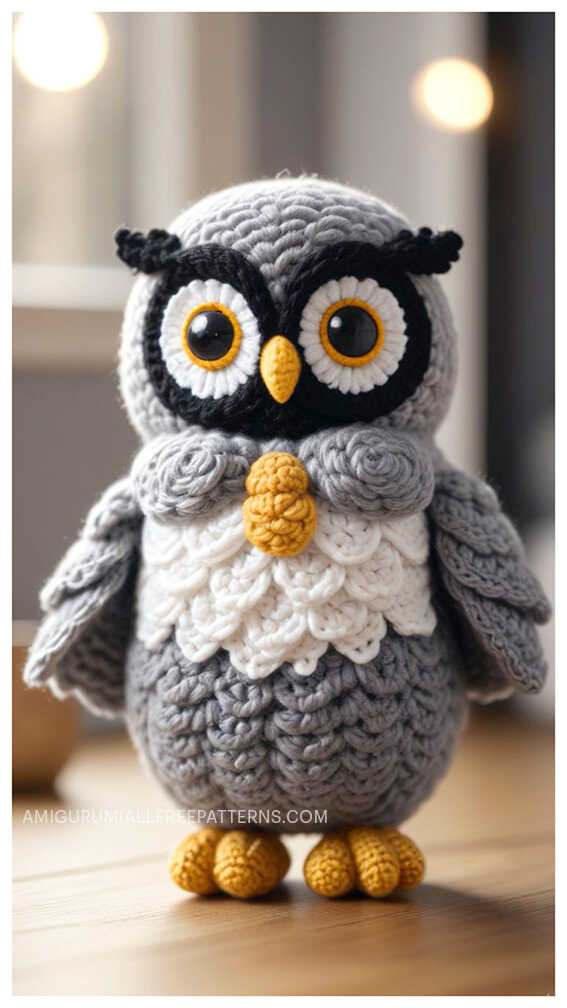
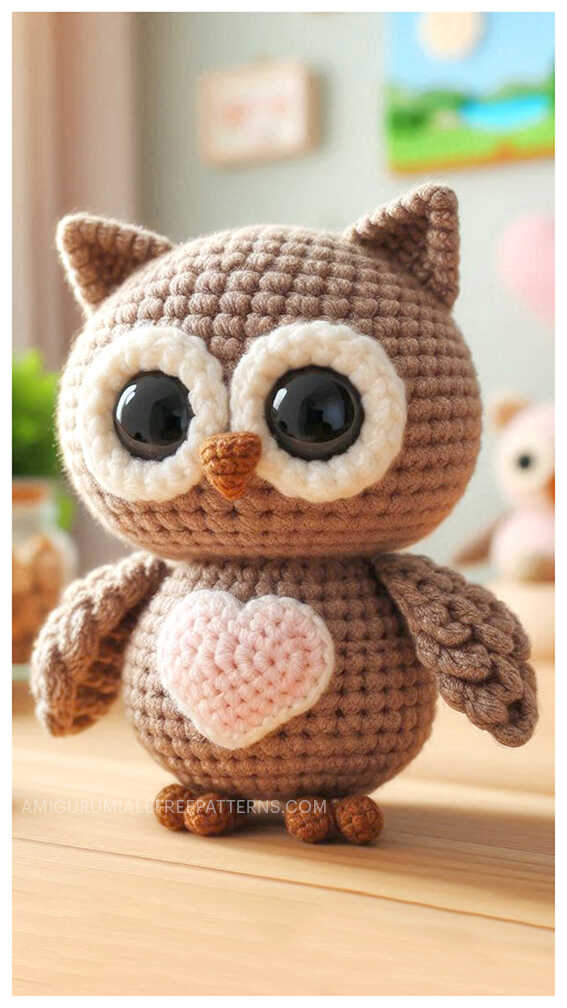
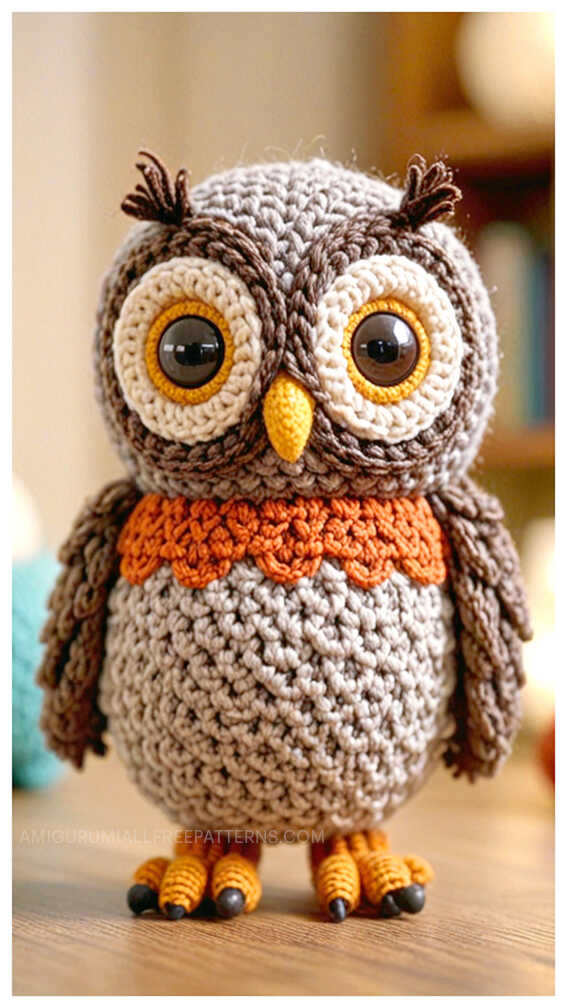
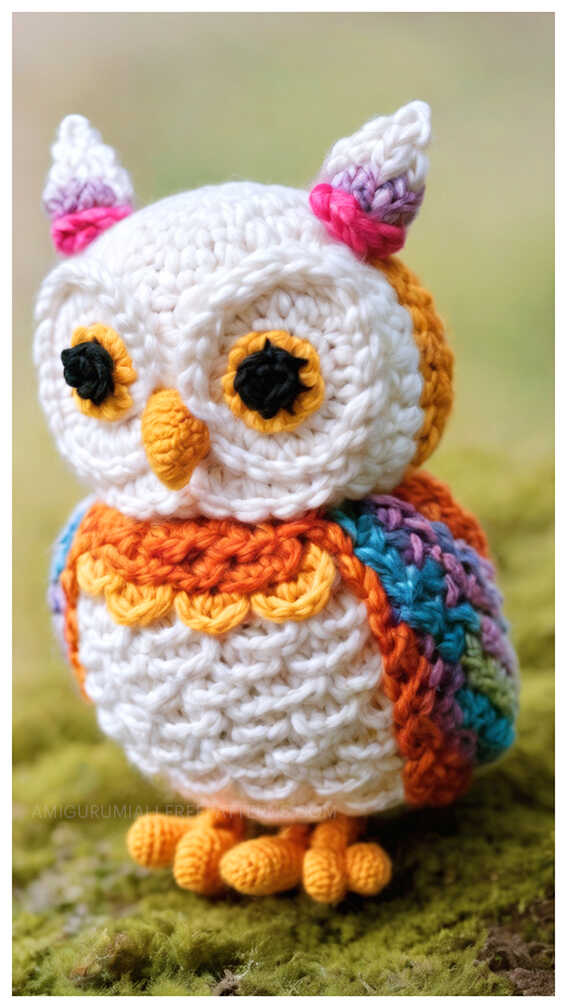
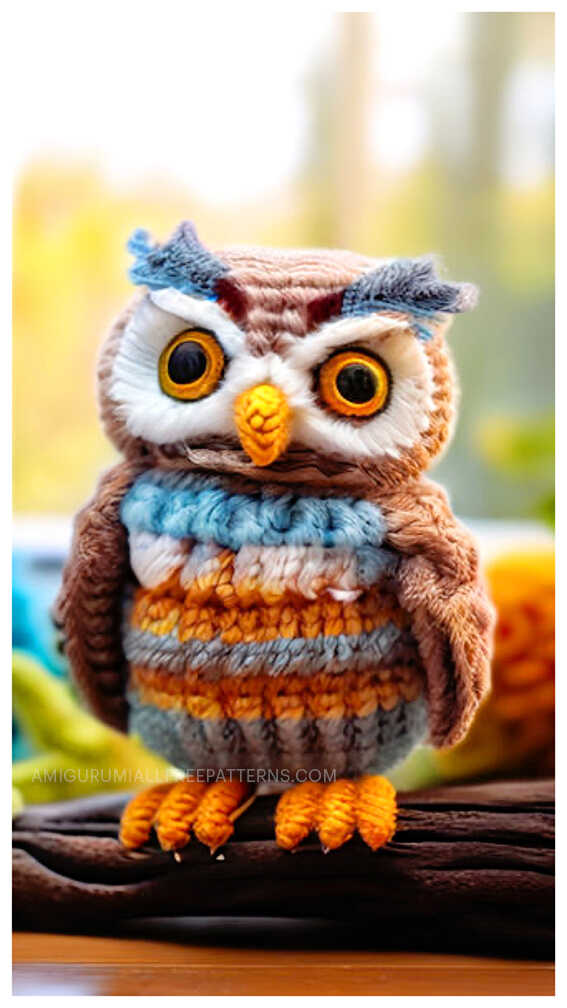
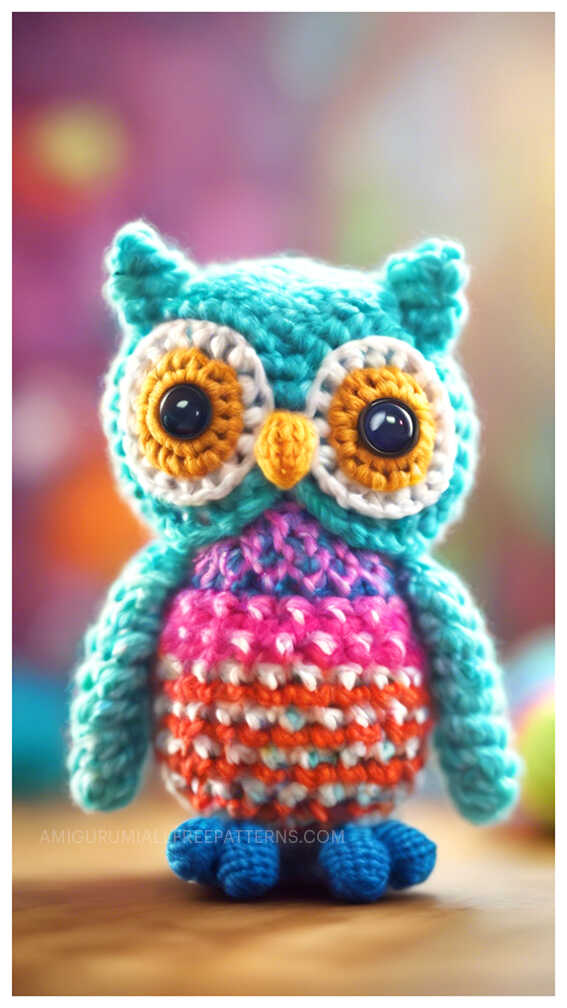
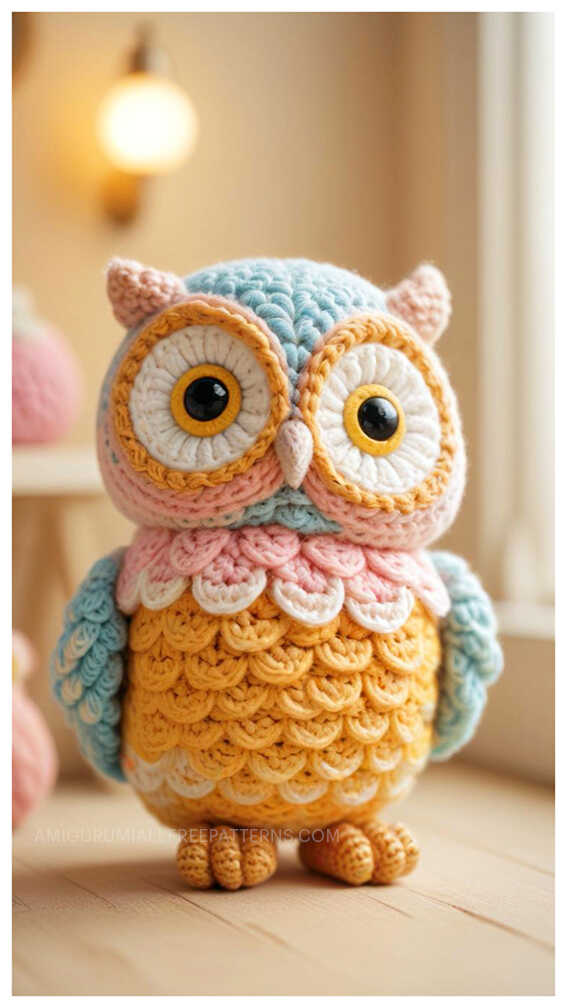
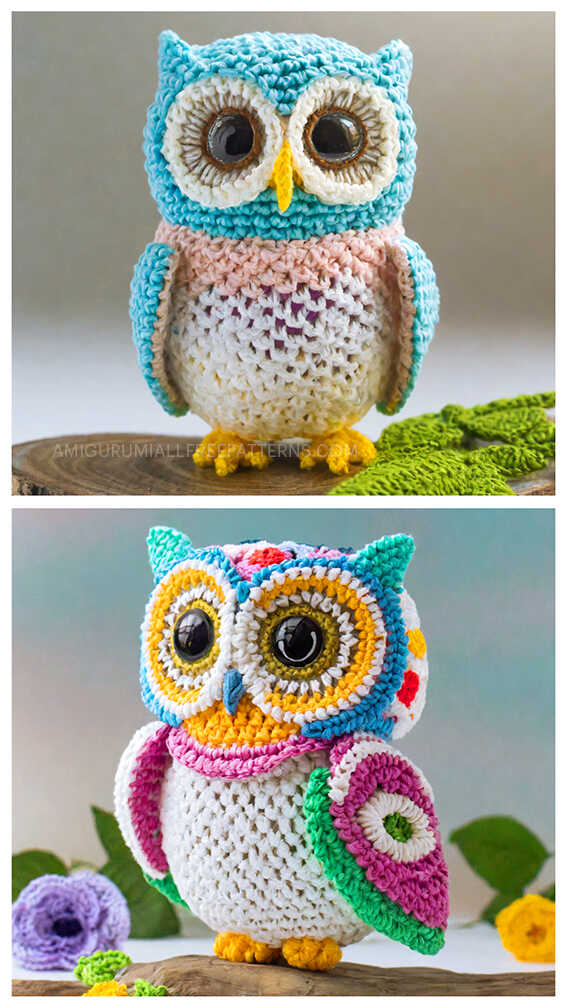
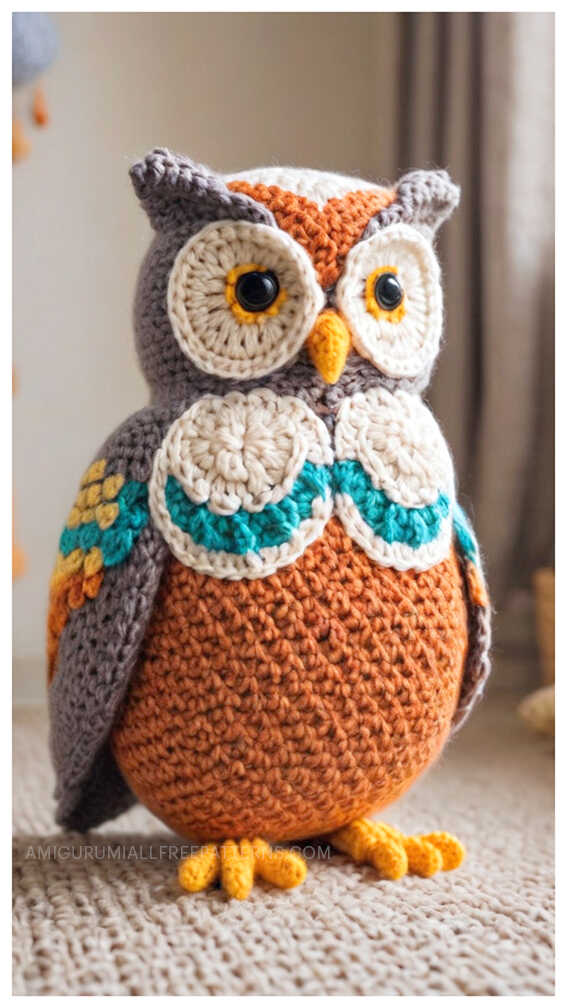
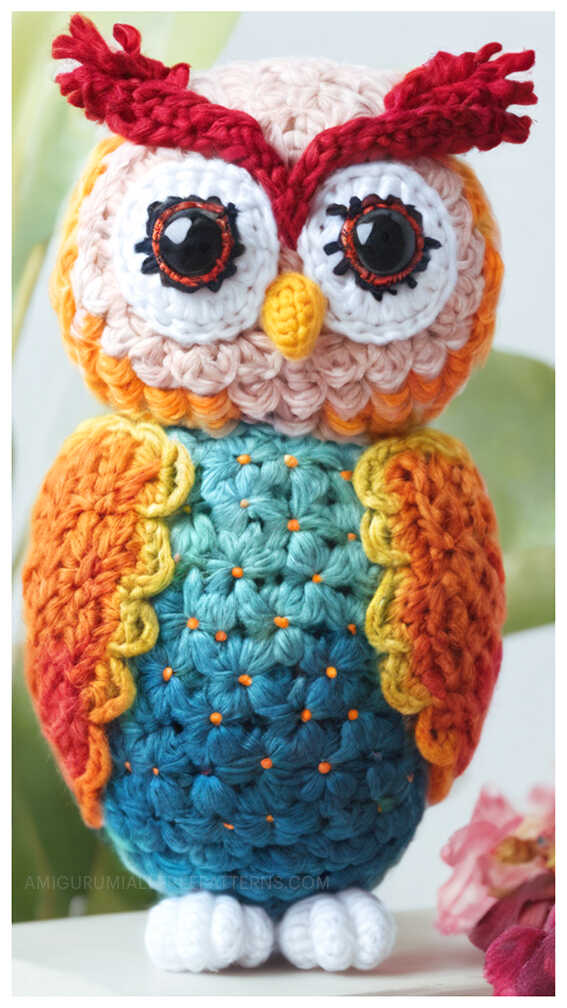
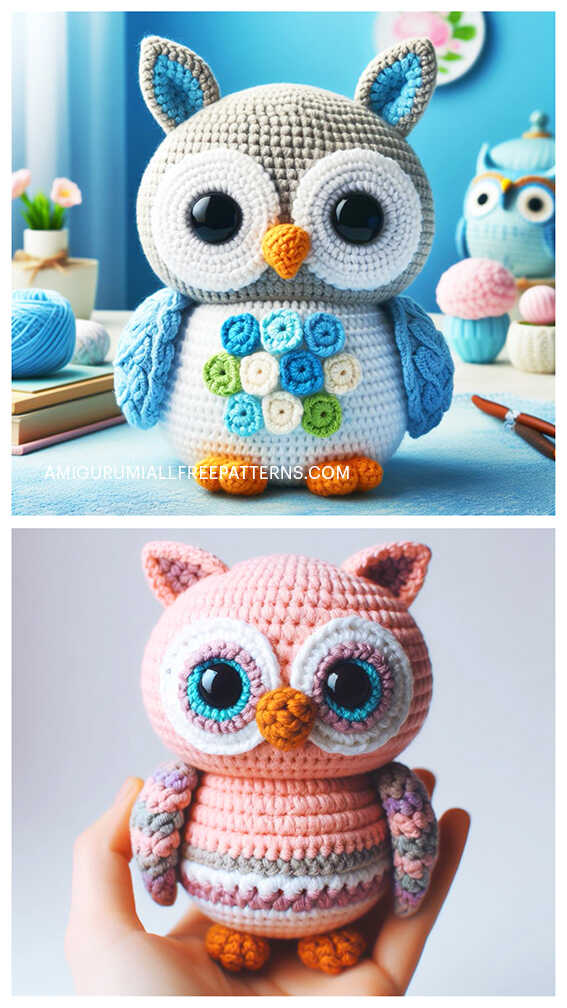
More amigurumi owl ideas: