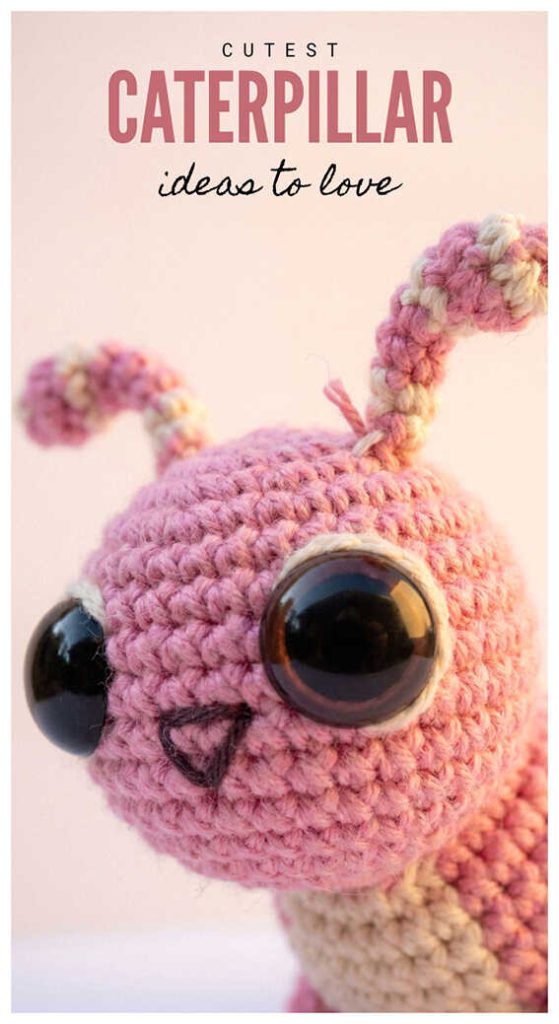
Caterpillar Amigurumi Free Crochet Pattern – Cute Garden Plush
Designer: Yulia Sinakova
Instagram: @sinakova.design
Difficulty Level: Beginner
A Playful Crochet Pick for Cheerful Handmade Moments.
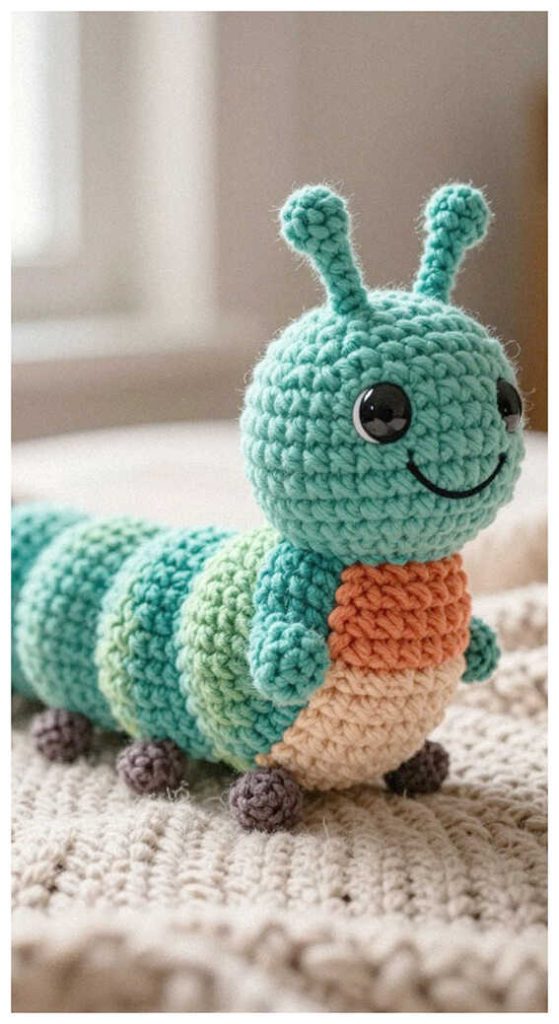
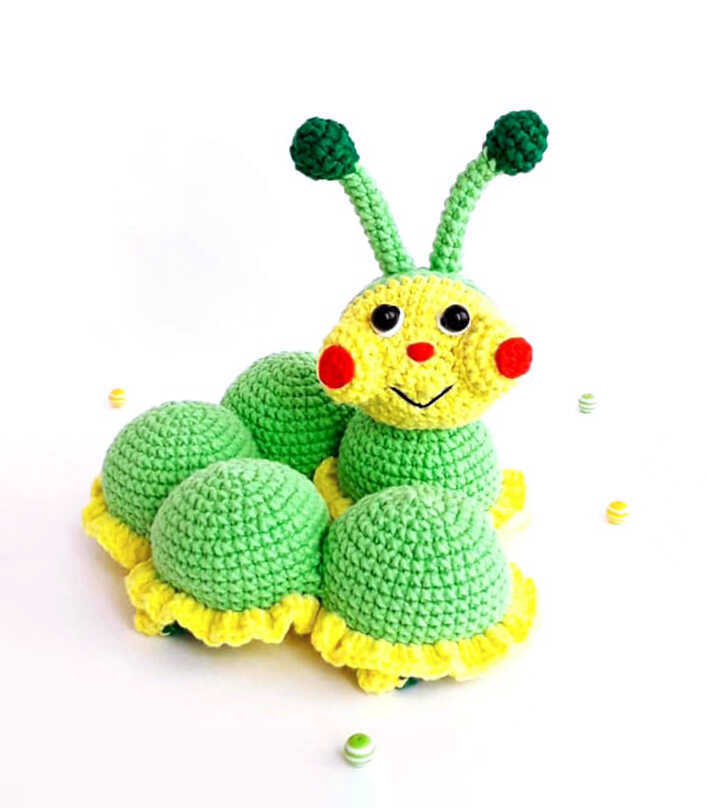
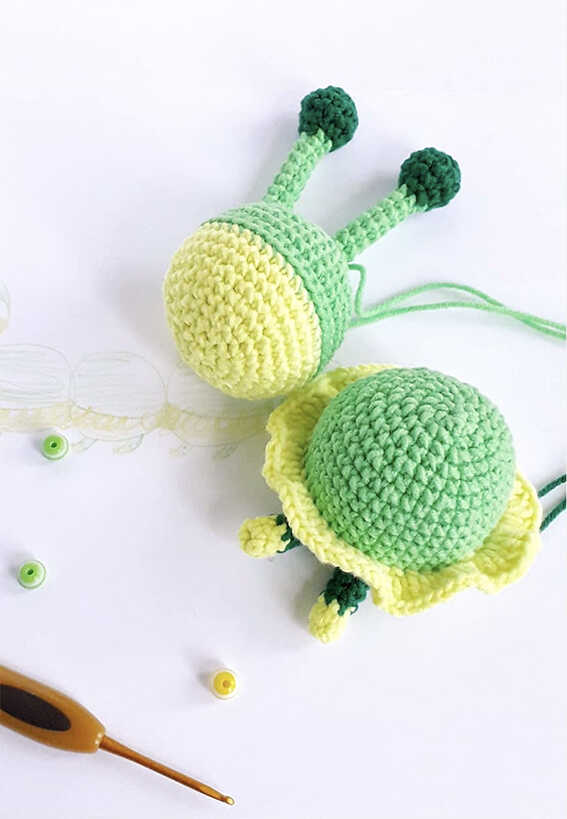
This free caterpillar amigurumi pattern is a cheerful handmade project to brighten your cozy crochet time. Designed by Yulia Sinakova, this cute crochet animal features colorful shaping and a sweet look, making it a lovely handmade gift idea, nursery accent, or soft crochet toy. You will also find lovely caterpillar amigurumi ideas shared at the end of the pattern, and we sincerely thank Yulia Sinakova for sharing this charming design.
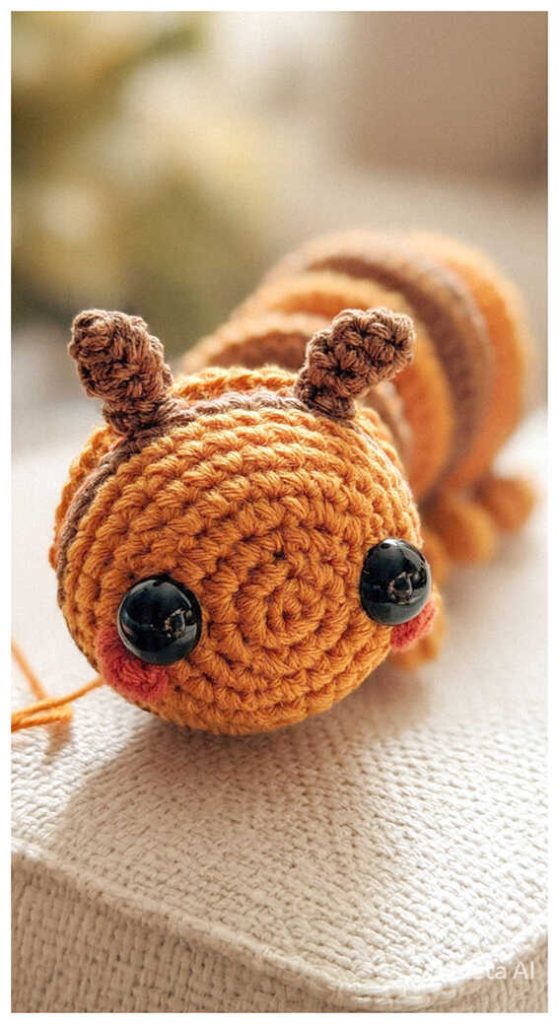
This beginner-friendly amigurumi pattern uses basic stitches and simple shaping, making it a relaxing quick crochet project for everyday crafting. Its segmented structure fits easy crochet projects beautifully. If you enjoy bug-themed makes, you might also love the cute bee amigurumi shared on our blog.
The pattern uses cotton yarn for crisp stitch definition, while velvet yarn can create a larger plush version. For another small crochet project, enjoy this sweet snail amigurumi. More related caterpillar amigurumi ideas are waiting at the end of the pattern.
Love cute bug amigurumi? More playful caterpillar and garden crochet favorites await below.
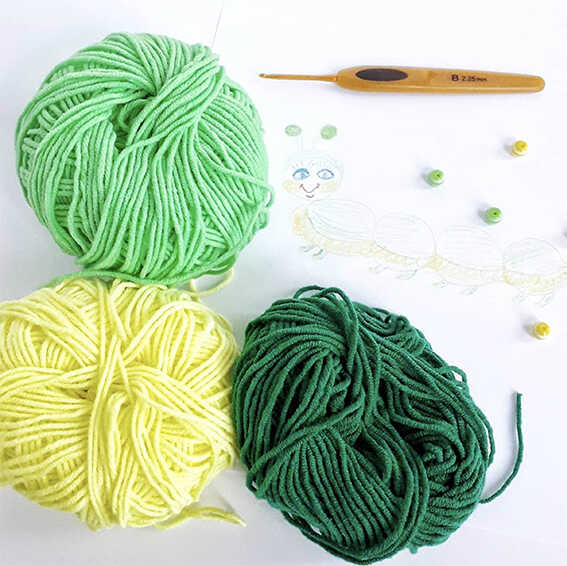
Materials
• Yarn
‣ YarnArt Jeans yarn (or similar cotton yarn) in four colors
• Fiberfill stuffing
• Half bead eyes
• 2 mm crochet hook
Abbreviations
MR – magic ring
ch – chain
sc – single crochet
sl st – slip stitch
hdc – half double crochet
dc – double crochet
inc – increase
dec – decrease
HOW TO CROCHET A FREE CATERPILLAR AMIGURUMI PATTERN
Legs (Make 10)
Using yellow yarn:
R1: 6 sc in MR (6)
R2: sc in each stitch around (6)
Change to green yarn.
R3-R7: sc in each stitch around (6)
Close the opening, fasten off, and weave in the end.
Horns (Make 2)
Using dark green yarn:
R1: 6 sc in MR (6)
R2: inc x 6 (12)
R3-R4: sc in each stitch around (12)
R5: dec x 6 (6)
Lightly stuff.
Change to light green yarn.
R6-R15: sc in each stitch around (6)
Fasten off, leaving a tail for sewing.
Body Segments (Make 5)
Using green yarn:
R1: 6 sc in MR (6)
R2: inc x 6 (12)
R3: (1 sc, inc) x 6 (18)
R4: (2 sc, inc) x 6 (24)
R5: (3 sc, inc) x 6 (30)
R6: (4 sc, inc) x 6 (36)
R7: (5 sc, inc) x 6 (42)
R8-R12: sc in each stitch around (42)
Change to yellow yarn.
R13: BLO sc in each stitch around (42)
Stuff as you crochet.
R14: (5 sc, dec) x 6 (36)
R15: (4 sc, dec) x 6 (30)
R16: (3 sc, dec) x 6 (24)
R17: (2 sc, dec) x 6 (18)
R18: (1 sc, dec) x 6 (12)
Close the opening, fasten off, and weave in the end.
Attach yellow yarn to the FLO from R13 and create the frill by working 2 dc in each stitch around.
Head
Using green yarn:
R1: 6 sc in MR (6)
R2: inc x 6 (12)
R3: (1 sc, inc) x 6 (18)
R4: (2 sc, inc) x 6 (24)
R5: (3 sc, inc) x 6 (30)
R6: (4 sc, inc) x 6 (36)
R7: (5 sc, inc) x 6 (42)
R8-R10: sc in each stitch around (42)
Change to yellow yarn.
R11: BLO sc in each stitch around (42)
Stuff as you crochet.
R12-R13: sc in each stitch around (42)
R14: (5 sc, dec) x 6 (36)
R15: (4 sc, dec) x 6 (30)
R16: (3 sc, dec) x 6 (24)
R17: (2 sc, dec) x 6 (18)
R18: (1 sc, dec) x 6 (12)
Close the opening, fasten off, and weave in the end.
Cheeks (Make 2)
Using yellow yarn:
R1: 6 sc in MR (6)
R2: inc x 6 (12)
R3: (1 sc, inc) x 6 (18)
R4: sc in each stitch around (18)
Fasten off, leaving a tail for sewing.
For the cheek pads, make a small circle of 5–6 sc in MR and sew one onto each cheek.
Assembly
– Sew all body segments together using a strong matching thread.
– Attach the head to the front body segment.
– Sew the horns onto the head.
– Attach the cheeks and embroider the facial details.
– Attach the legs to each body segment using thread joints if you want movable legs, or sew them directly in place.
– Insert the eyes.
Your crochet caterpillar is ready!
Copyright & Credits
This pattern is designed by Yulia Sinakova (@sinakova.design). Please do not copy, redistribute, or republish this pattern without permission. You may sell finished items made from this pattern, but please credit the original designer when sharing your work.
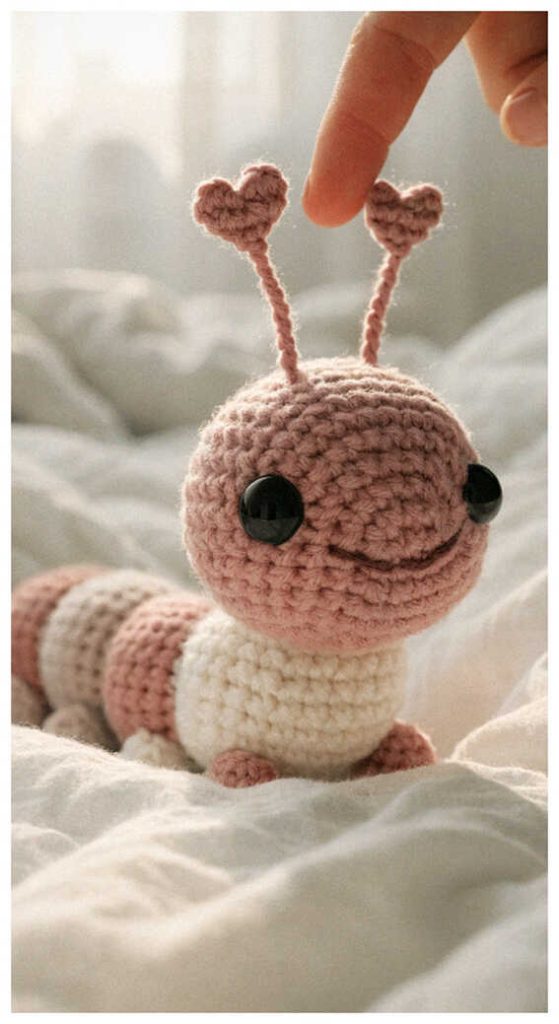
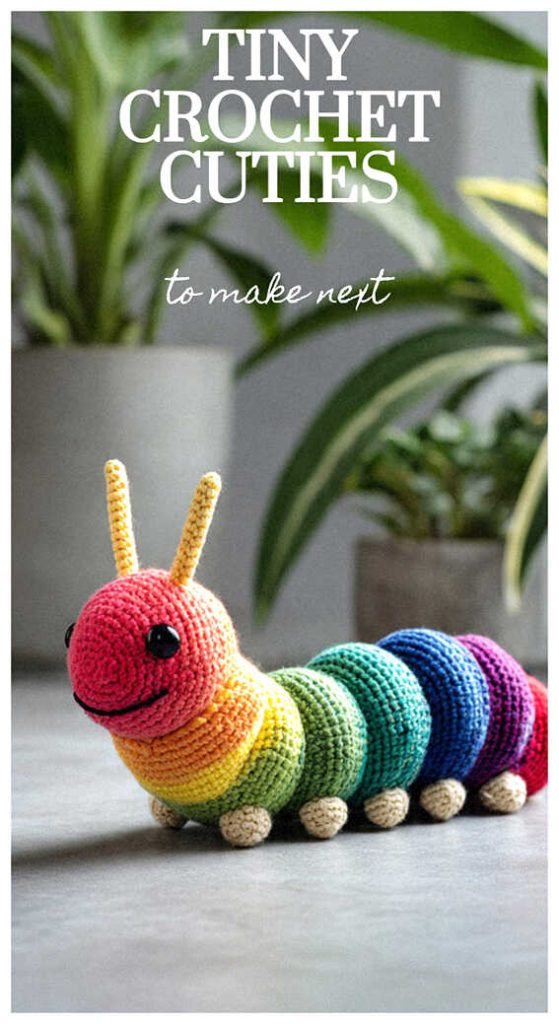
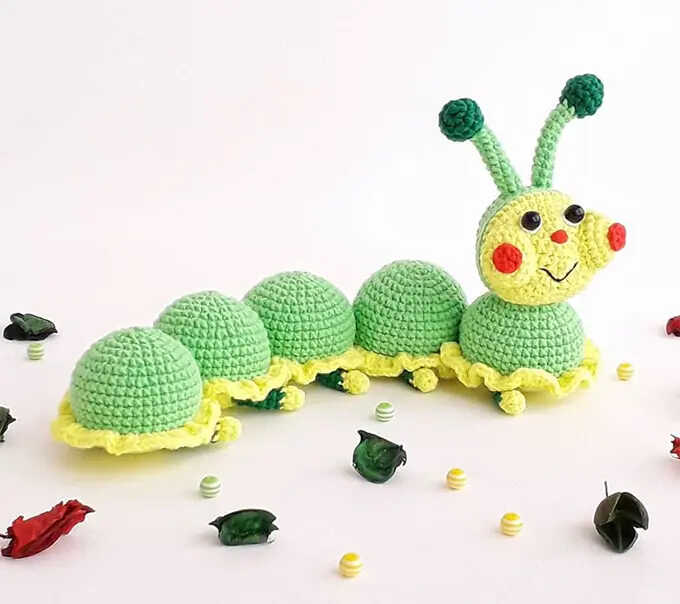
Playful and full of charm, caterpillar amigurumi makes a fun handmade gift idea for kids, nursery decor lovers, or bug fans. Part of why people love this style is the cheerful colors and lovable personality.
Cute Caterpillar Gift Ideas for Kids