Dog Amigurumi Free Crochet Pattern – Cute Puppy Plush
Designer: Melizi Arte Sanal
Instagram: @meliziartesanal
Difficulty Level: Beginner
A heartwarming crochet project for dog lovers and handmade gift makers
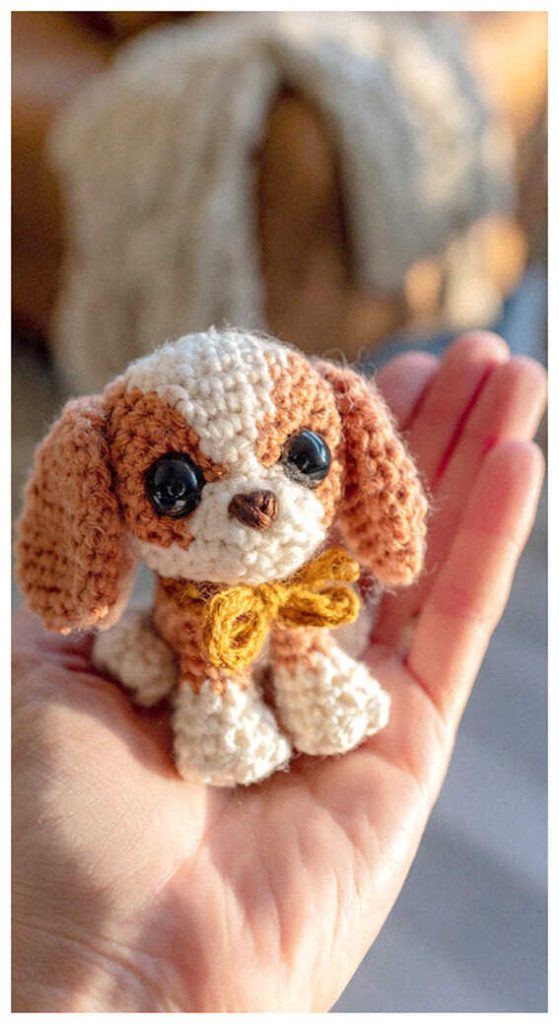
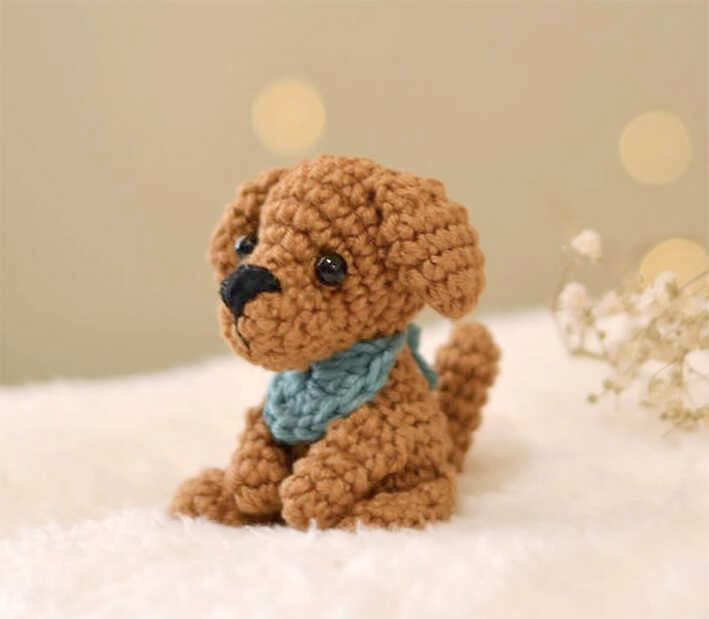
Cute puppy amigurumi designs always bring instant charm, and this free Toto the little puppy dog amigurumi pattern by @meliziartesanal is a lovely pick for anyone who enjoys playful handmade animals. With its sweet puppy shape and soft details, this soft crochet toy makes a perfect handmade gift idea for dog lovers, kids, or cozy nursery decor. We sincerely thank meliziartesanal for generously sharing this adorable puppy design with the crochet community, and you’ll find more dog-inspired amigurumi ideas at the end of the pattern.
This is a beginner-friendly amigurumi pattern with simple stitches and approachable shaping, making it a fun quick crochet project for relaxed crafting sessions. If you enjoy sweet animal makes, you may also love the little bunny amigurumi from one of our other blogs.
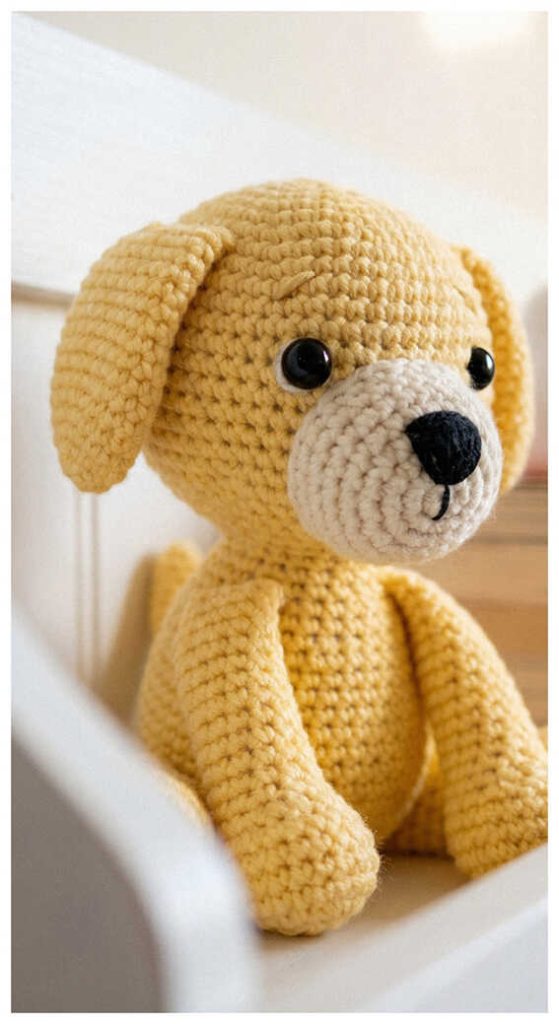
Cotton yarn creates a crisp, well-shaped finish, while velvet yarn can transform this puppy into a larger plush cuddle toy. You only need yarn, a 2.5 mm hook, stuffing, safety eyes, and basic tools to complete this cozy crochet project. For another charming handmade animal, explore the fox amigurumi, and don’t forget to browse the related dog amigurumi ideas shared at the end of the pattern.
Keep scrolling for more adorable dog amigurumi ideas and handmade puppy crochet favorites.
Materials
• Yarn
‣ Amigurumi yarn in your preferred color (sample used: color 7148)
• 2.5 mm crochet hook
• Scissors
• Stuffing
• Tapestry needle
• Beads or safety eyes
Abbreviations
MR – magic ring
R – round
ch – chain
sc – single crochet
dc – double crochet
sl st – slip stitch
inc – increase
dec – decrease
BLO – back loop only
FLO – front loop only
HOW TO CROCHET A FREE DOG AMIGURUMI PATTERN
Head
R1: 6 sc in MR (6)
R2: inc x 6 (12)
R3-R5: sc in each stitch around (12)
R6: 5 inc, 7 sc (17)
R7: (1 sc, inc) x 5, 7 sc (22)
R8-R10: sc in each stitch around (22)
R11: (6 sc, dec) x 2, 6 sc (20)
R12: (2 sc, dec) x 5 (15)
R13: (1 sc, dec) x 5 (10)
R14: Close using the front loops of the remaining 10 stitches to create an inverted magic ring.
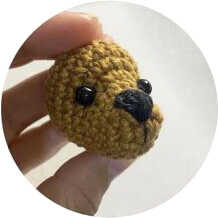
Embroider the snout as shown in the reference photo.
Attach the eyes between R5 and R6, using beads or safety eyes as preferred.
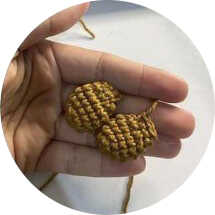
Ears (Make 2)
R1: 6 sc in MR (6)
R2: inc x 6 (12)
R3-R5: sc in each stitch around (12)
R6: dec x 6 (6)
R7: Fold flat and close with 3 sc
Body
R1: 6 sc in MR (6)
R2: inc x 6 (12)
R3: (1 sc, inc) x 6 (18)
R4: (2 sc, inc) x 6 (24)
R5: sc in each stitch around (24)
R6: (2 sc, dec) x 6 (18)
R7-R8: sc in each stitch around (18)
R9: (1 sc, dec) x 6 (12)
R10-R11: sc in each stitch around (12)
Legs (Make 2)
R1: 6 sc in MR (6)
R2: inc x 6 (12)
R3: sc in each stitch around (12)
R4: dec x 6 (6)
R5-R6: sc in each stitch around (6)
R7: Fold flat and close with 3 sc
Arms (Make 2)
R1: 6 sc in MR (6)
R2-R5: sc in each stitch around (6)
R6: Fold flat and close with 3 sc
Tail
R1: 6 sc in MR (6)
R2-R7: sc in each stitch around (6)
R8: Fold flat and close with 3 sc
Bandana
Ch 7.
Skip 3 chains.
In the next chain, work:
3 dc, ch 2, 3 dc
This creates the bandana shell shape.
Finish with a sl st in the final chain.
Attach one strand of yarn to each side so the bandana can be tied around the puppy’s neck.
Assembly
• Sew the ears to the head.
• Attach the head to the body.
• Sew the arms, legs, and tail in place.
• Tie the bandana around the neck.
Copyright & Credits
This pattern is designed by meliziartesanal (@meliziartesanal). Please do not copy, redistribute, or republish this pattern without permission. You may sell finished items made from this pattern, but please credit the original designer when sharing your work.
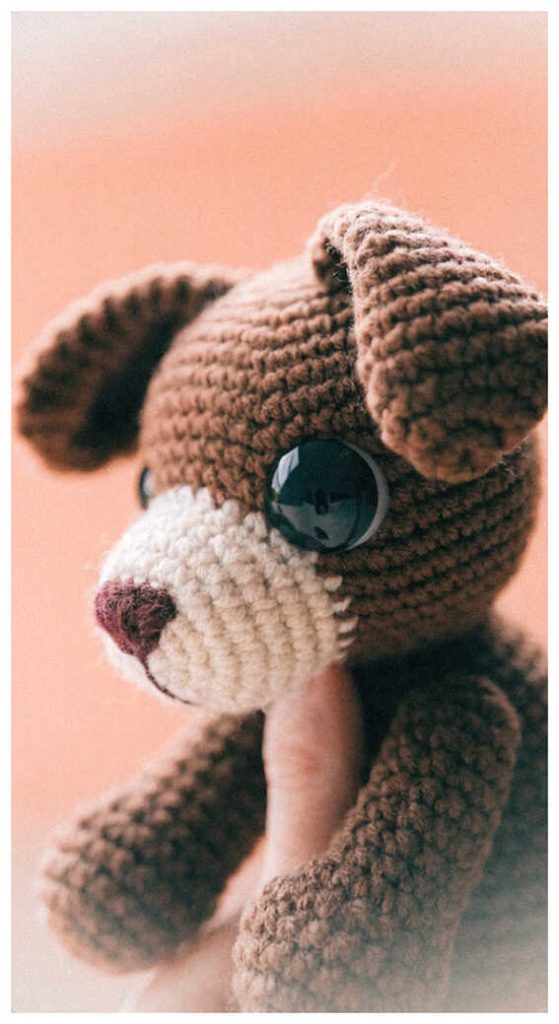
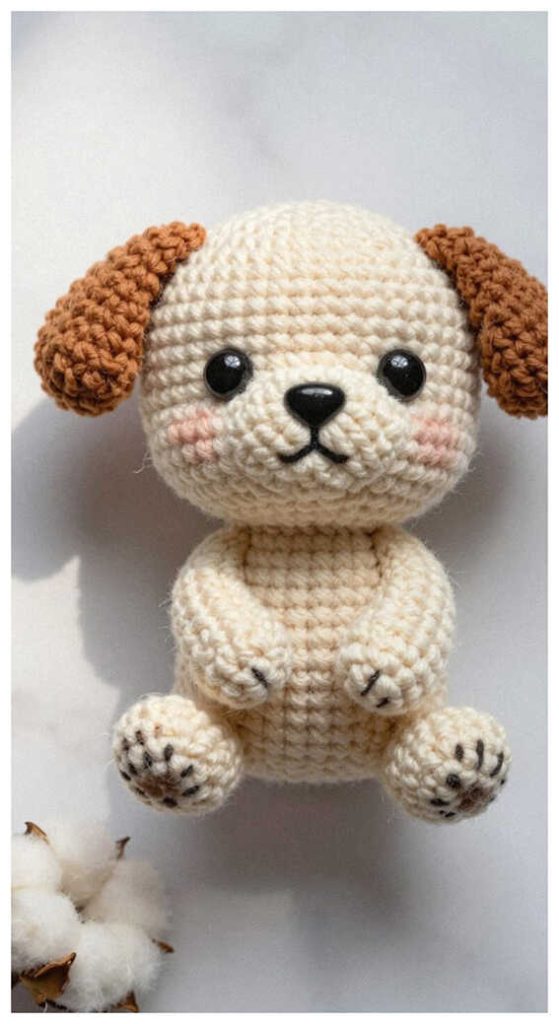
Sweet and instantly lovable, puppy amigurumi makes a perfect handmade gift idea for dog lovers, kids, or plush collectors. Part of why people love this style is the comforting personality and giftable charm.
Cute Puppy Gift Ideas for Dog Lovers