Duck Amigurumi Free Crochet Pattern – Cutest Farm Plush
Designer: LauCrochetStudio
Instagram: @lau_crochetstudio
Etsy Shop: LauCrochetStudio
Difficulty Level: Easy
A cheerful crochet project made for lovers of cute handmade animals
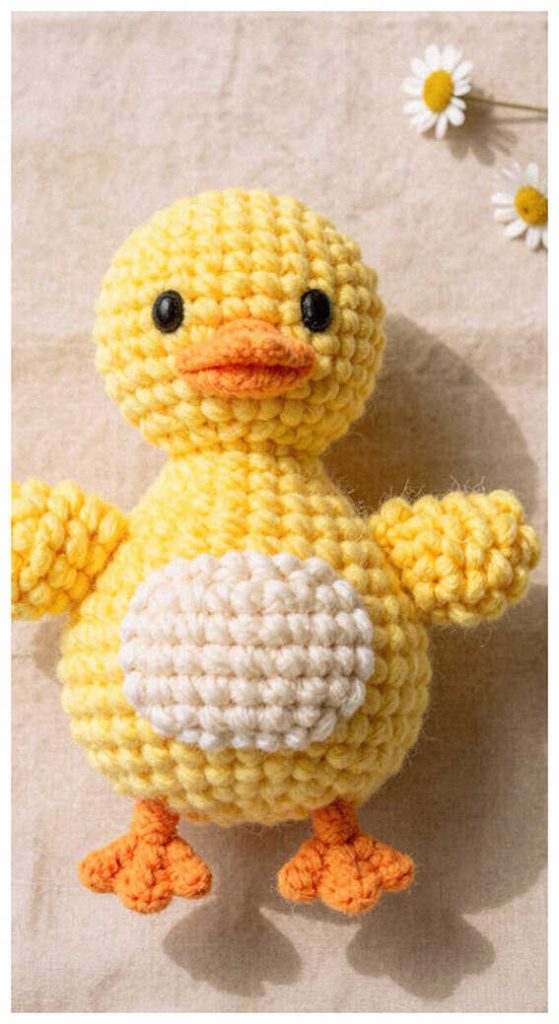
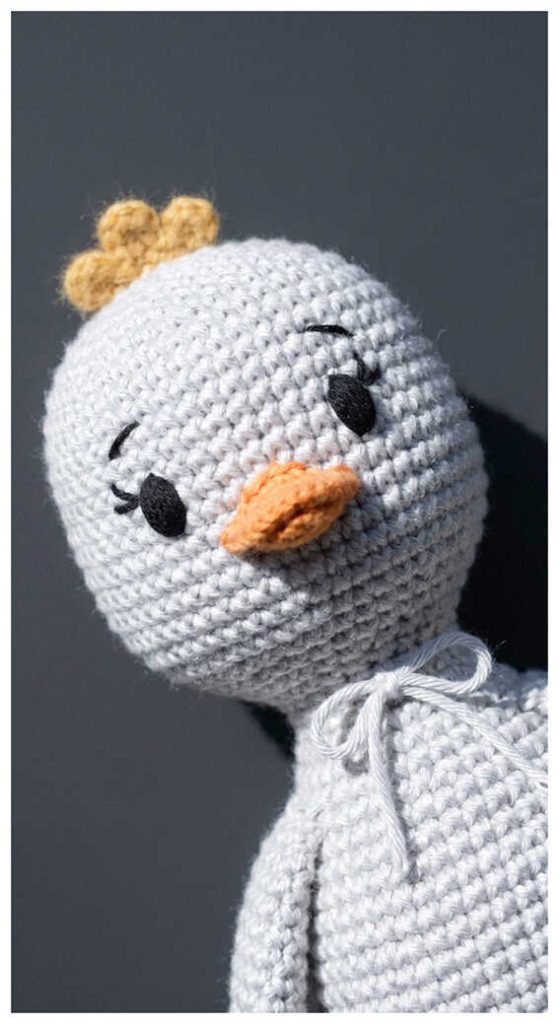
Some crochet projects instantly make you smile, and this free duck amigurumi pattern by LauCrochetStudio is exactly that kind of joyful make. With its kawaii shape and playful details, this soft crochet toy makes a sweet handmade gift idea or adorable shelf companion. We sincerely thank LauCrochetStudio for generously sharing this charming duck design with the crochet community, and you’ll find more cute amigurumi ideas at the end of the pattern.
Looking for the original crochet pattern source? Scroll down to discover the full designer pattern.
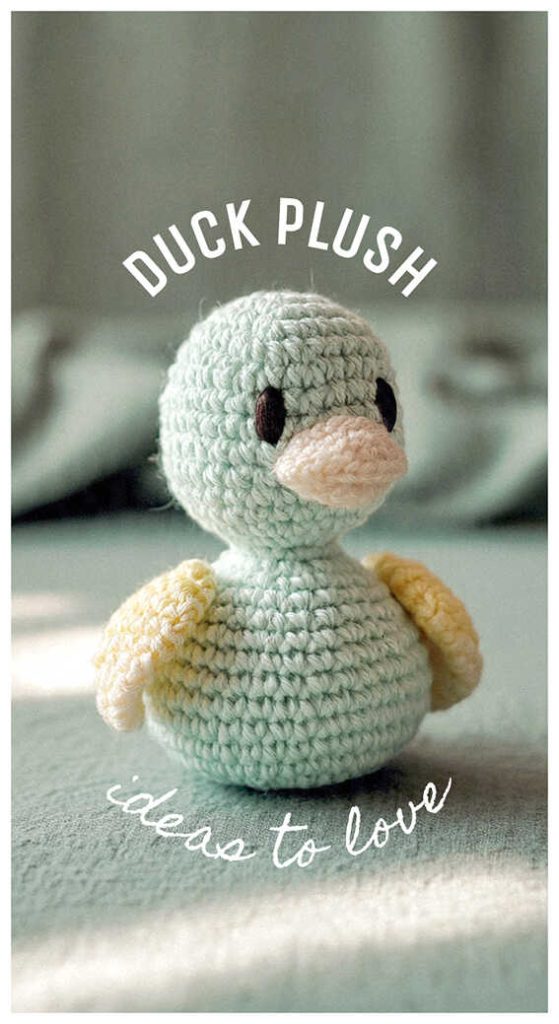
This is an easy beginner-friendly amigurumi pattern using simple stitches and clean shaping, making it a fun quick crochet project. If you enjoy cute farm-inspired makes, you may also love the little chick amigurumi from our other blog.
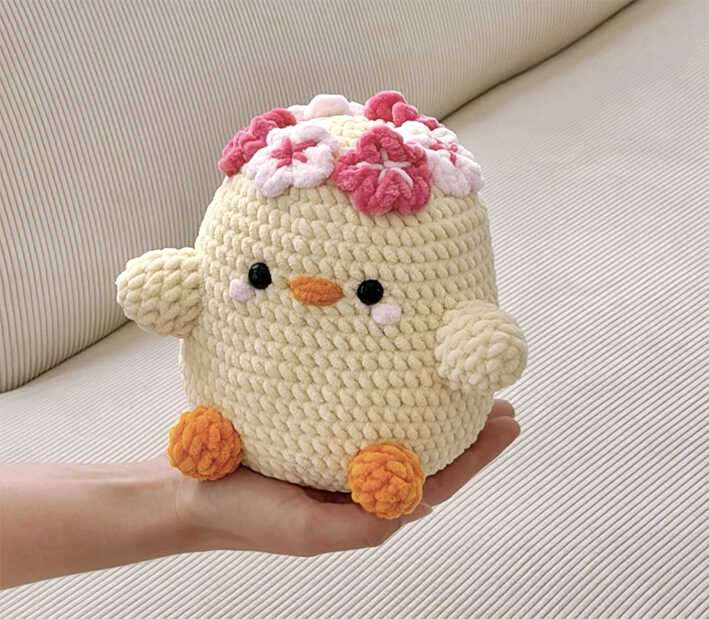
This small crochet project works beautifully with your favorite yarn colors, and velvet yarn can create an even chunkier plush version. You only need yarn, a 4 mm hook, stuffing, safety eyes, and basic tools. For another playful handmade animal, explore the mini bunny amigurumi, and don’t forget to browse the related duck-inspired amigurumi ideas shared at the end of the pattern.
Keep scrolling for more adorable duck amigurumi ideas, nursery favorites, and handmade gift inspiration.
Materials
• Yarn
‣ Any color of your choice
• 4 mm crochet hook
• Yarn needle
• Stuffing
• Scissors
• Safety eyes
Abbreviations
MR: magic ring
Sc: single crochet
inc: increase
Dec: decrease
Blo: back loop only
Сс: color change
Ch: chain
St(s): stitch/stitches
Slst: slip stitch
R: round
Fo: fasten off
HOW TO CROCHET A FREE DUCK AMIGURUMI PATTERN
Duck body
R1. 7 sc in MR (7)
R2. 7 inc (14)
R3. (sc,inc)x7 (21)
R4. (2sc,inc)x7 (28)
R5. (3sc,inc)x7 (35)
R6. (4sc,inc)x7 (42)
R7. (5sc,inc)x7 (49)
R8. 49 sc (49)
R9. (6sc,inc)x7 (56)
R10-14. 56 sc (5 rounds) (56)
R15. 6sc, inc, 13sc, inc, 14sc, inc, 13sc, inc, 6sc (60)
R16. 60 sc (60)
R17. 7 sc, inc, (14sc,inc)x3, 7sc (64)
R18-23. 64 sc (6 rounds) (64)
R24. (6sc,dec)x8 (56)
R25. (5sc,dec)x8 (48)
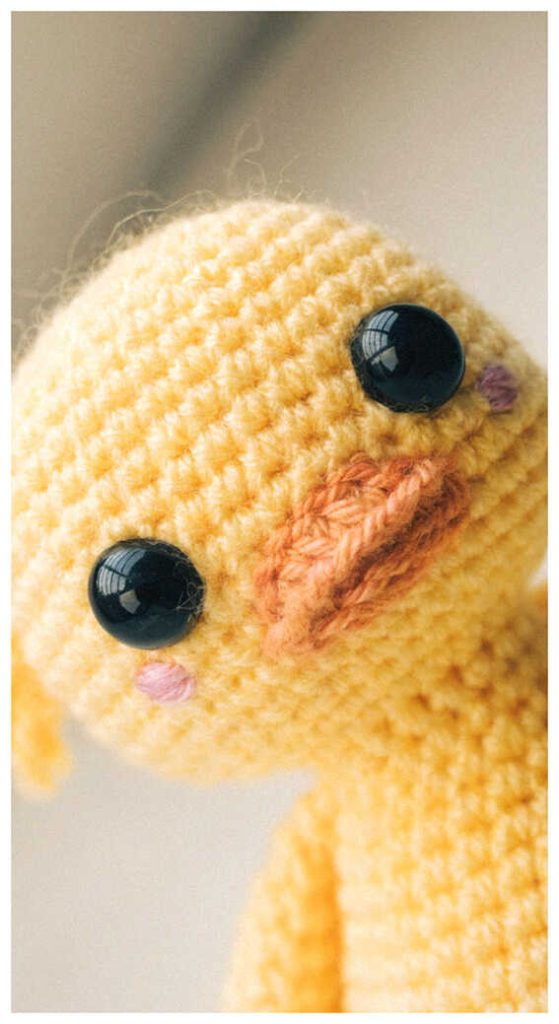
Insert safety eyes between R12-13 6 stitches apart.
R26. (4sc,dec)x8 (40)
R27. (3sc,dec)x8 (32)
Begin to stuff.
R28. (2sc,dec)x8 (24)
R29. (sc,dec)x8 (16)
R30. 8 dec (8)
Stuff some more.
Cut the yarn and sew the hole closed.
Wings (2)
R1. 5 sc in MR (5)
R2. 5 inc (10)
R3. (4sc,inc)x2 (12)
R4-5. 12 sc (2 rounds)
Cut the yarn and leave a long tail for sewing.
Stuff.
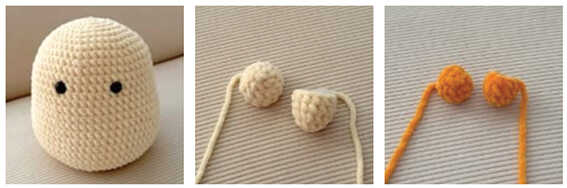
Feet (2)
R1. 5 sc in MR (5)
R2. 5 increase (10)
R3. 10 sc (10)
R4. (3sc,dec)x2 (8)
Cut the yarn and leave a long tail for sewing.
Stuff.
Flowers
I did 6 flowers in total.
You have to make a MR and ch 2.
Than make 2 DC into the MR.
Again, ch 2 and slst into the MR.
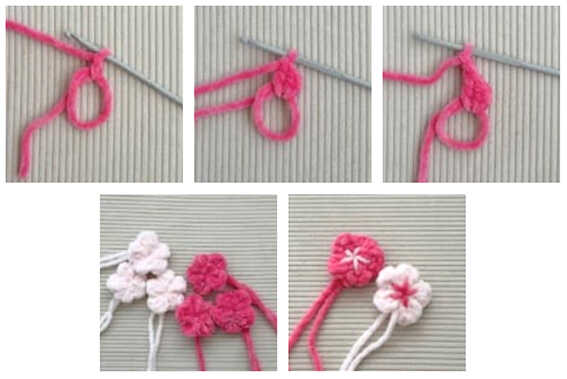
This will create the first petal of the flower.
Repeat this steps 5 times to make 5 petals.
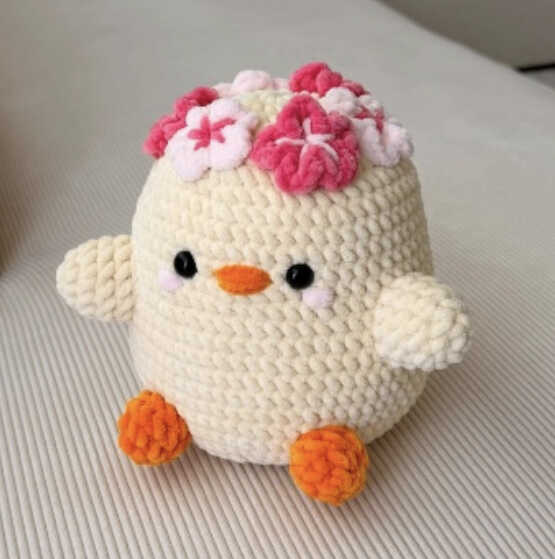
These are my flowers I left a long tail of yarn for sewing them.
I also added this detail in the center of the flowers to create a sakura-like effect.
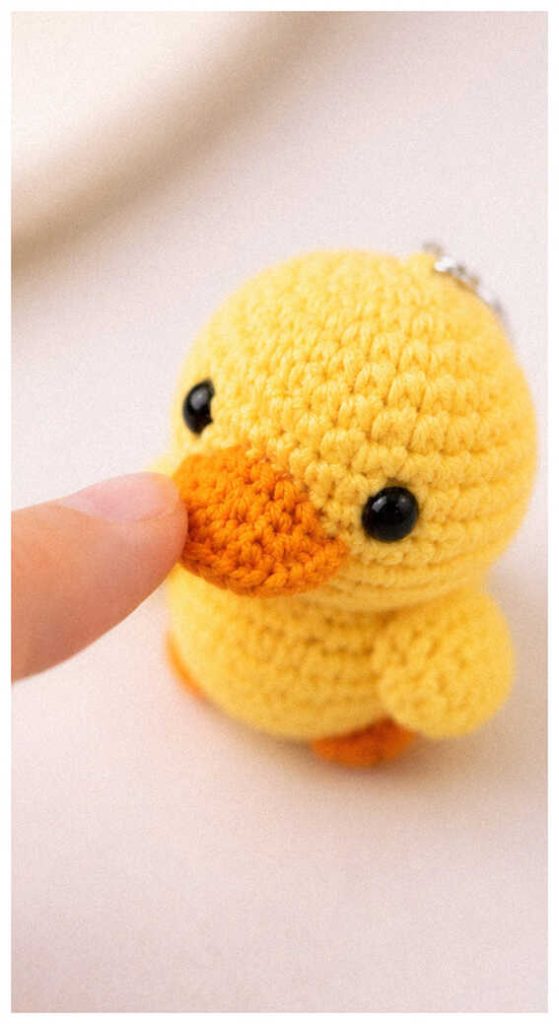
Sweet and easy to gift, duck amigurumi makes a charming handmade gift idea for nursery decor lovers, baby showers, or plush collectors. Part of why people love this style is the cheerful personality and cozy handmade feel.
Cute Duck Gift Ideas for Baby Showers