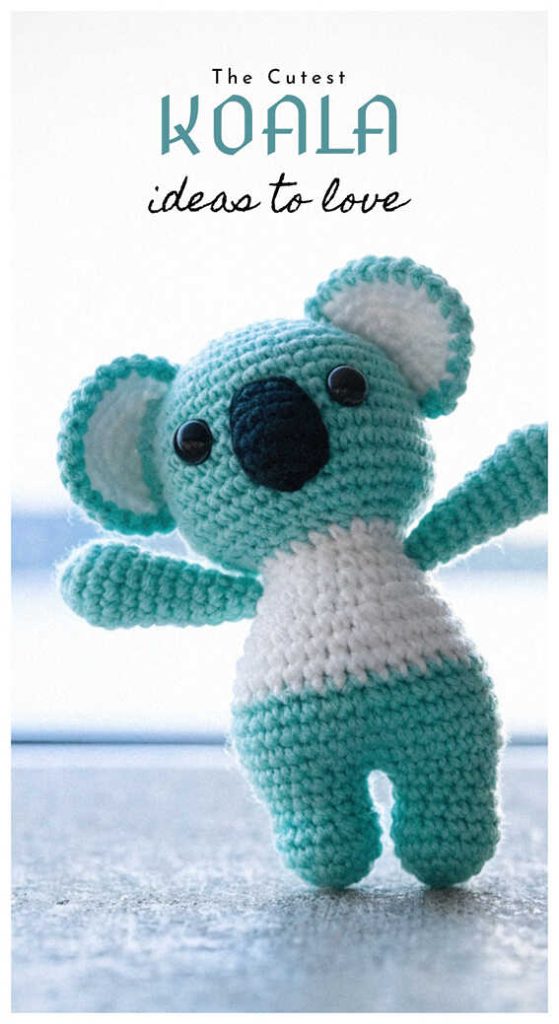
Cozy Koala Free Crochet Pattern for Handmade Gifts
Designer: Ekaterina Zaitseva
Instagram: @hm_zaitsevaekaterina
Difficulty Level: Intermediate
A Cozy Handmade Animal Project for Relaxing Crochet Time.
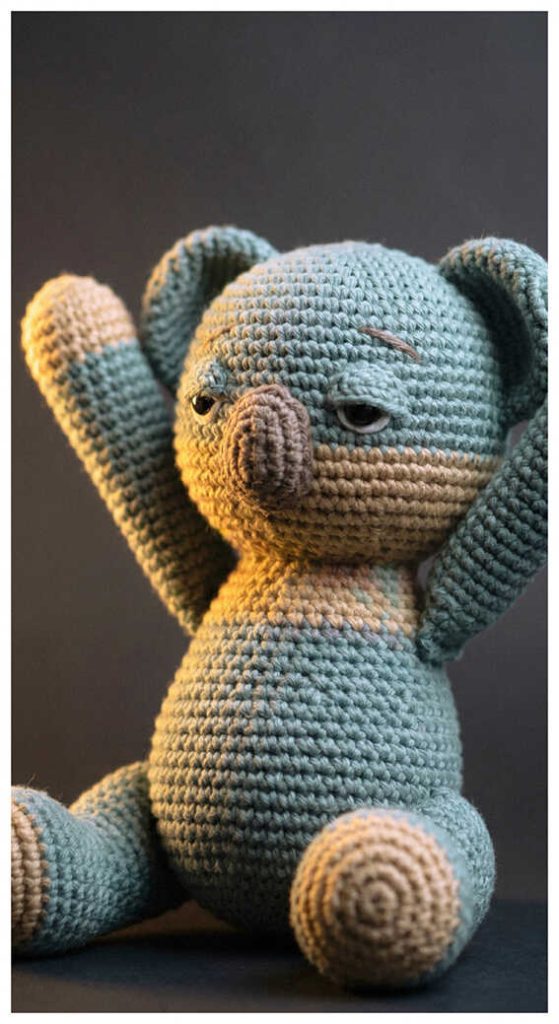
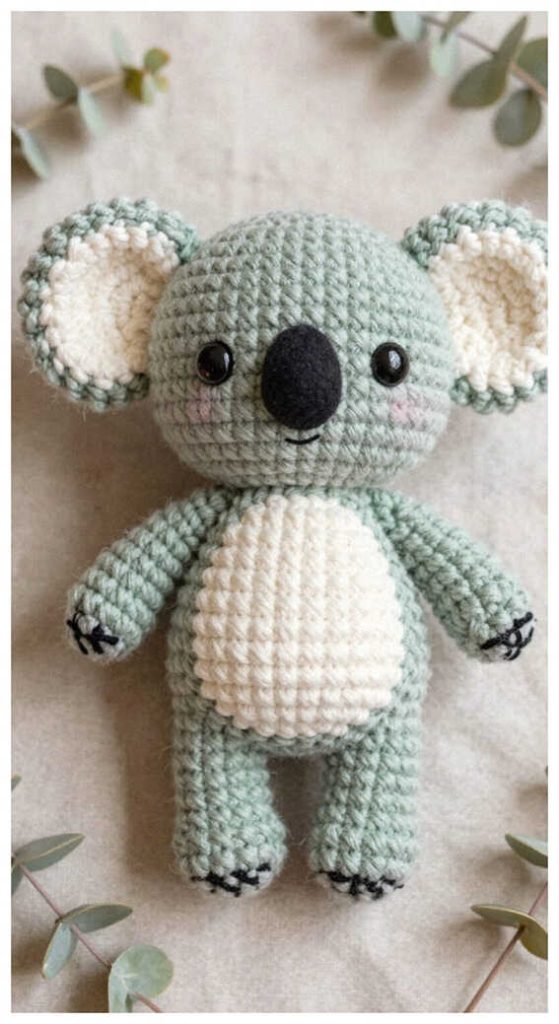
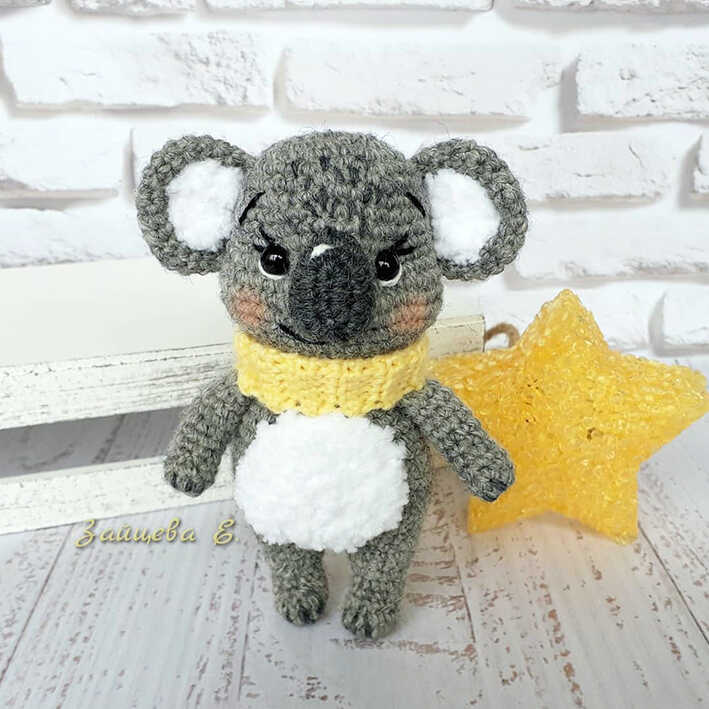
This free amigurumi animal pattern is a charming project for cozy crochet sessions. Designed by Ekaterina Zaitseva, this cute crochet animal features soft texture details, sweet shaping, and lovely accessory touches, making it a beautiful handmade gift idea or comforting soft crochet toy. We sincerely thank Ekaterina Zaitseva for sharing this adorable design, and you will also find more related amigurumi ideas waiting at the end of the pattern.
This intermediate amigurumi pattern includes shaping details, textured accents, and finishing elements that make the project especially rewarding. If you enjoy woodland-inspired makes, you might also love the cute fox amigurumi shared on our blog.
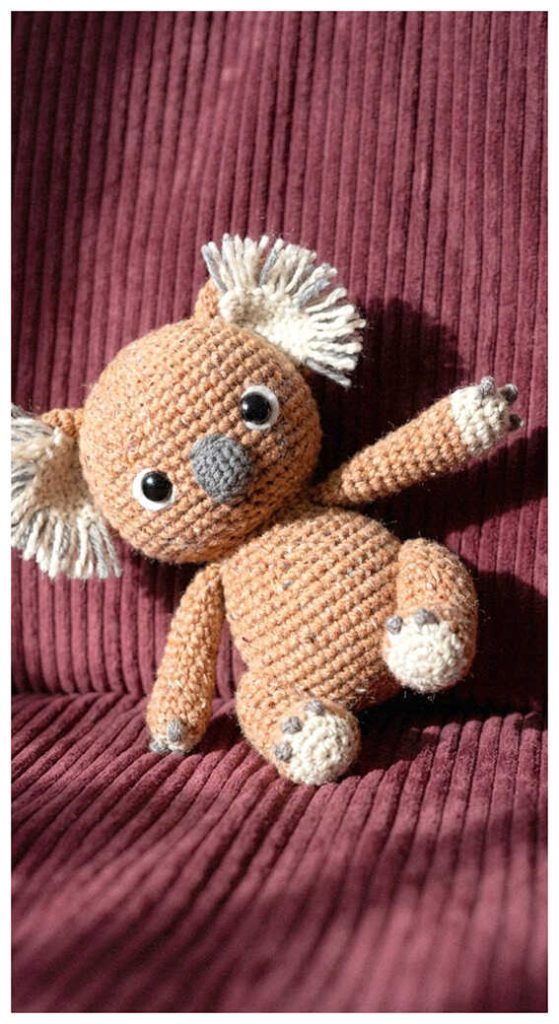
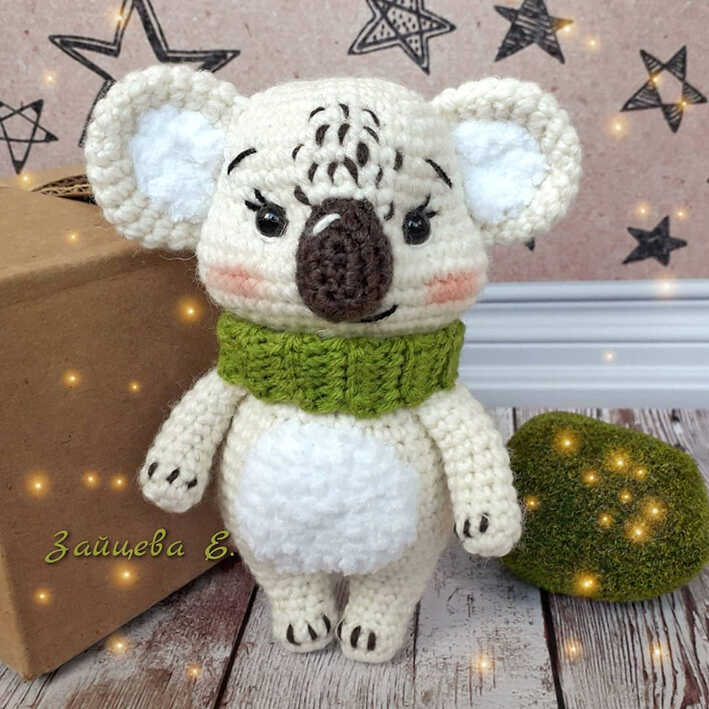
The pattern uses classic yarn for structure plus fluffy accents for extra charm, creating a beautifully textured finish. To complete this small crochet project, you only need yarn, stuffing, beads, and basic tools. If you love cozy animal makes, the sweet hedgehog amigurumi is another lovely pick.
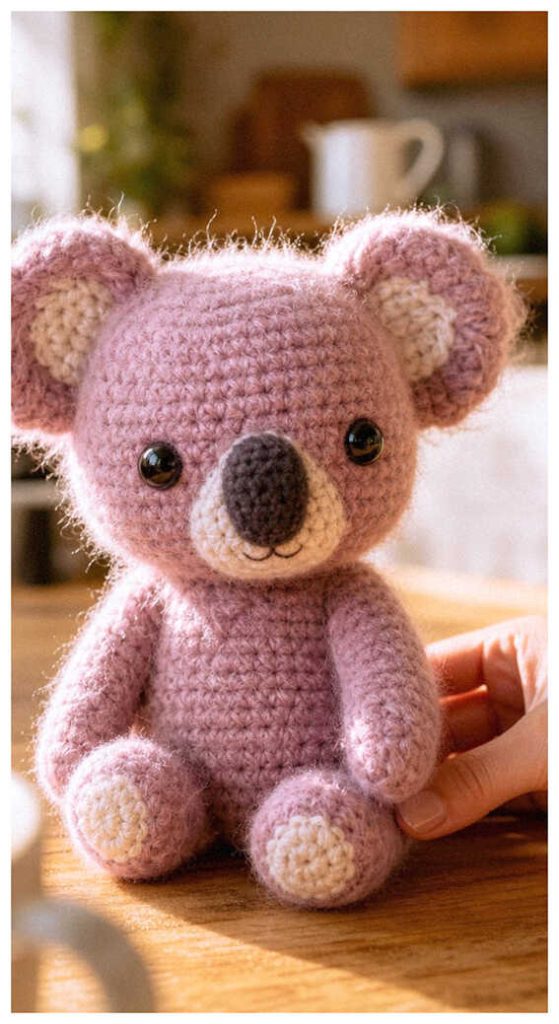
Keep scrolling for more adorable koala amigurumi ideas plush lovers keep saving for handmade gifts.
Materials
• Yarn
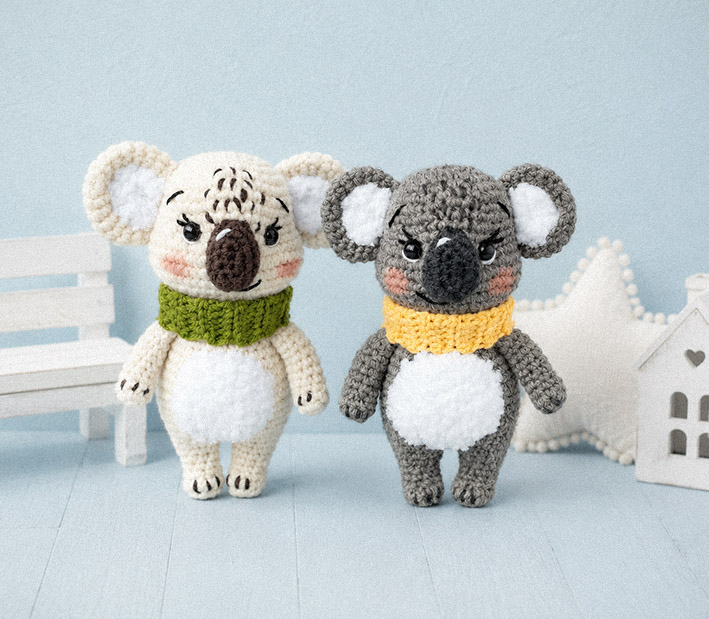
‣ Main yarn color (80–100 m) — sample used: Troitskaya Podmoskovnaya (200 m / 80 g) for beige version or Semenovskaya Babushkin Nosok (250 m / 100 g) for gray version
‣ Small amount of dark yarn for the nose
‣ White fluffy yarn for the tummy and inner ears (sample used: Alize Softy Plus)
‣ Small amount of yarn in any color for the scarf
• Crochet hook
• 6 mm half beads for eyes
• Sewing needle
• Scissors
• Fiberfill stuffing
Abbreviations
ch – chain
sc – single crochet
sl st – slip stitch
hdc – half double crochet
inc – increase
dec – decrease
MR – magic ring
(…) x 6 – repeat the instructions in parentheses 6 times
(…) – stitch count at the end of the round
The toy is worked in continuous rounds unless otherwise stated.
HOW TO CROCHET A COZY KOALA AMIGURUMI
Head
Using main color yarn:
R1: Ch 6. Starting in the second chain from the hook, work 4 sc, 3 sc in the last chain, continue on the opposite side with 3 sc, inc in the last stitch (12)
R2: inc, 3 sc, inc x 3, 3 sc, inc x 2 (18)
R3: (2 sc, inc) x 6 (24)
R4: (3 sc, inc) x 6 (30)
R5: (4 sc, inc) x 6 (36)
R6-R10: sc in each stitch around (36)
Work 8 sc to shift the starting point.
R11: 8 sc, inc, 1 sc, inc, 1 sc, inc, 10 sc, inc, 1 sc, inc, 1 sc, inc, 8 sc (42)
R12: 10 sc, inc, 2 sc, inc, 14 sc, inc, 2 sc, inc, 10 sc (46)
R13-R15: sc in each stitch around (46)
Work 1 sc to shift the starting point.
R16: 8 sc, dec x 5, 10 sc, dec x 5, 8 sc (36)
R17: (4 sc, dec) x 6 (30)
R18: (3 sc, dec) x 6 (24)
Fasten off, stuff firmly.
If using safety eyes, insert them around R12 with 11–12 stitches between them.
Ears (Make 2)
Using main color yarn:
R1: 6 sc in MR (6)
R2: inc x 6 (12)
R3: (1 sc, inc) x 6 (18)
R4: (2 sc, inc) x 6 (24)
R5-R6: sc in each stitch around (24)
R7: (6 sc, dec) x 3 (21)
R8: (5 sc, dec) x 3 (18)
Do not stuff.
Fold flat and crochet 9 sc through both sides.
Fasten off, leaving a long tail for sewing.
Inner Ears (Make 2)
Using fluffy white yarn, worked in turning rows:
R1: 4 sc in MR (4)
Ch 1, turn.
R2: inc x 4 (8)
Fasten off, leaving a tail for sewing.
If the inner ear looks too small, add one more round with 4 evenly spaced increases.
Nose
Using dark yarn:
R1: Ch 5. Starting in the second chain from the hook, work 3 sc, 3 sc in the last chain, continue on the opposite side with 2 sc, inc in the last stitch (10)
R2: inc, 2 sc, 3 hdc inc, 2 sc, inc x 2 (16)
R3: sc in each stitch around (16)
Fasten off, leaving a tail for sewing.
Stuff lightly while sewing.
Legs (Make 2)
Using main color yarn:
R1: 6 sc in MR (6)
R2: inc x 6 (12)
R3: sc in each stitch around (12)
R4: 3 sc, dec x 3, 3 sc (9)
R5: sc in each stitch around (9)
R6: (2 sc, inc) x 3 (12)
R7: sc in each stitch around (12)
R8: (3 sc, inc) x 3 (15)
R9: sc in each stitch around (15)
Fasten off on the first leg.
Do not cut yarn on the second leg.
Stuff as you crochet.
Body
Continue from the second leg.
R1: 5 sc on second leg, 15 sc around first leg (position the feet slightly inward), 10 sc on second leg (30)
R2: (4 sc, inc) x 6 (36)
R3: (5 sc, inc) x 6 (42)
R4-R9: sc in each stitch around (42)
R10: (12 sc, dec) x 3 (39)
R11: (11 sc, dec) x 3 (36)
R12: sc in each stitch around (36)
R13: (4 sc, dec) x 6 (30)
R14: sc in each stitch around (30)
R15: (3 sc, dec) x 6 (24)
R16: sc in each stitch around (24)
Work 7 sc to shift the starting point.
Fasten off, leaving a long tail for sewing.
Arms (Make 2)
Using main color yarn:
R1: 5 sc in MR (5)
R2: inc x 5 (10)
R3: sc in each stitch around (10)
R4: (3 sc, dec) x 2 (8)
R5-R6: sc in each stitch around (8)
R7: inc, 7 sc (9)
R8: sc in each stitch around (9)
R9: inc, 8 sc (10)
R10-R11: sc in each stitch around (10)
Work 2 sc to shift the starting point.
Stuff only the lower part.
Fold flat and crochet 5 sc through both sides.
Fasten off, leaving a long tail for sewing.
When attaching the arms, position them so the increases from R7 and R9 face backward.
Tail
Using main color yarn:
R1: 6 sc in MR (6)
R2: inc x 6 (12)
R3: sc in each stitch around (12)
Fasten off, leaving a tail for sewing.
Stuff while attaching.
Tummy
Using fluffy white yarn:
R1: 6 sc in MR (6)
R2: inc x 6 (12)
R3: (1 sc, inc) x 6 (18)
R4: (2 sc, inc) x 6 (24)
Fasten off, leaving a tail for sewing.
If the tummy looks too small, add one extra round with 6 evenly spaced increases.
Scarf
Ch 9.
Starting in the second chain from the hook, work 8 sc.
Ch 1, turn.
Next row: 8 sc in BLO.
Repeat until the scarf reaches the desired length (approximately 25 rows in the sample).
Fold the ends together and join with 8 sc through both layers.
Assembly
– Sew the nose onto the head and embroider facial details.
– Attach the inner ears to the ears, then sew the ears to the head.
– Attach the tummy to the front of the body.
– Sew the arms, tail, and head in place.
– Wrap the scarf around the neck.
Copyright & Credits
This pattern is designed by Ekaterina Zaitseva (@hm_zaitsevaekaterina). Please do not copy, redistribute, or republish this pattern without permission. You may sell finished items made from this pattern, but please credit the original designer when sharing your work.
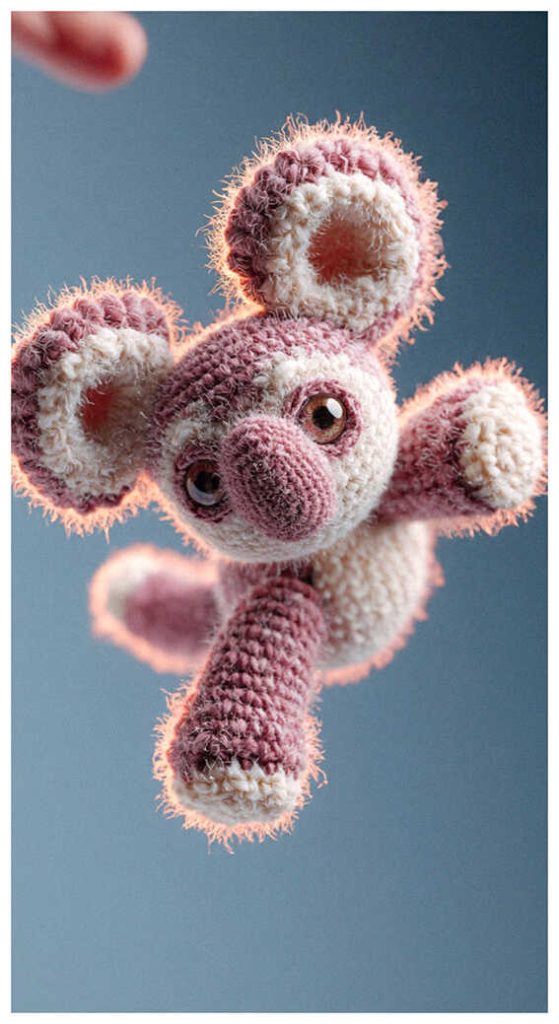
Tiny and heartwarming, koala amigurumi is a lovely gift idea for wildlife fans, baby rooms, or anyone who enjoys cute handmade decor. This style stands out for its gentle look and collectible appeal.
Adorable Koala Crochet Ideas for Cozy Gift Giving